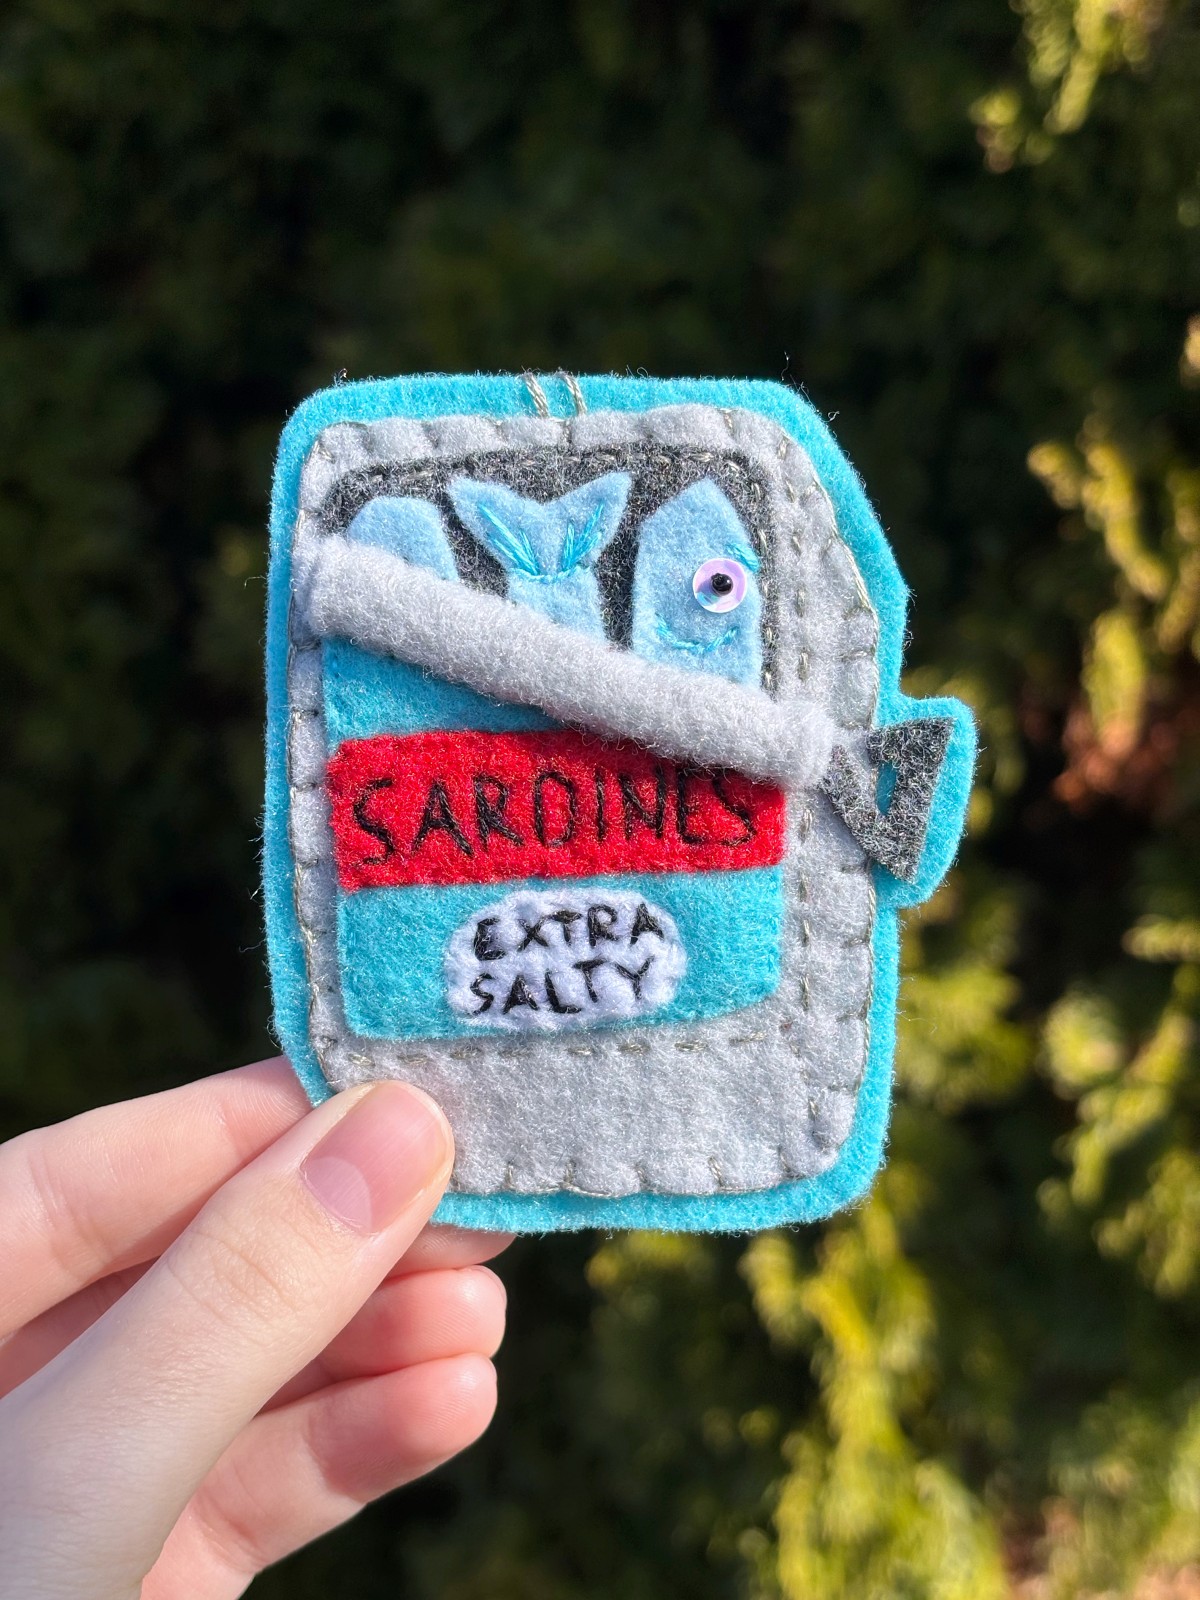
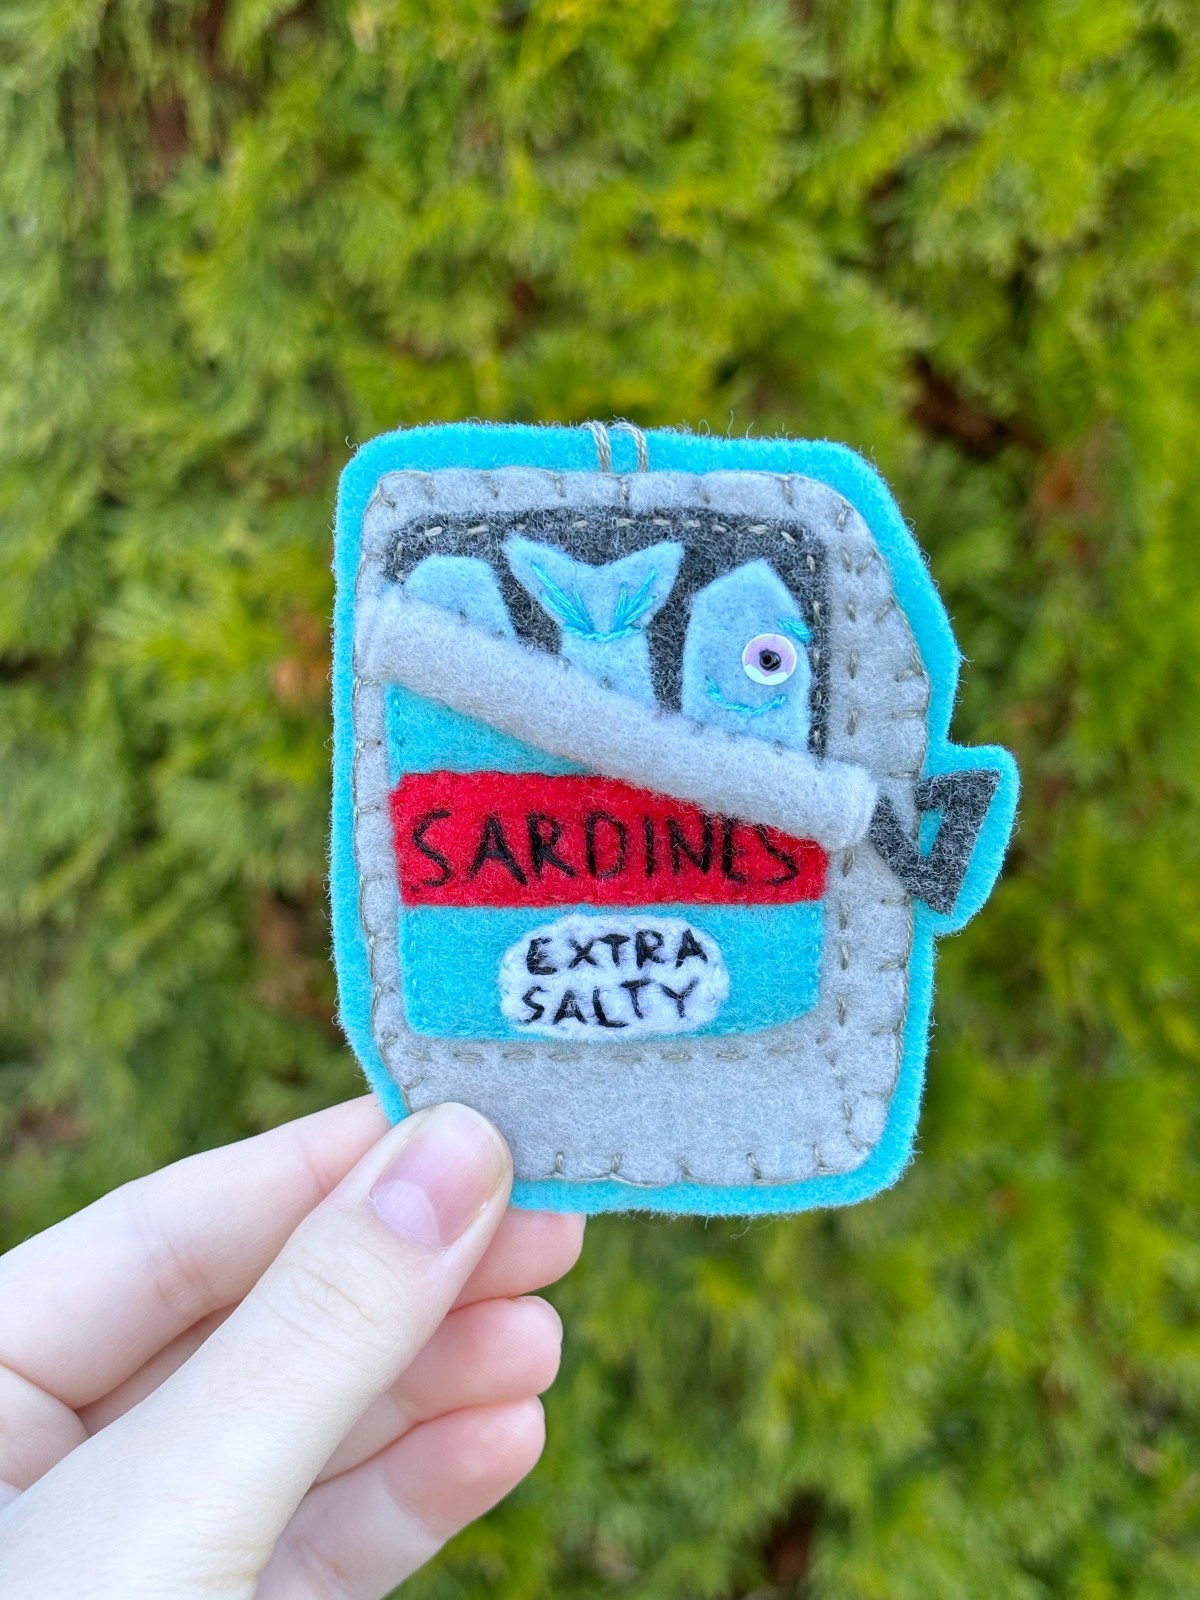
Sardine Can Ornament. DIY Whimsical Felt Craft
Let your creativity flow with this DIY Sardine Can Felt Ornament. This cute little ornament would make a perfect decoration in your kitchen. Alternatively add a keychain and hang it on a bag or backpack to add some color and personality to your outfit. These little sardines are extra salty and ready to take on the day. Follow along with the Free PDF pattern and let’s get crafting.

This sardine can ornament makes a great decoration or bag accessory. I love to hang different charms and trinkets on my purse to brighten up my outfit and add a cute whimsical touch. When I am out and about I often get compliments on my bag charms and it feels even better when I can share that I made them myself. Now, you can make them too! Whether you know someone who would love this extra salty ornament as a gift or want to make it for yourself, grab the Free PDF pattern at the bottom of this page and follow along with our easy step by step tutorial below.
*This post contains affiliate links meaning I get a commission if you purchase through my links, at no extra cost to you.

Materials
- Felt (Teal, Light Blue, Light Gray, Dark Gray, Red, White)
- Embroidery thread (Gray, Teal, Red, Black, White)
- Embroidery thread wax, Optional
- Scissors
- Ballpoint pen
- Sewing Needle
- Sewing Pins
- Tacky Glue
- Embroidery Hoop (5 inch)
- White Sequins (4mm)
- Black seed beads
- Embroidery Hoop Holder, Optional
- Washi tape, Optional
Instructions
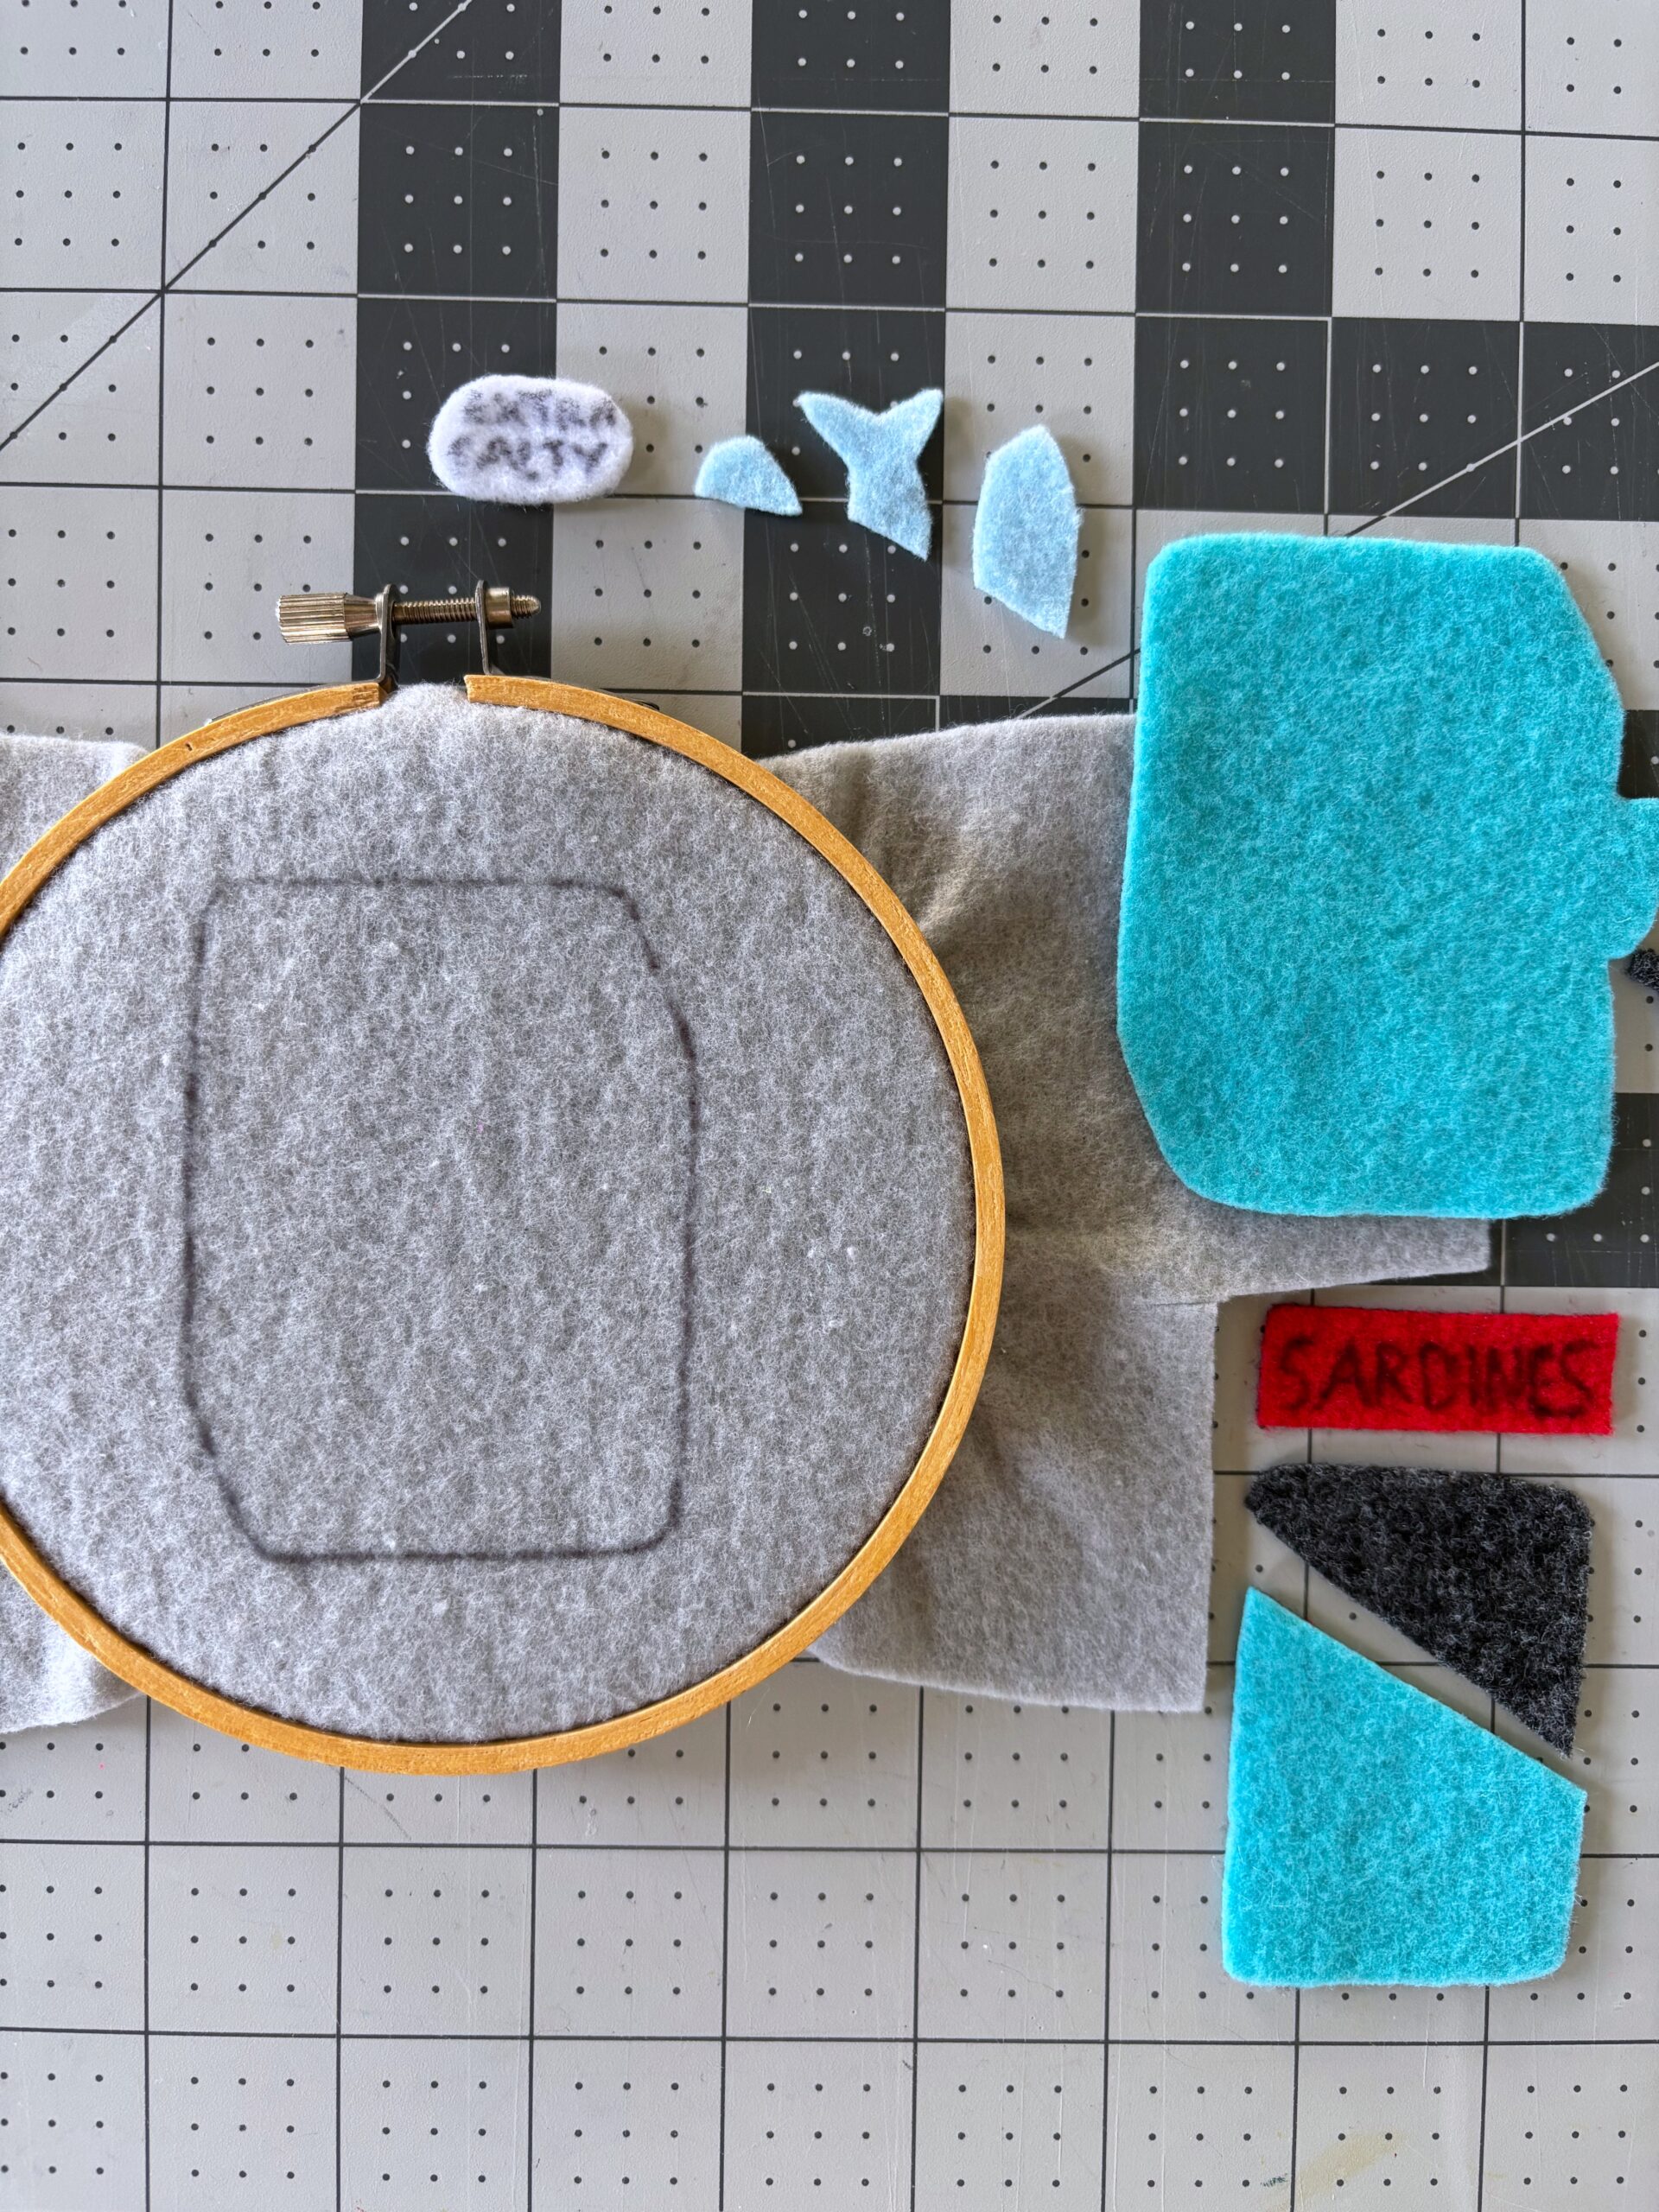
step 1
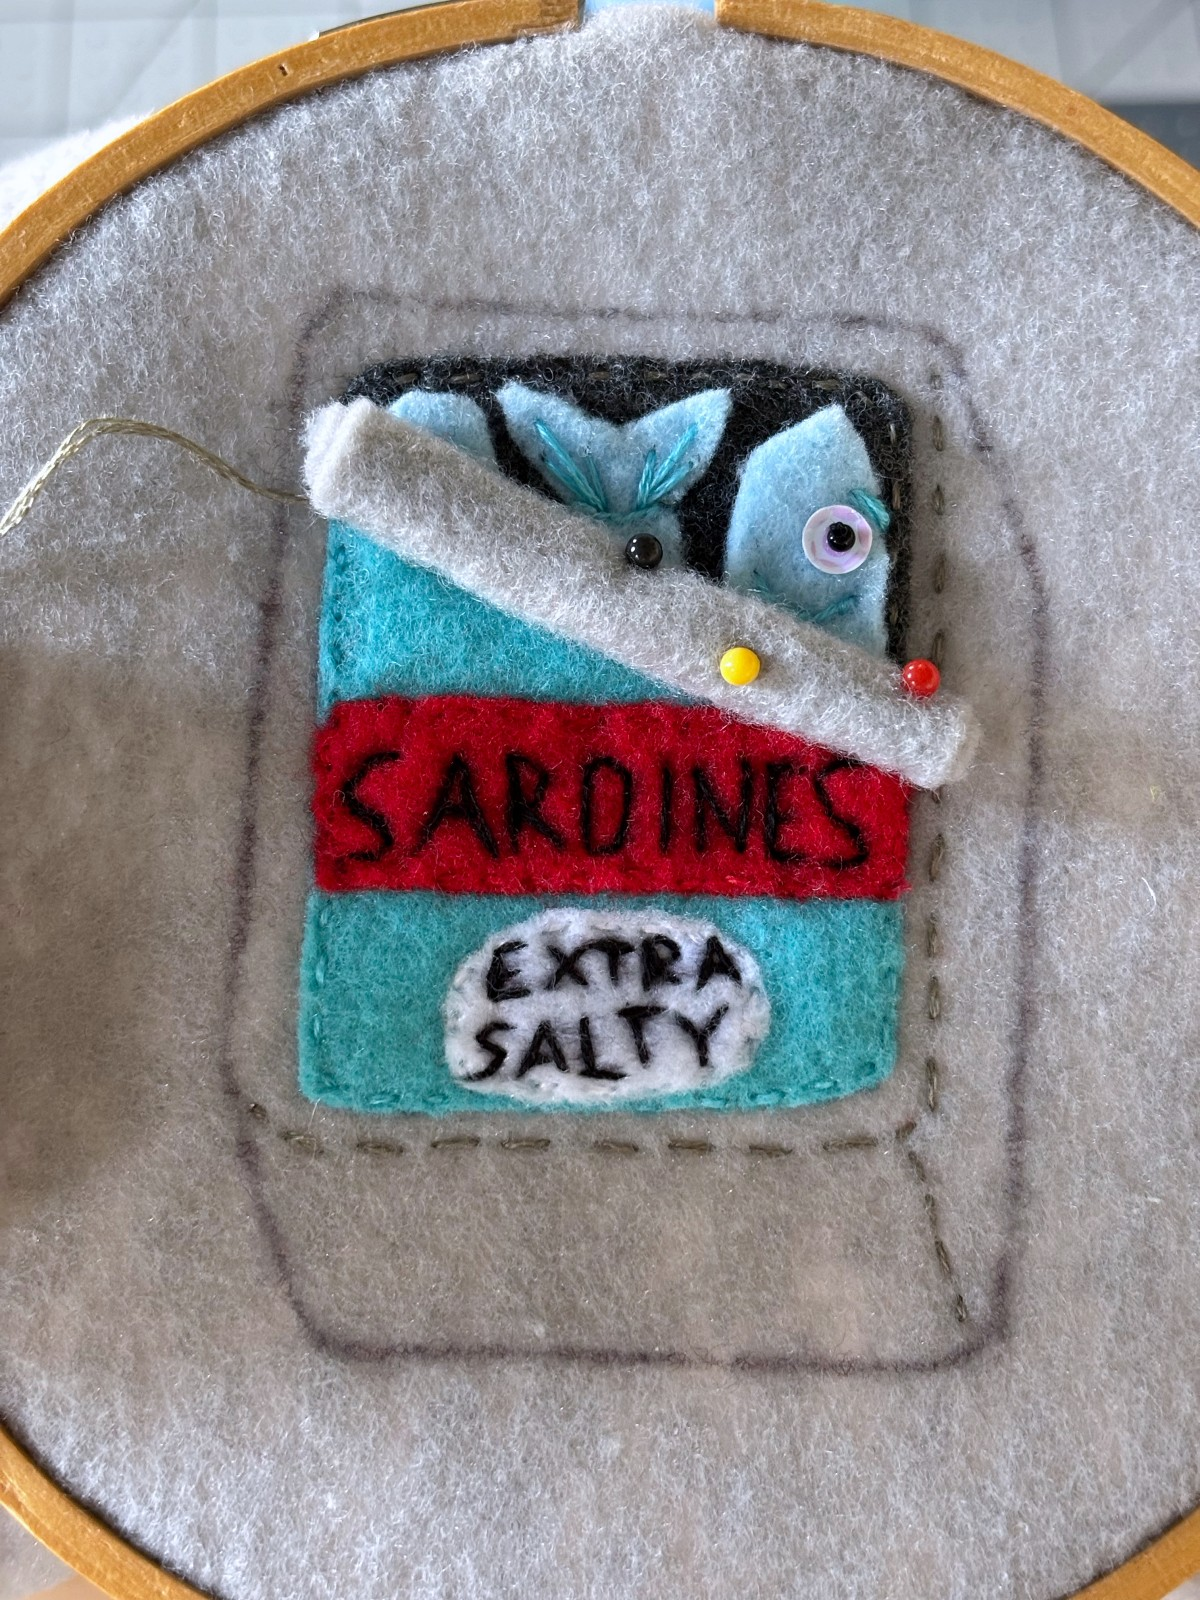
Trace each pattern piece onto the designated color of felt using a ballpoint pen. Place the light gray felt with the sardine can traced on it into an embroidery hoop. Lightly trace the words extra salty on the white sardine can salt label and the word sardines on the red sardine can label. Cut out all pieces except for the gray felt sardine can you have placed in the embroidery hoop.
Note: It is optional, but I like to use an embroidery hoop holder to help me sew the details onto the ornament without my hands getting too tired. This really helps speed up my sewing projects.
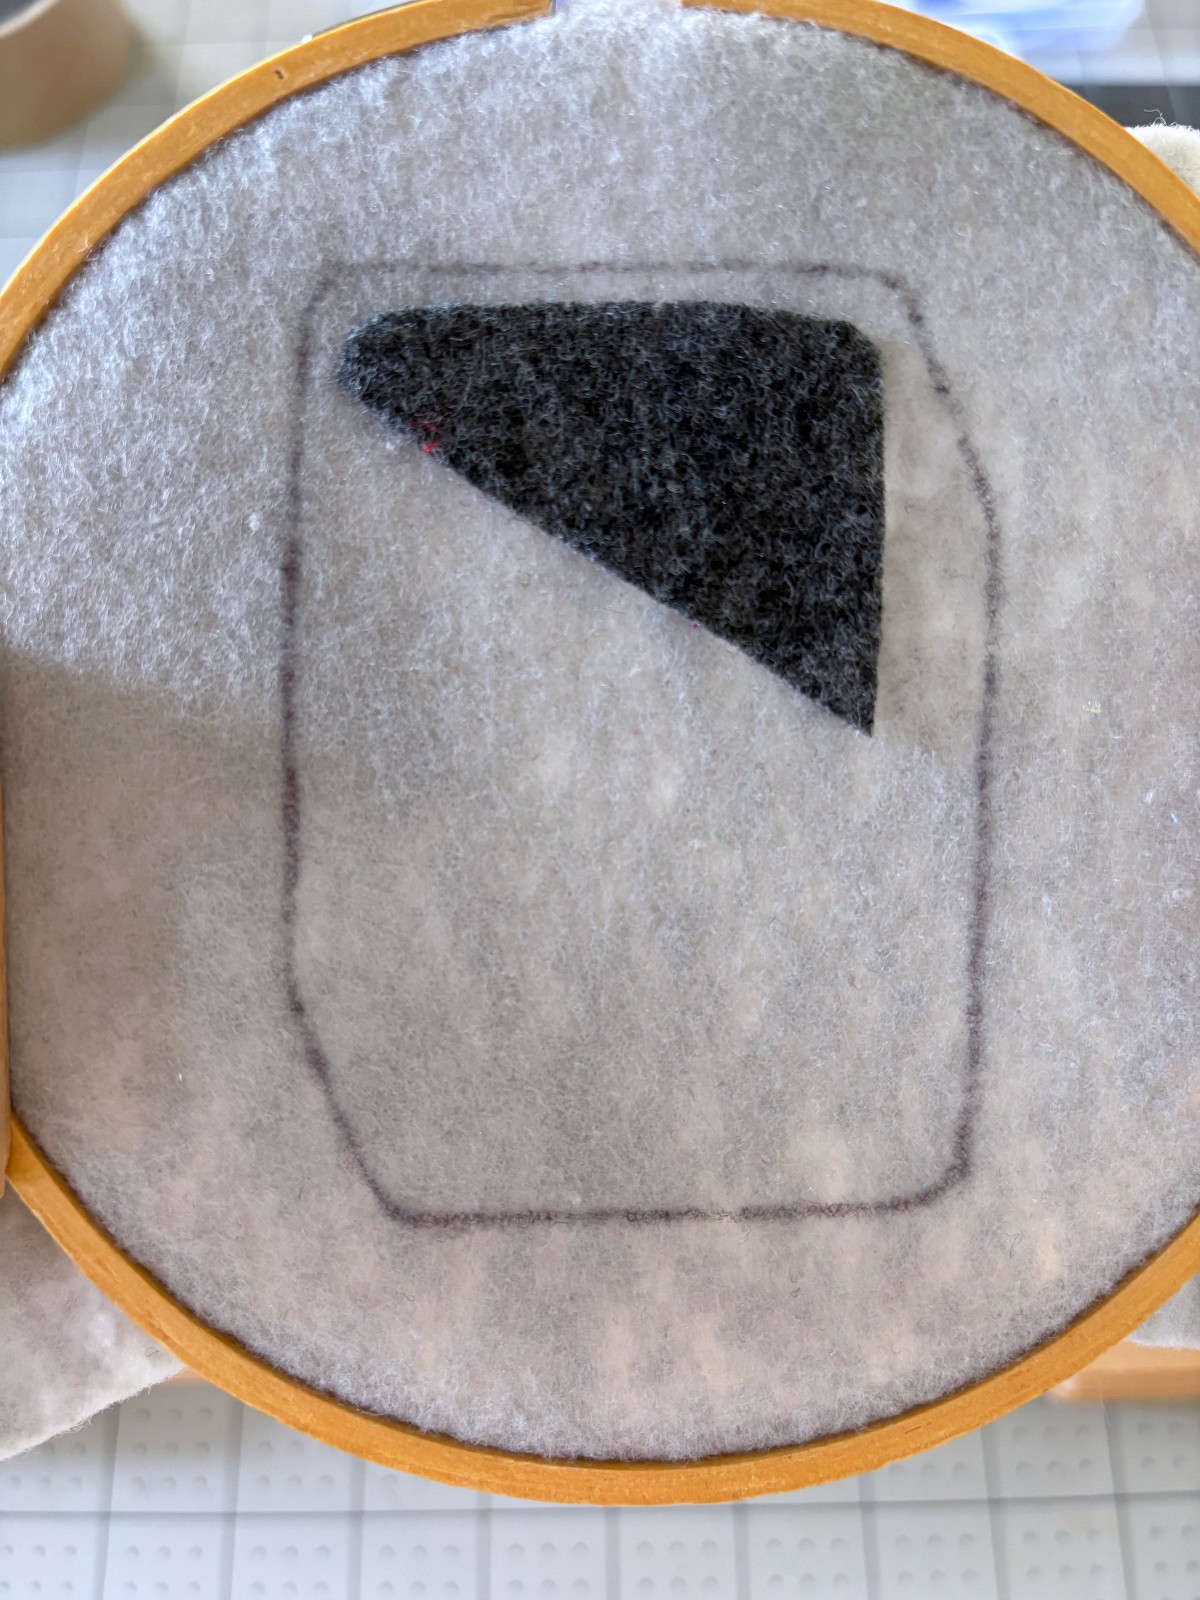
Step 2
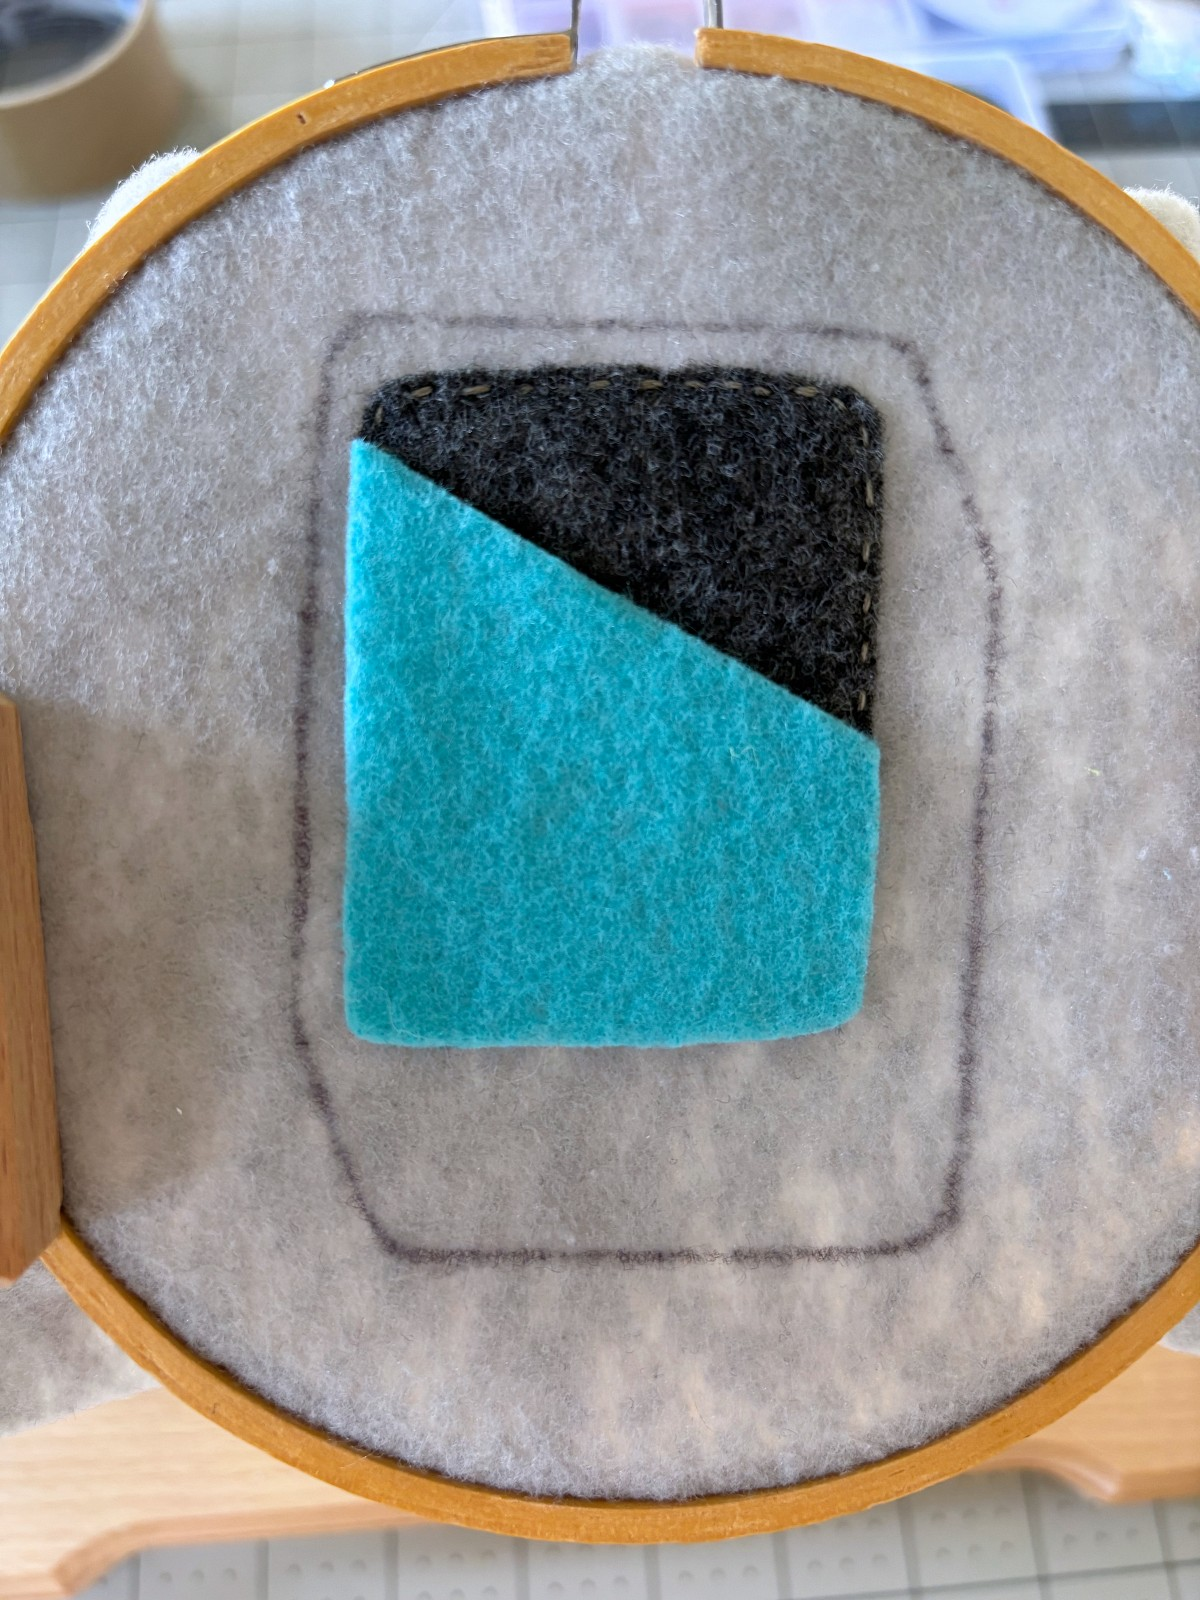
Place the dark gray piece on top of the light gray sardine can. Line it up as best you can to match the picture below, and as indicated on the pattern. Using gray embroidery thread, sew a running stitch around the entire perimeter of the dark gray piece. I like to use embroidery thread wax to keep my thread smooth and straight so it is less likely to knot itself, but this is completely optional.
Note: All sewing for this project will be done with three strands thick of embroidery thread.
Step 3
Next, place the teal sardine can piece on the light gray base. Make sure to line it up to the diagonal line of the dark gray piece. Using teal embroidery thread, sew a running stitch around the entire perimeter of the teal piece.
Step 4
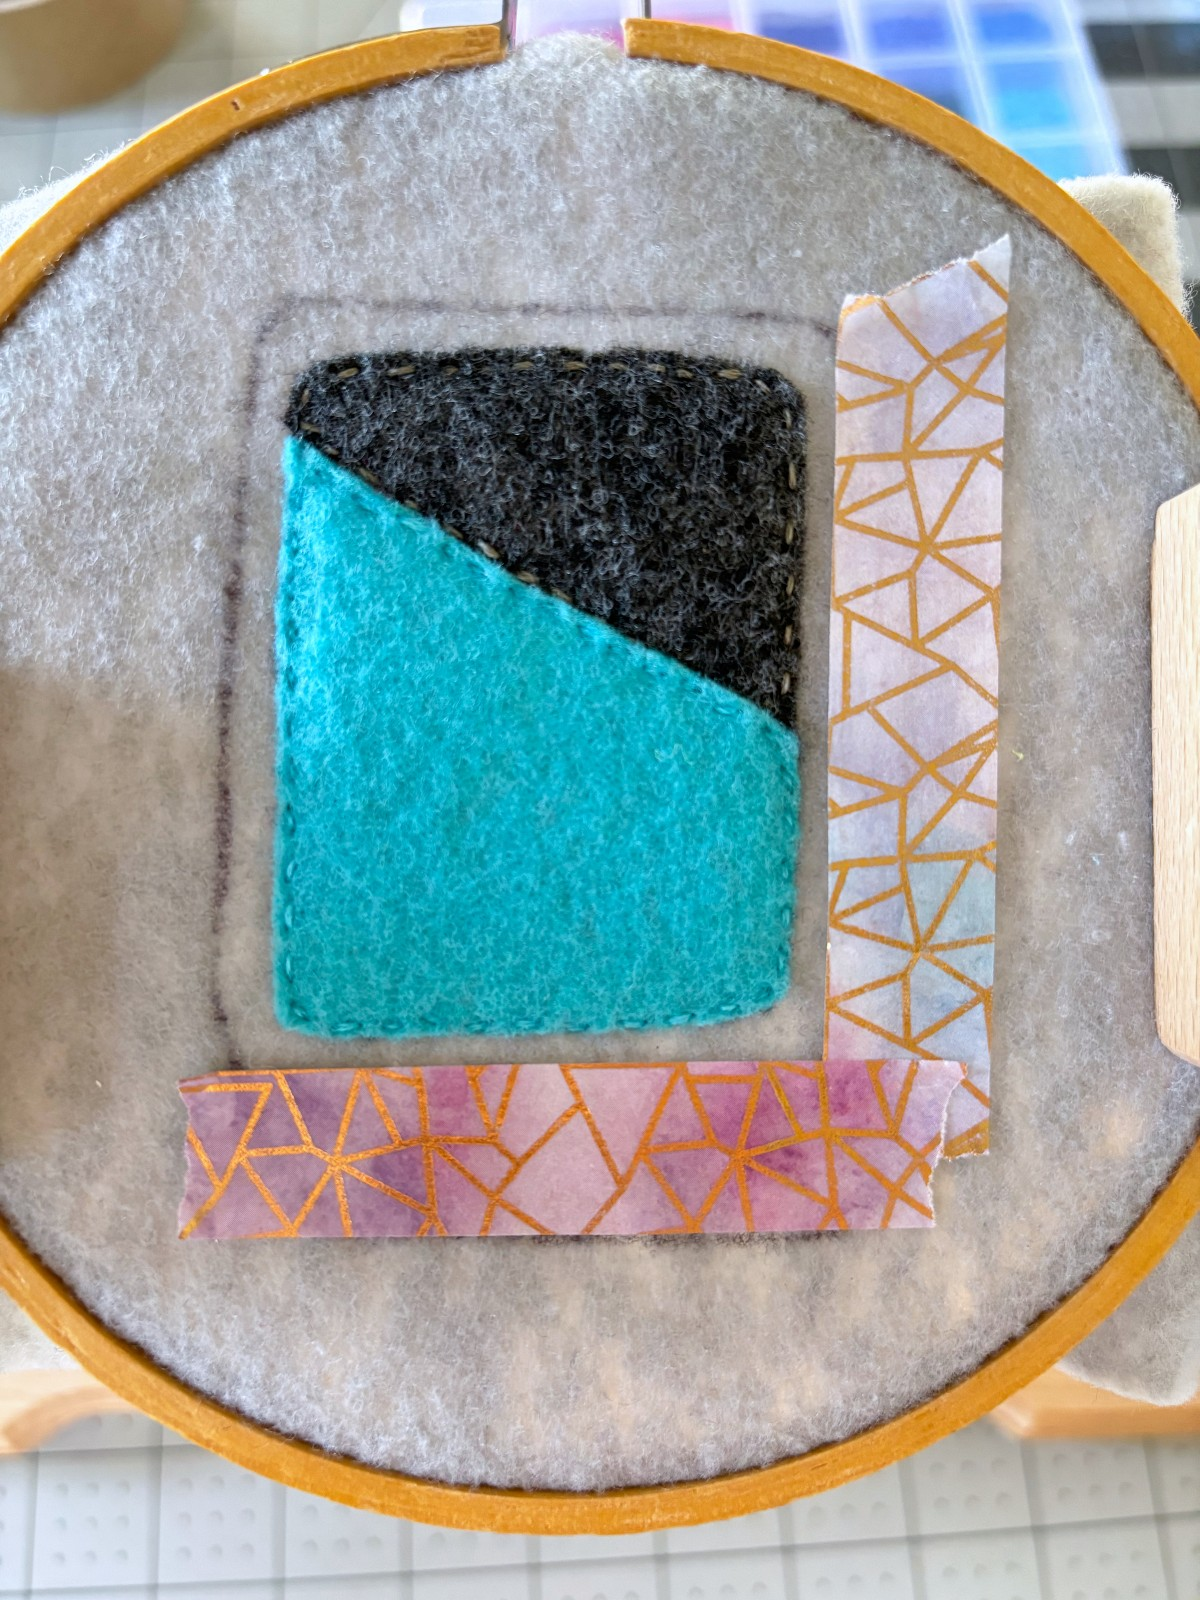
Now it’s time to add the embroidery details to the light gray base. This will give the sardine can a more three dimensional look. I like to use washi tape to help me have a guide line to follow, this is optional. Using the gray embroidery thread, add a running stitch as indicated by the red dashed lines on the paper pattern template. Start with the top line that mirrors the slight curve of the can. End with the lower vertical line creating the illusion of the bottom corner of the can.
Step 5
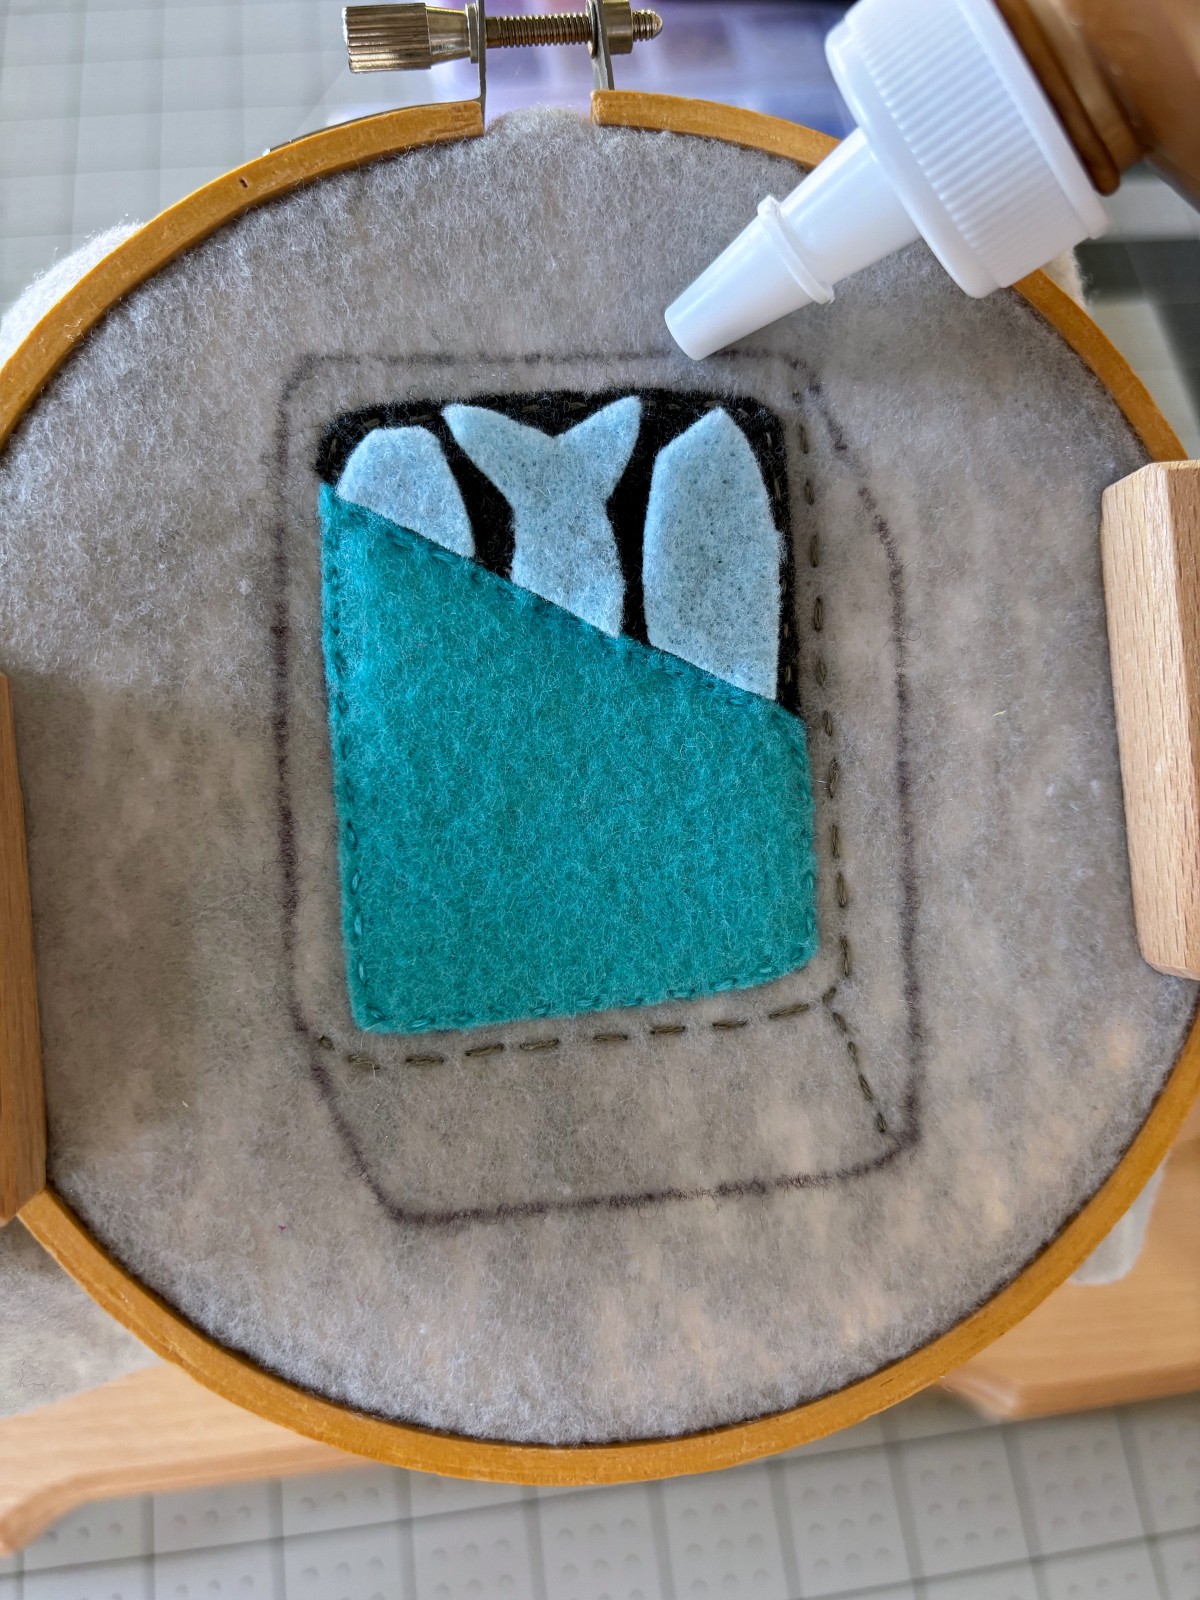
You can now add the three sardine fish pieces. Using tacky glue, glue on each fish piece starting with the piece titled (sardine fish one) at the top left. Make sure to line up the diagonal line at the bottom of each fish piece with the diagonal line of the dark gray felt piece.
Step 6
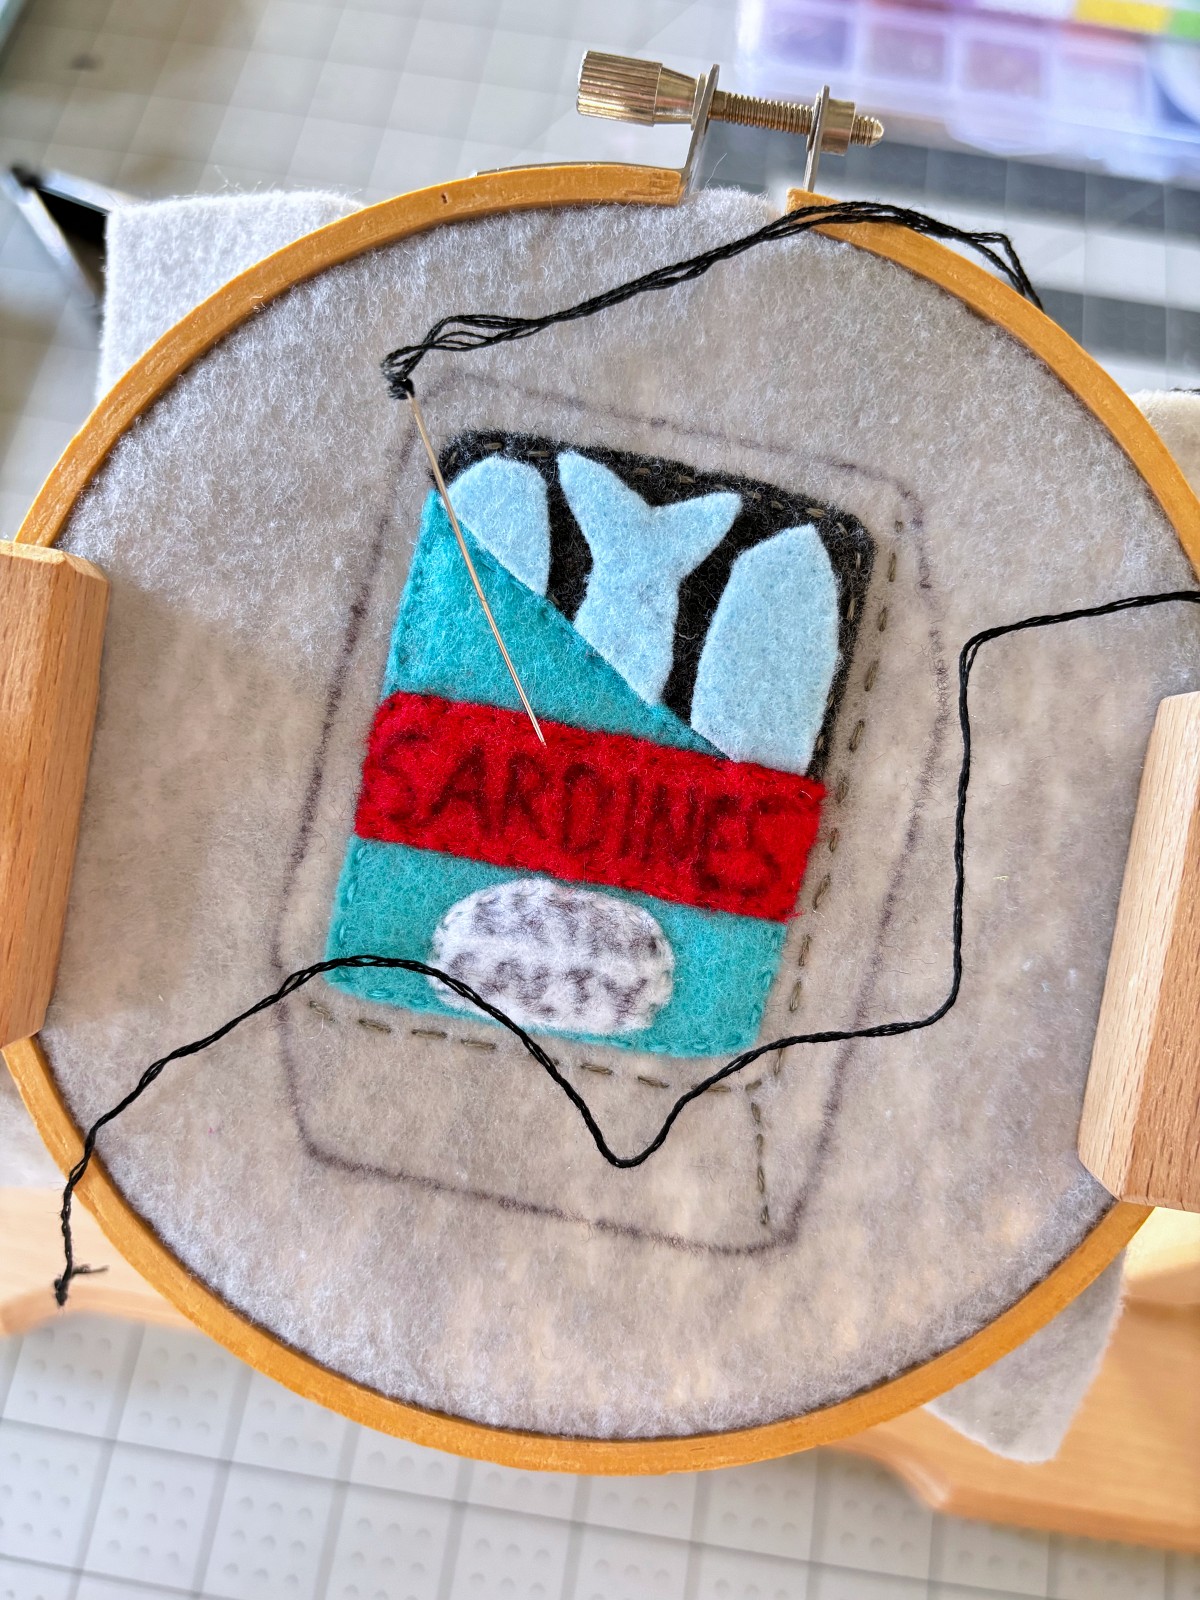
Now that the fish are in place, it is time to add the sardine can labels. Starting with the red sardine can label. Place the red felt rectangle in place, as indicated in the pattern, so that it slightly overlaps with the third sardine fish. Make sure it is high enough so that the white extra salty label can still fit below it. Using red embroidery thread, sew a running stitch around the perimeter of the red sardine label.
Next, place the white extra salty can label below and sew a running stitch around the perimeter using white embroidery thread.
Step 7
Using black embroidery thread, embroider the words onto the two can labels. Follow along your lightly traced letters with a backstitch. Alternatively you could use a pen or paint to add the words, but I think embroidering the letters makes the ornament look a lot neater and legible.
Step 8
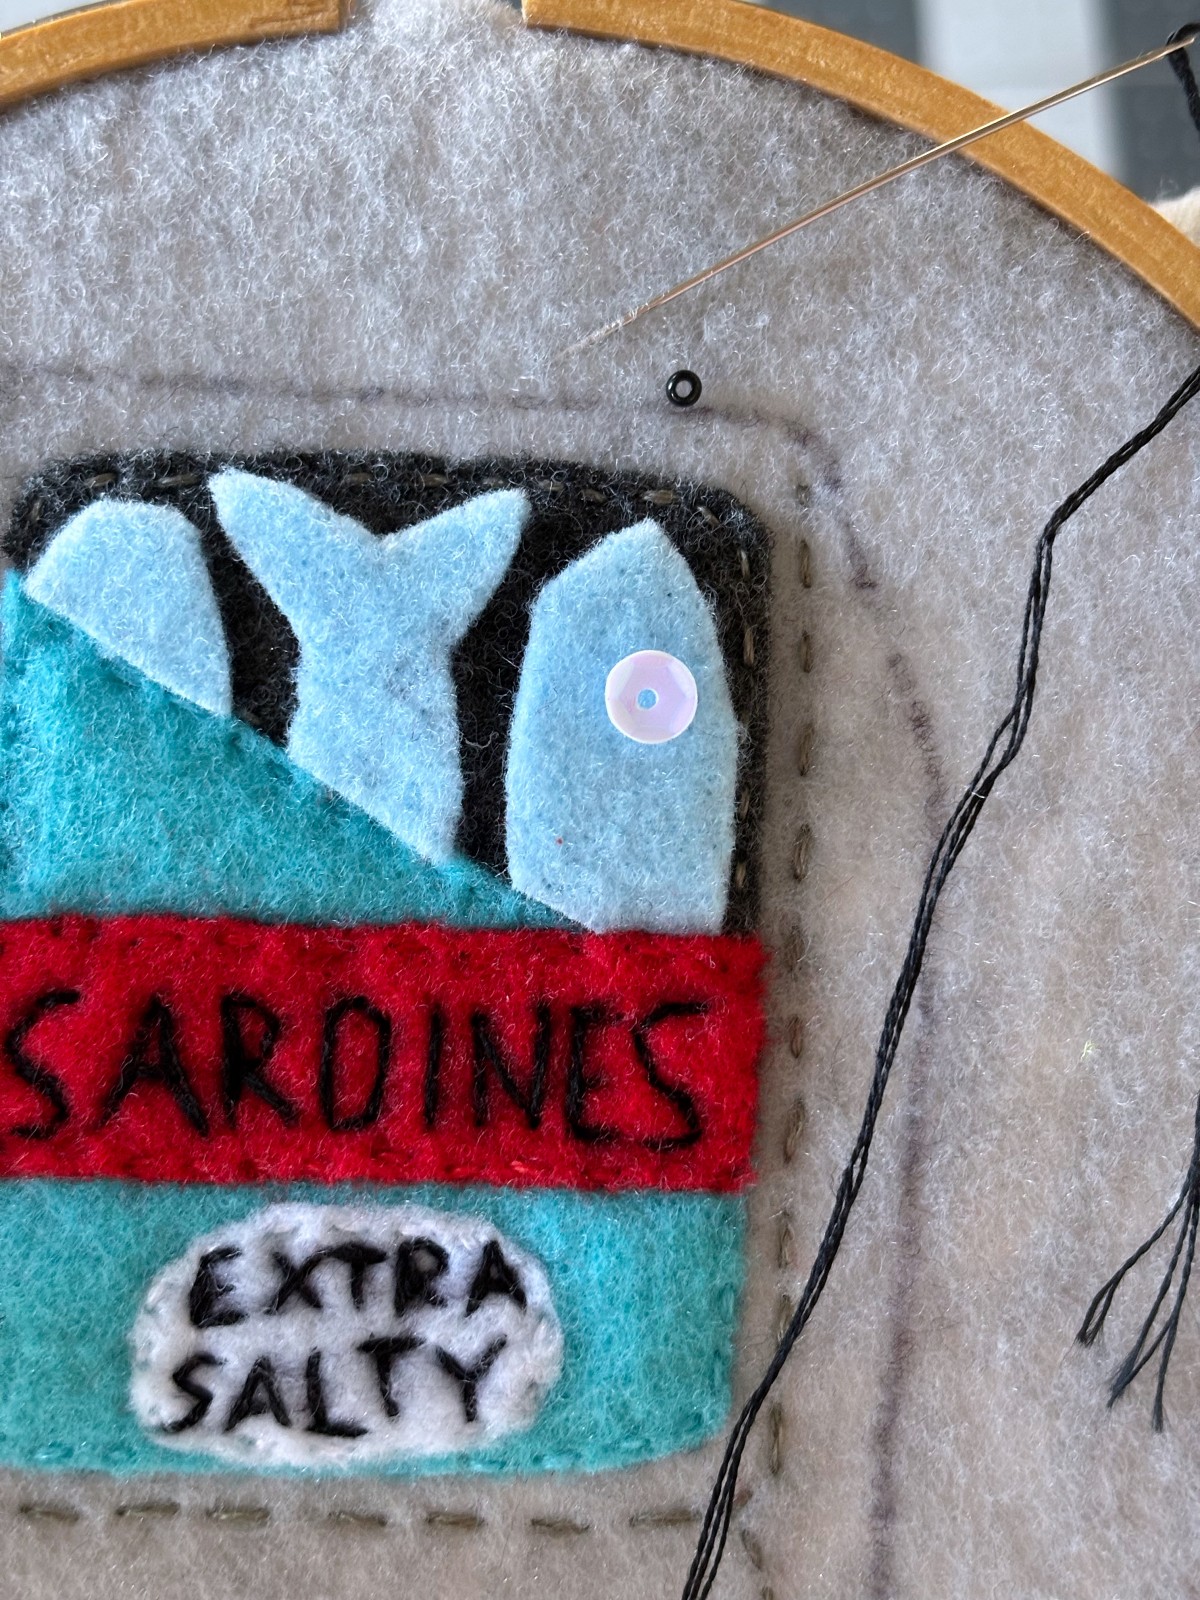
Time to add the embroidery and bead details to the fish. Starting with the eye on sardine fish number three. With black embroidery thread, sew through the center of a white sequins where you want the eye to be placed. Thread a black seed bead on to the embroidery thread, and sew back down through the center of the sequins to secure it in place. Tie a knot on the back side.
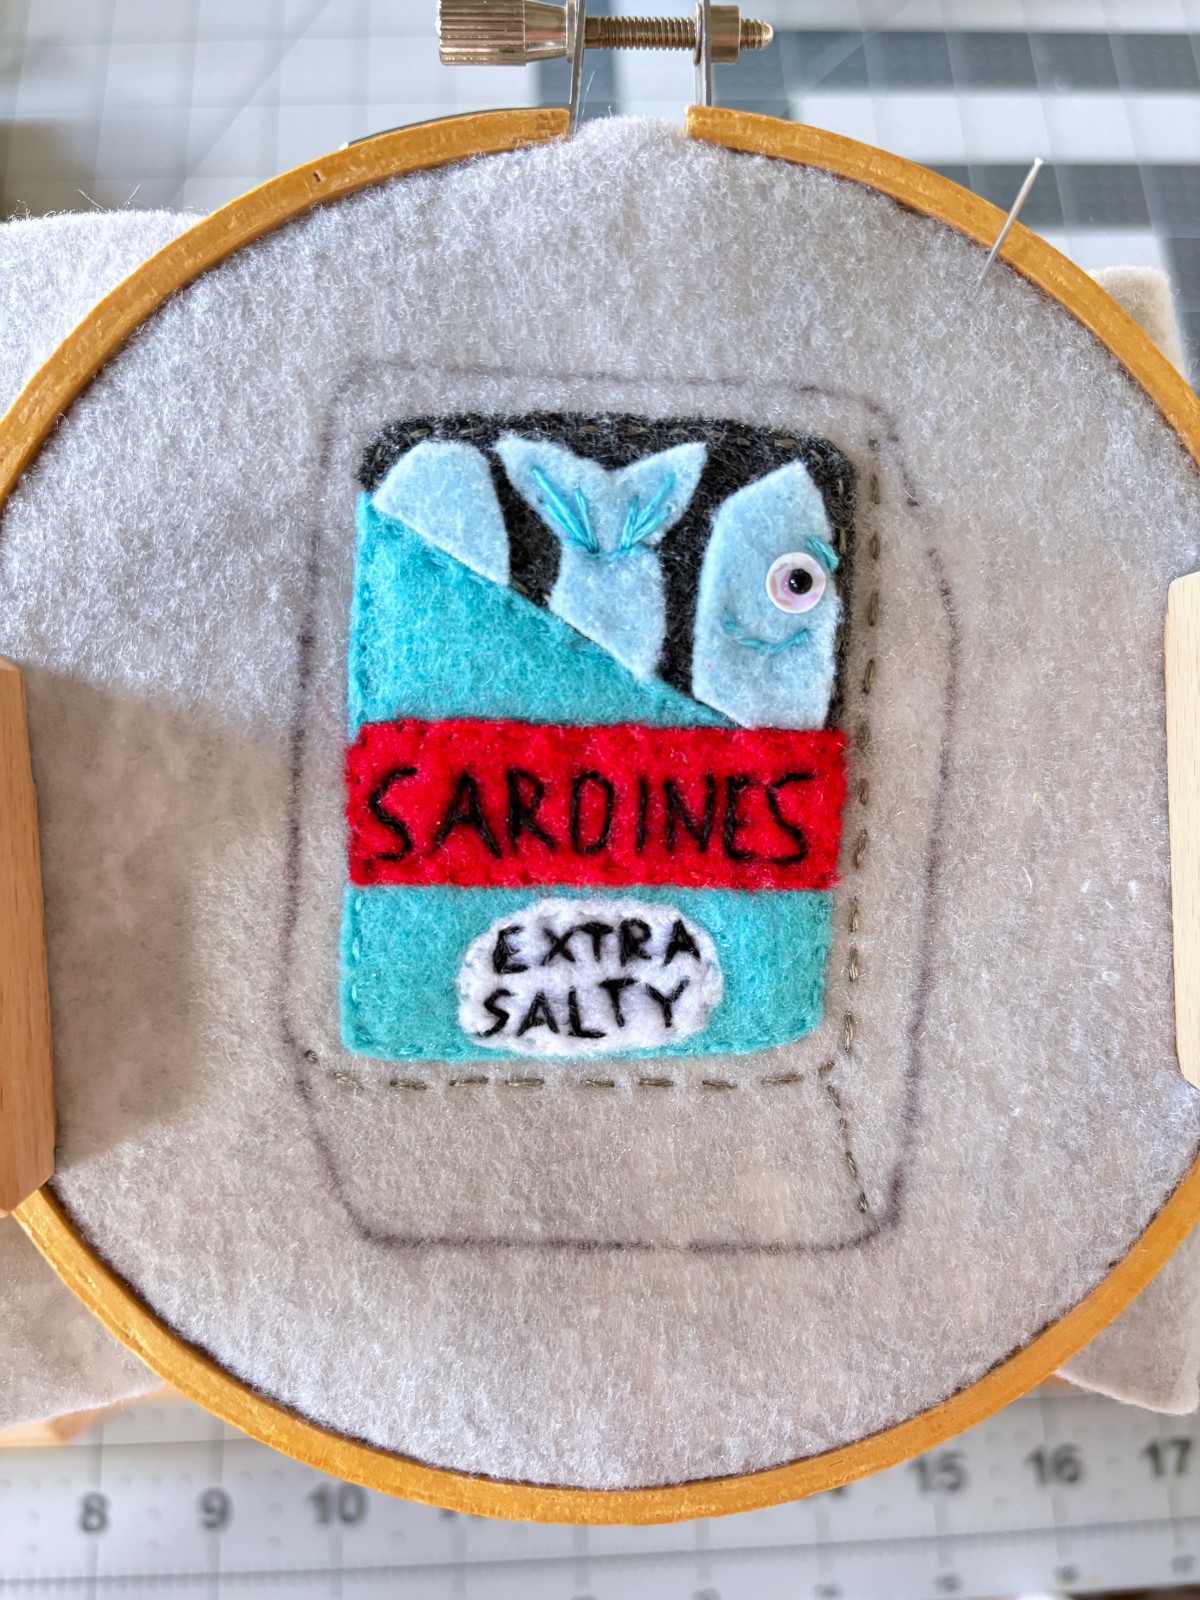
Next, using teal thread, sew a single line above the eye for the grumpy eyebrow. I doubled up my thread because I wanted a thicker eyebrow. Then add a running stitch across the body of the fish below the eye for the gill line. Complete the gill by using a whipped backstitch down the same line of running stitches.
Add the same stitches as the gill to fish number two to make the tail line. Sew a running stitch across the tail and finish the line with a whipped backstitch. Then add three single line stitches at varied lengths on each tail fin to give it more texture.
Step 9
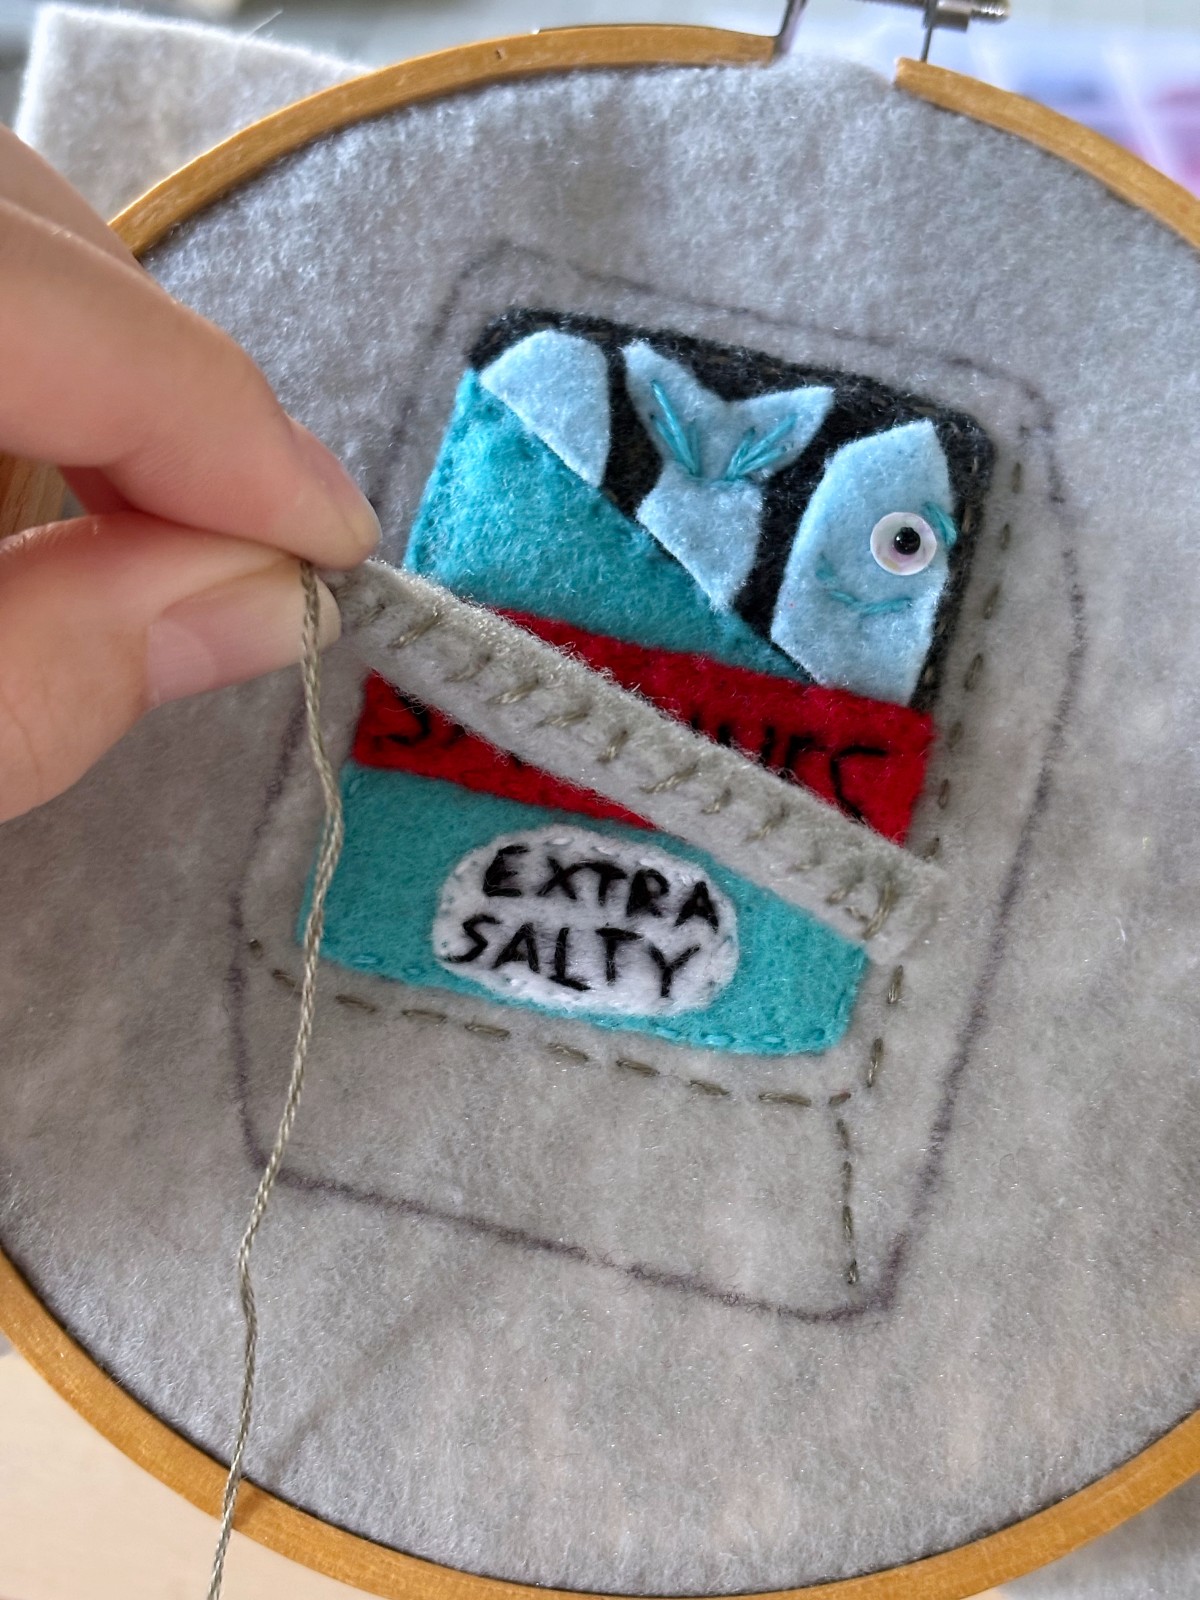
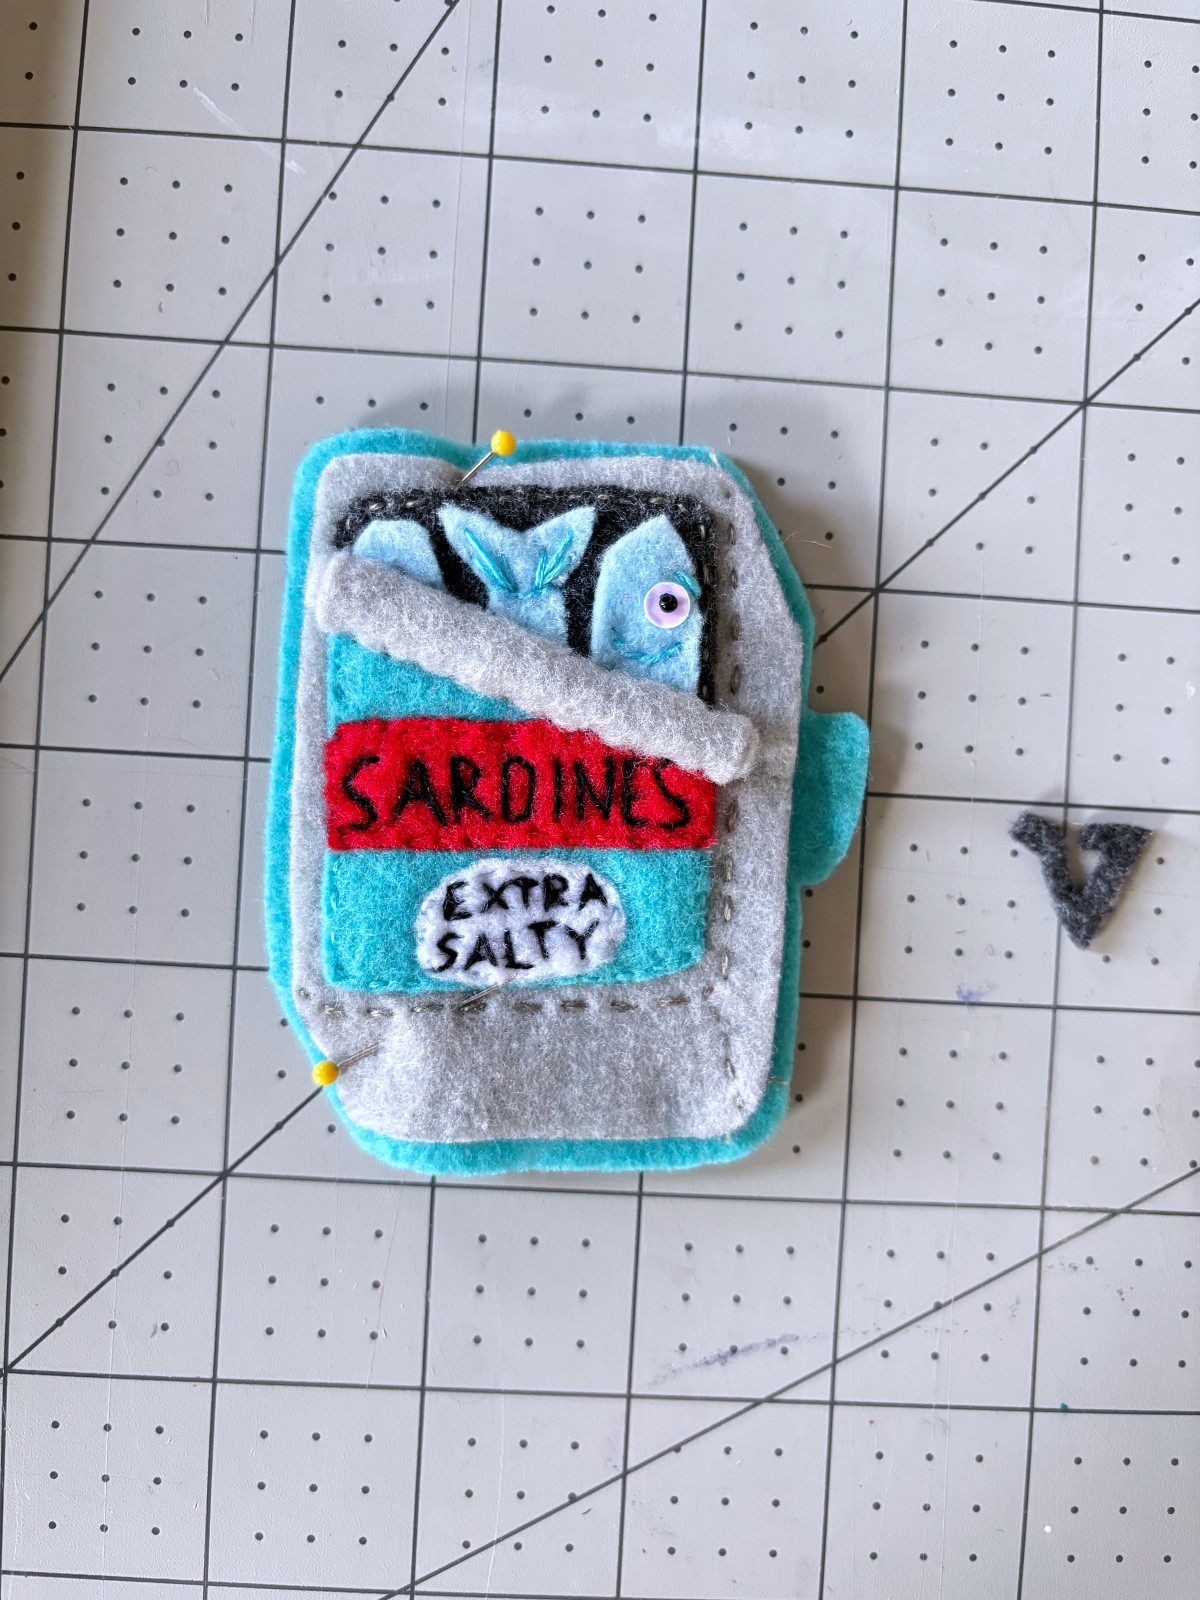
Almost done with your adorable sardine can ornament. Take the sardine can rolled lid piece and, as the name implies, roll it up tight into a tube shape. Use sewing pins to hold it shut and sew a whip stitch along the rolled edge with gray embroidery thread. Leave enough thread to attach the roll to the sardine can base. Now pin the roll in place. It should line up with the diagonal of the teal and dark gray pieces. Tack sew the piece all the way down both sides of it to secure it to the ornament.
Step 10
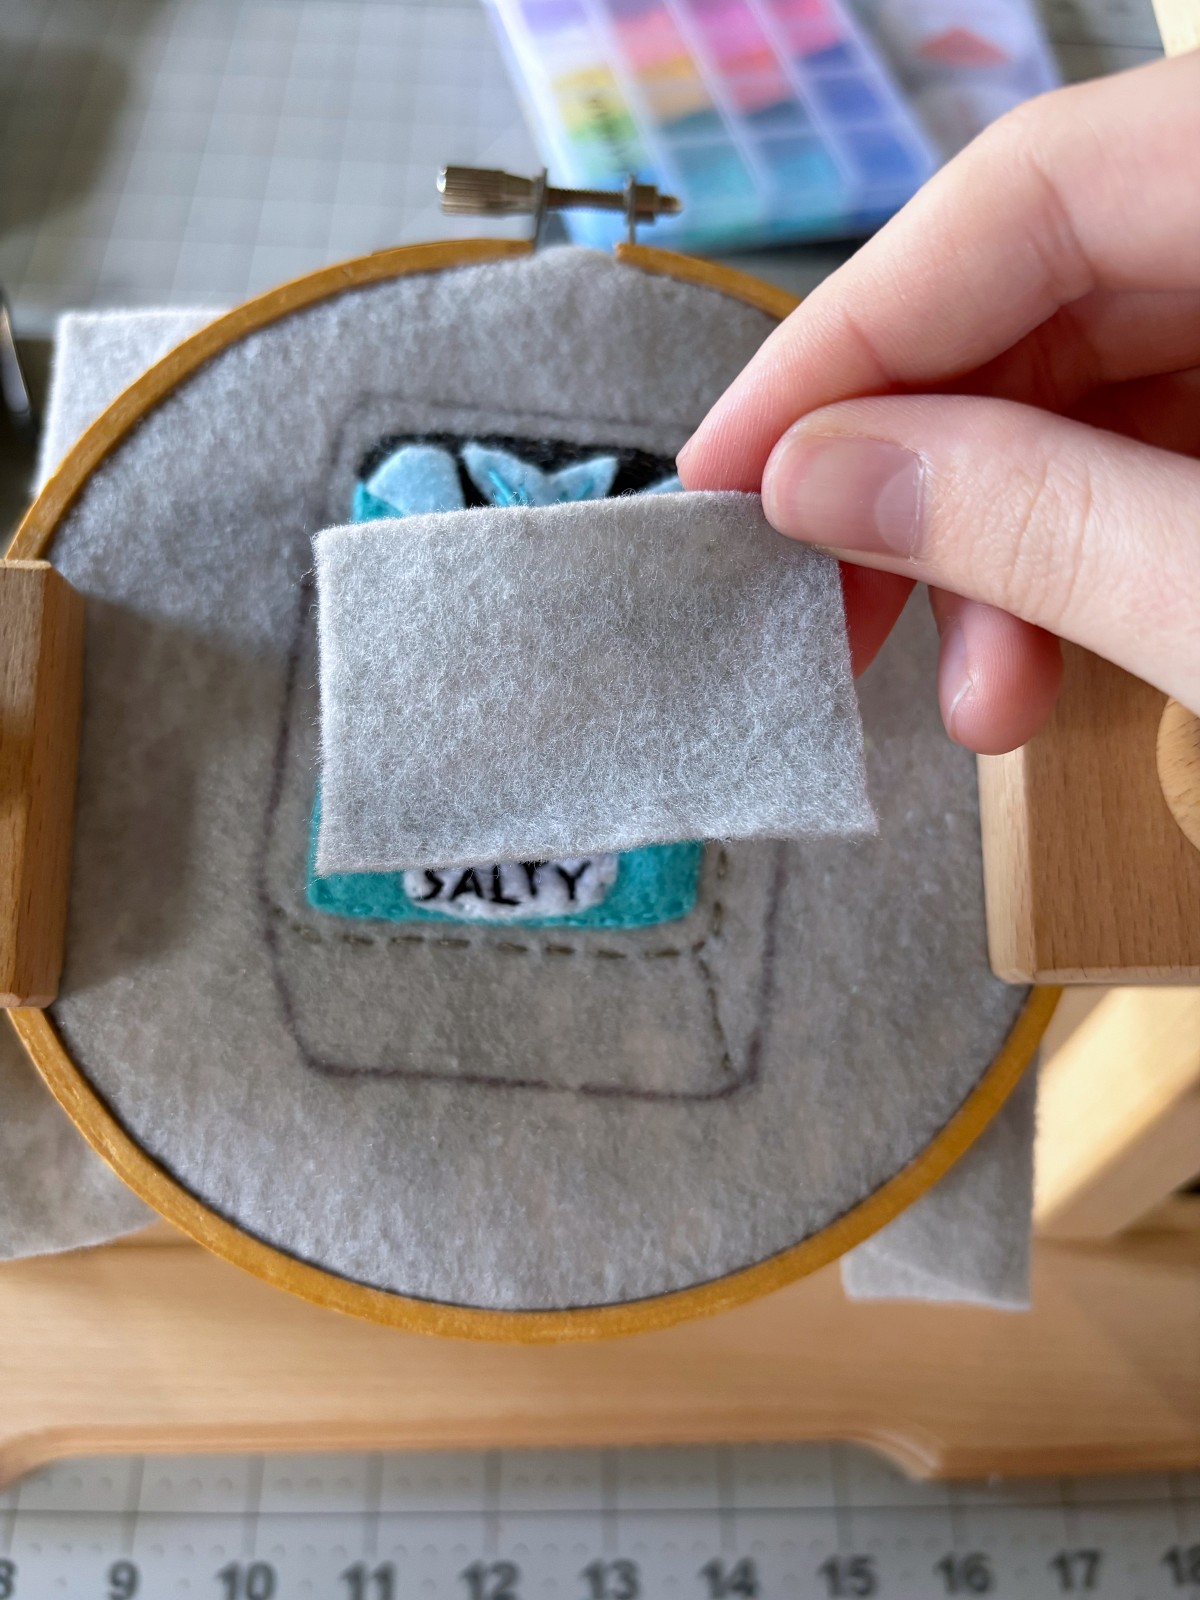
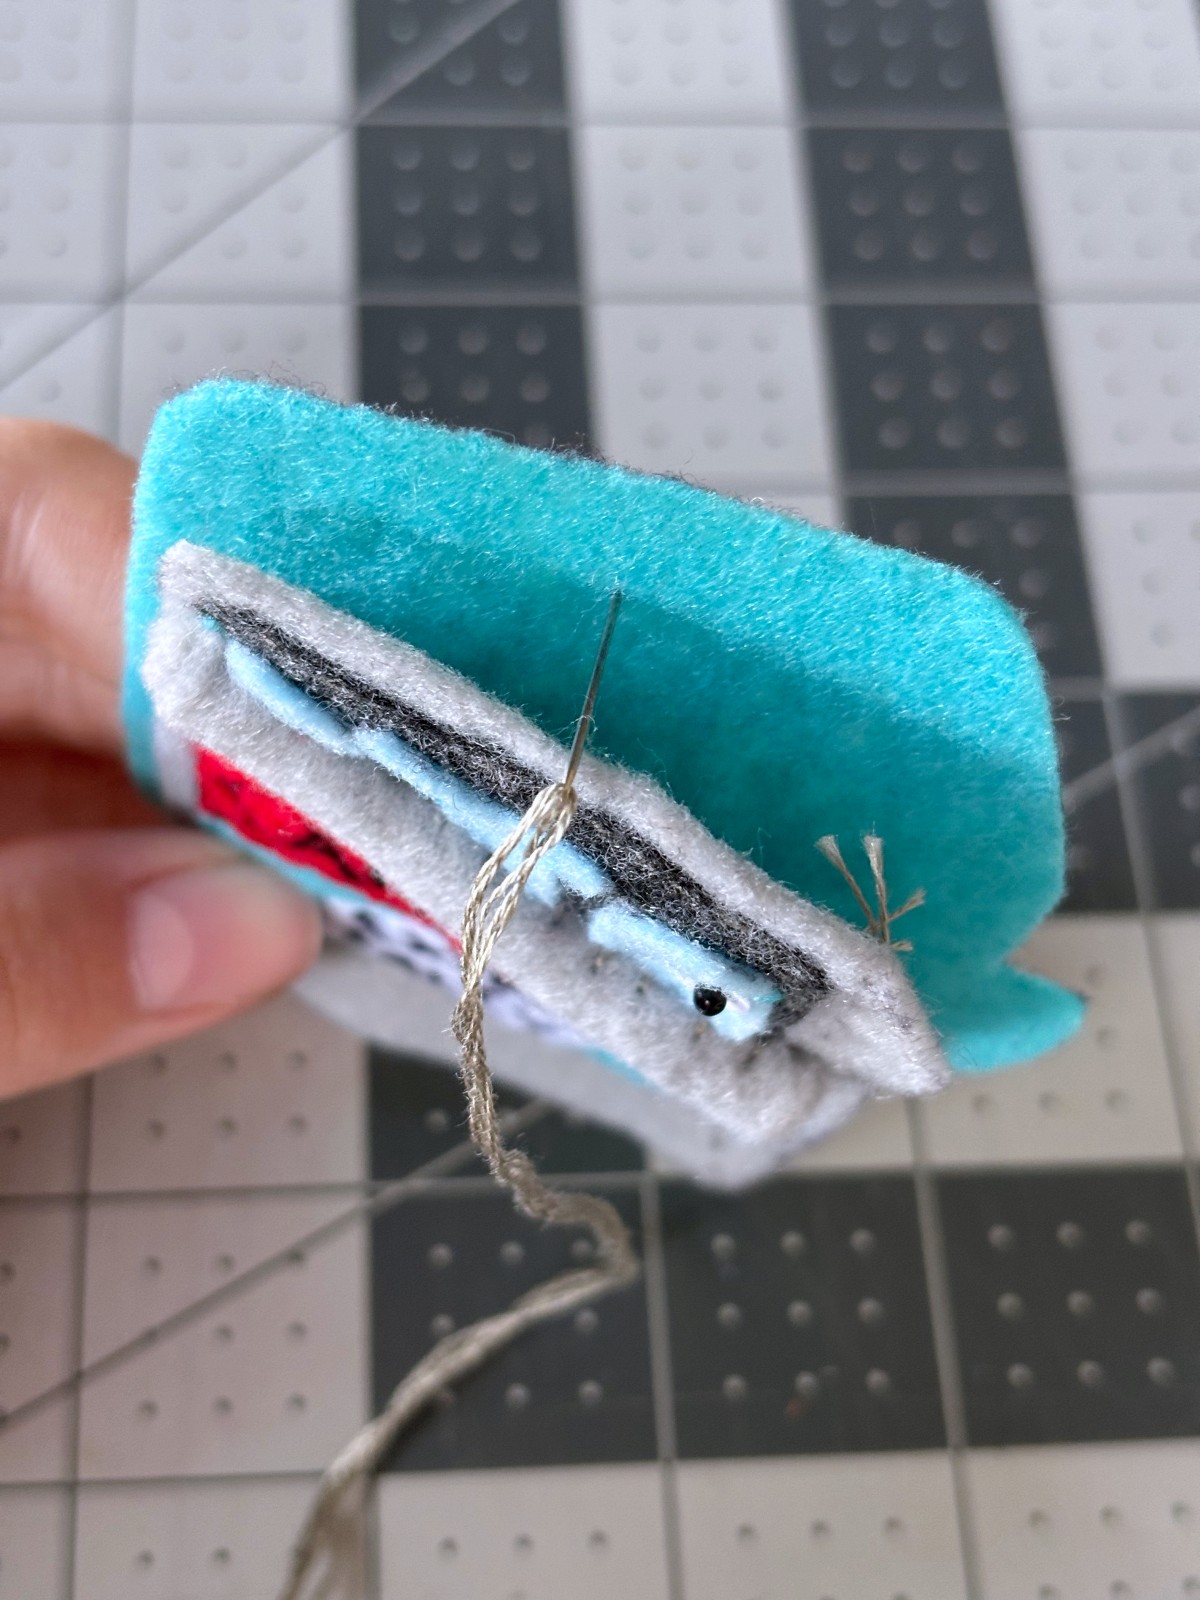
Take the gray felt out of the embroidery hoop and cut out the gray sardine can piece now. Line up the gray sardine can on top of the teal sardine can base and pin it in place. Using gray embroidery thread, sew a blanket stitch around the entire perimeter of the gray sardine can to attach it to the teal base layer. Make sure to hide your starting knot between the two layers.
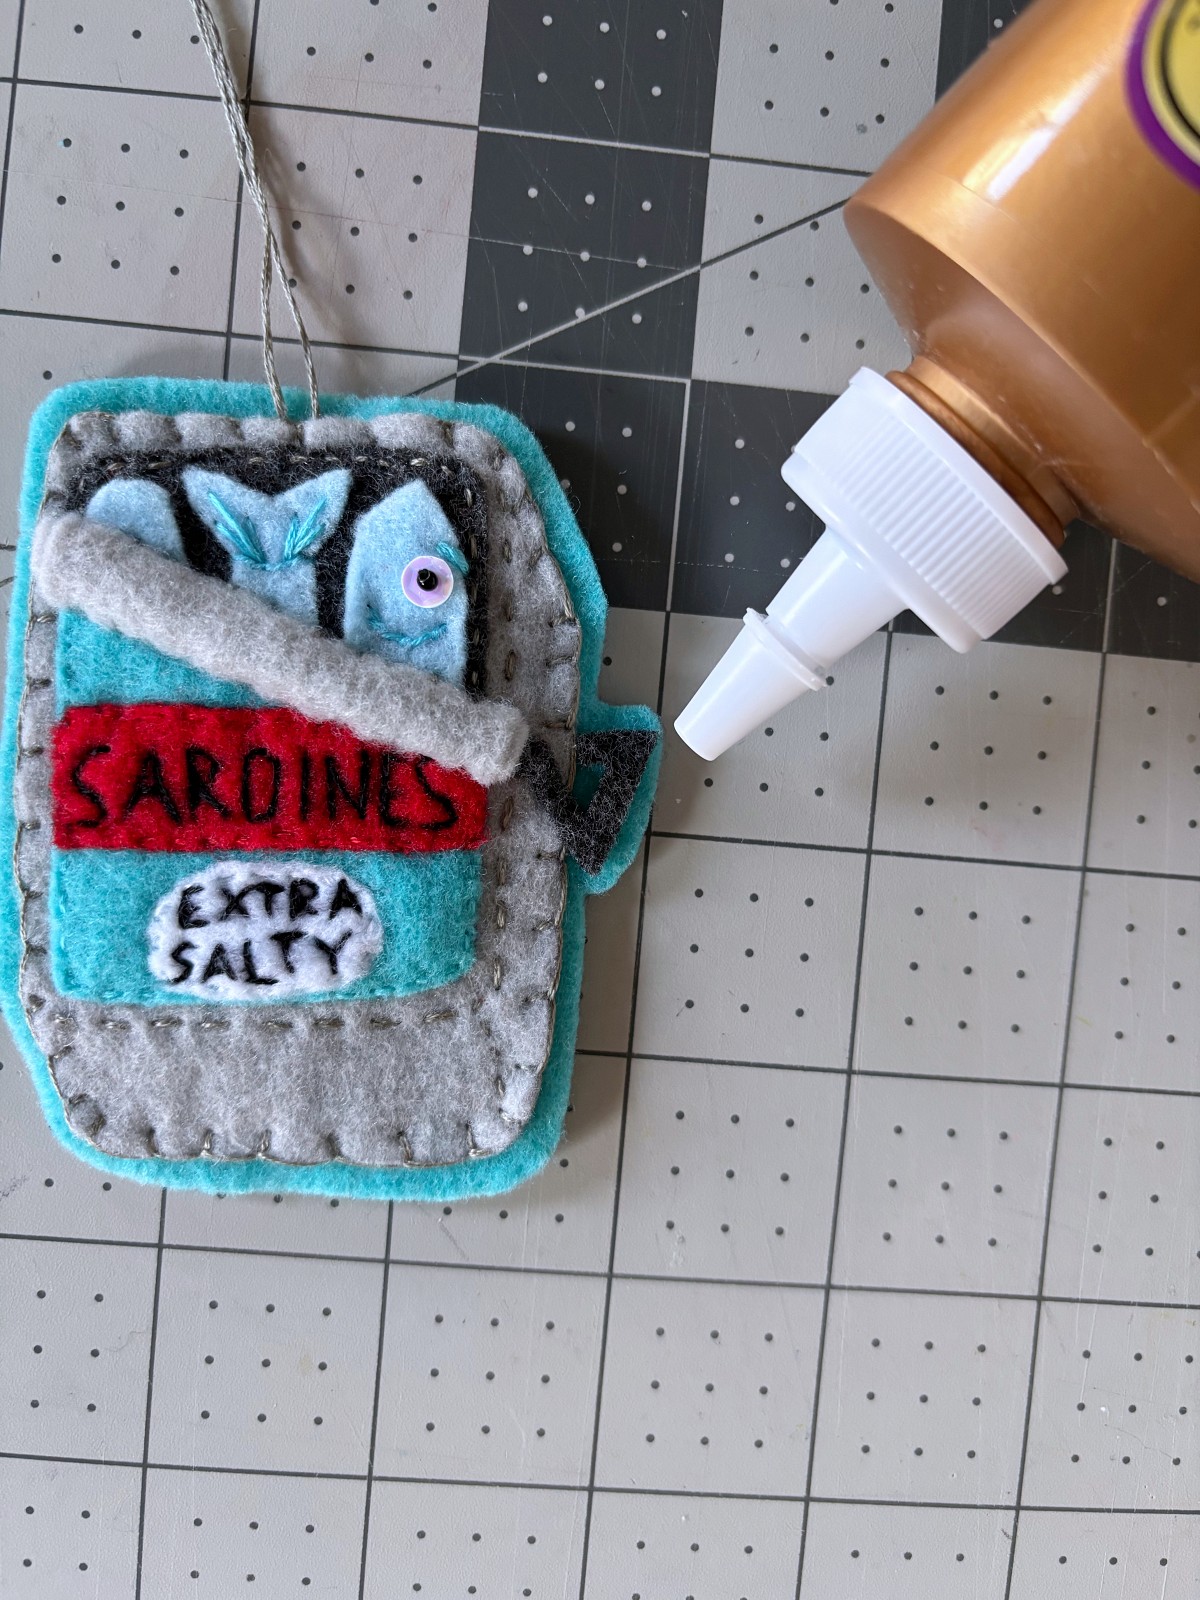
Step 11
Using tacky glue, add the final sardine can handle onto the ornament. Make sure to place the handle slightly under the sardine rolled lid. Now your ornament is done and you can hang it by sewing a string through the top blanket stitch. You could also add a jump ring around the blanket stitch and hang it from a keychain or hook.
Thank you so much for hanging out with us on our crafty corner of the internet. If you completed this project, we would love to see it. Tag us on instagram @mirrortwins.studio and we will add your sardine can ornament to our story. See you next time for more fun crafting projects.