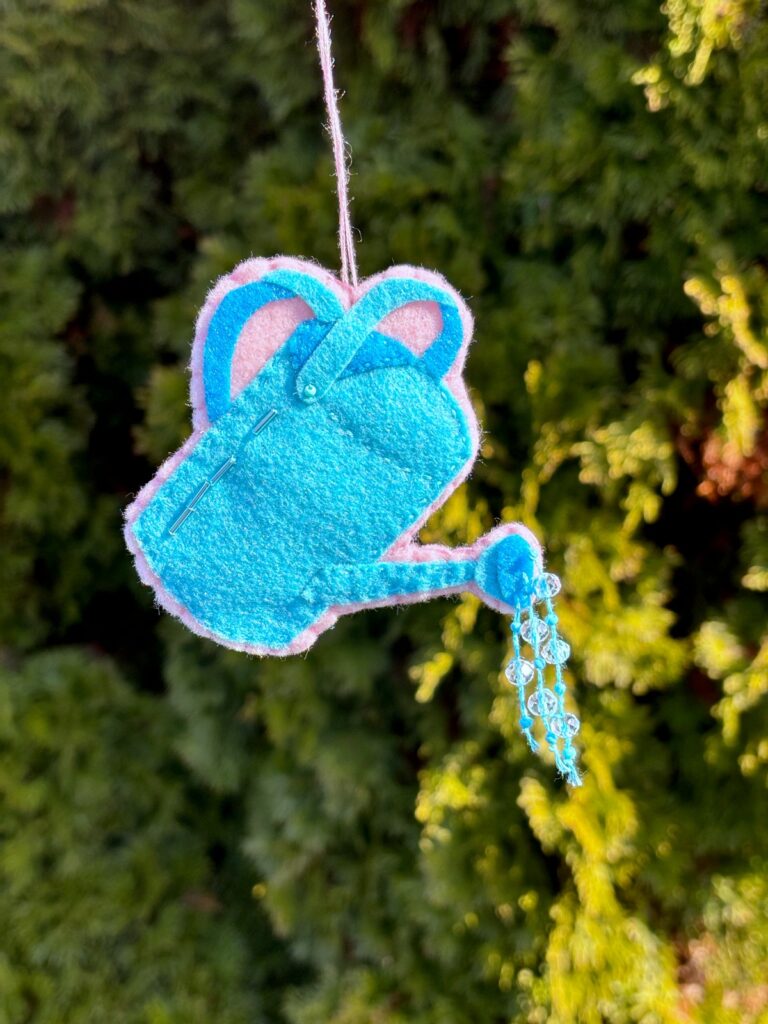
Watering Can Ornament DIY Sewing Tutorial
Follow along with our sewing tutorial and free pdf pattern template to make this adorable watering can felt ornament with beaded water drops.
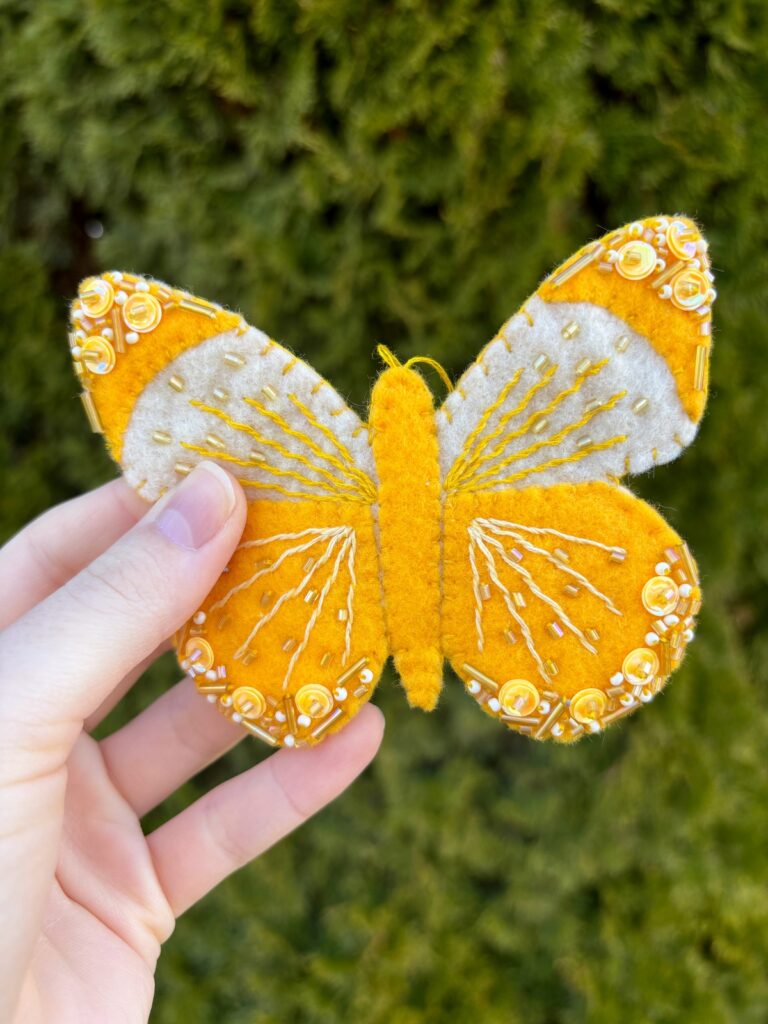
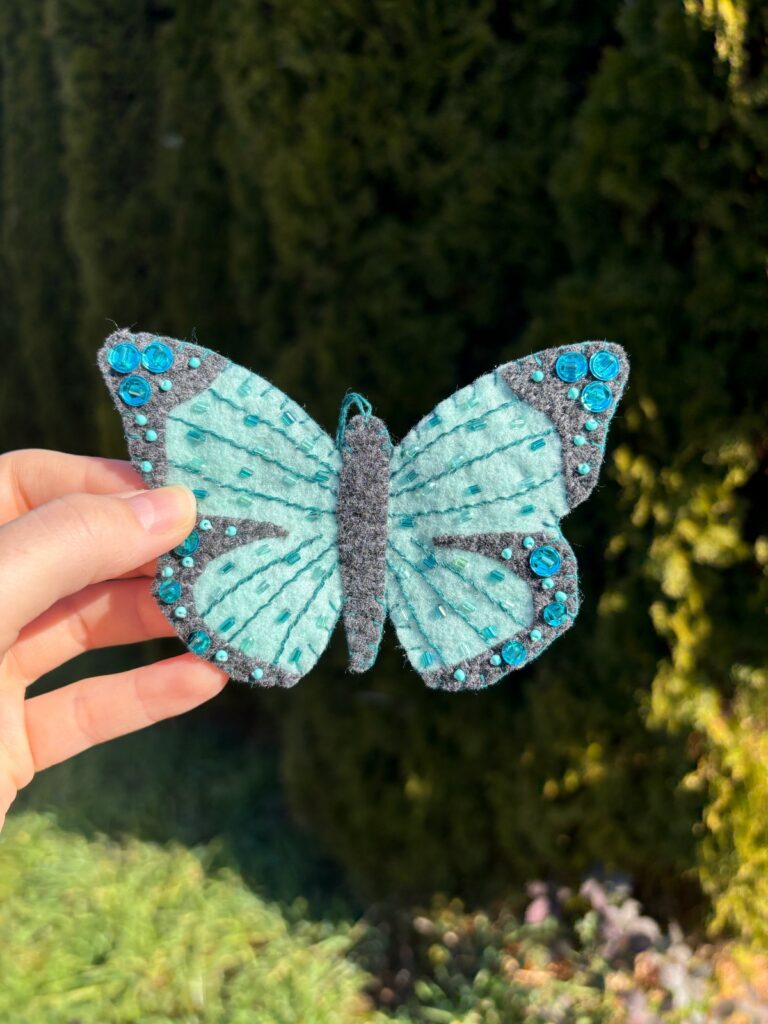
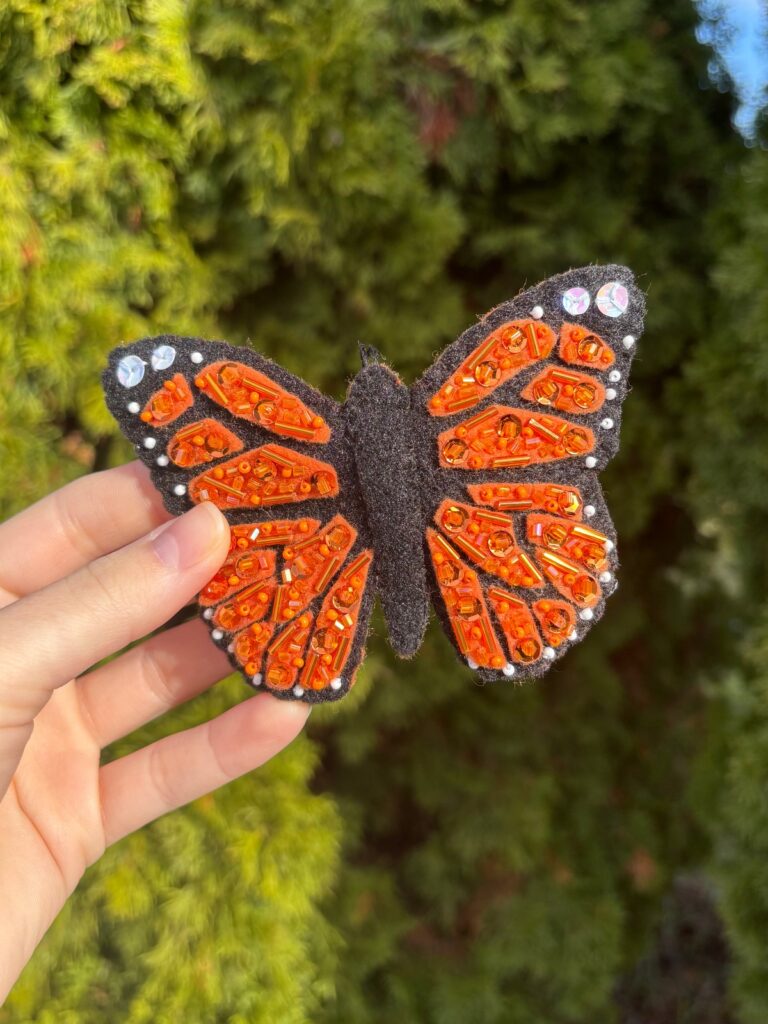
The sun is shining, and so is our watering can ornament. Bring a little sparkle to any room with this adorable little watering can. Alternatively you could turn it into an awesome bag accessory if you attach a keychain. Grab the free PDF pattern found at the bottom of this page, and follow along with our step by step tutorial below. Make this project your own by choosing your favorite colors and beads. Good luck, and happy crafting.
*This post contains affiliate links meaning I get a commission if you purchase through my links, at no extra cost to you.
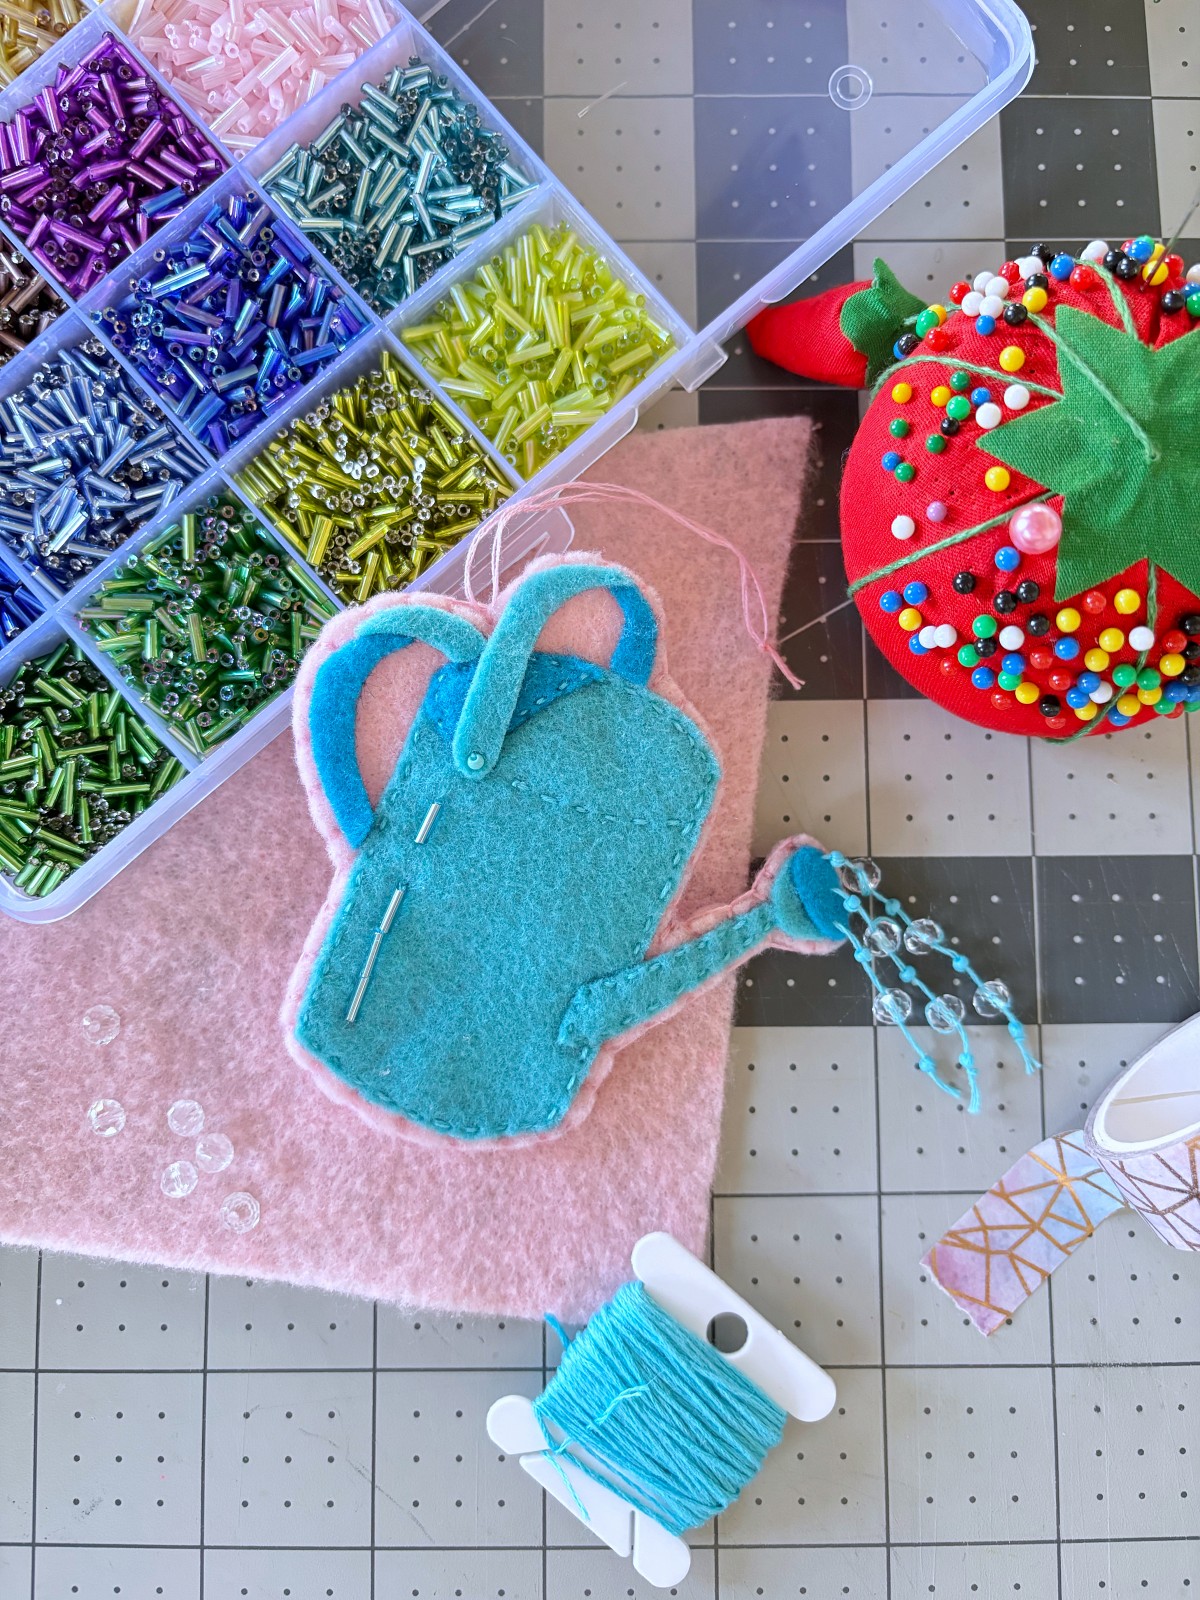
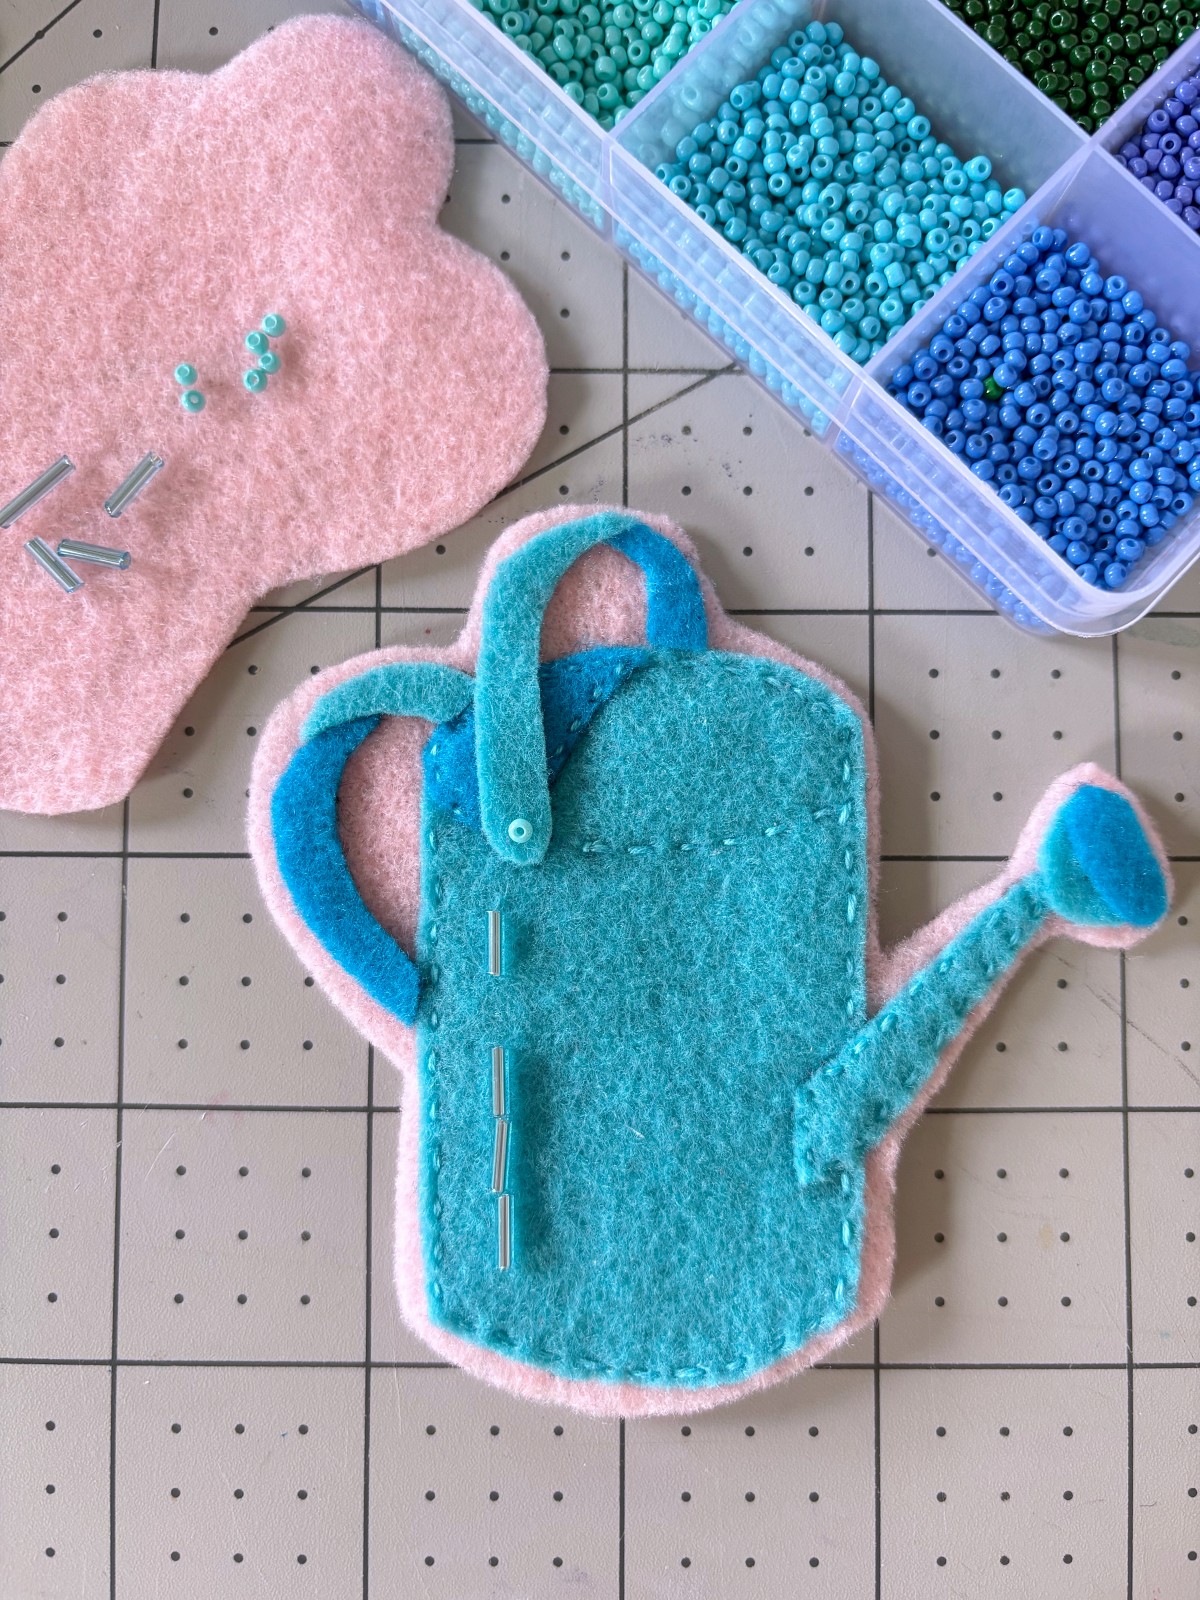
Materials
- Light pink felt (1 sheet)
- Light teal felt (1 sheet)
- Dark teal felt (1 sheet)
- Embroidery thread (light teal, light pink)
- Glass tube beads 7mm (light blue)
- Seed beads (light teal)
- Sun-catchers Glass Beads 6mm
- Scissors
- Tacky glue
- Sewing needle
- Sewing pins
- Ballpoint pen
- Washi tape (optional)
- Embroidery thread wax (optional)
Instructions
Step 1
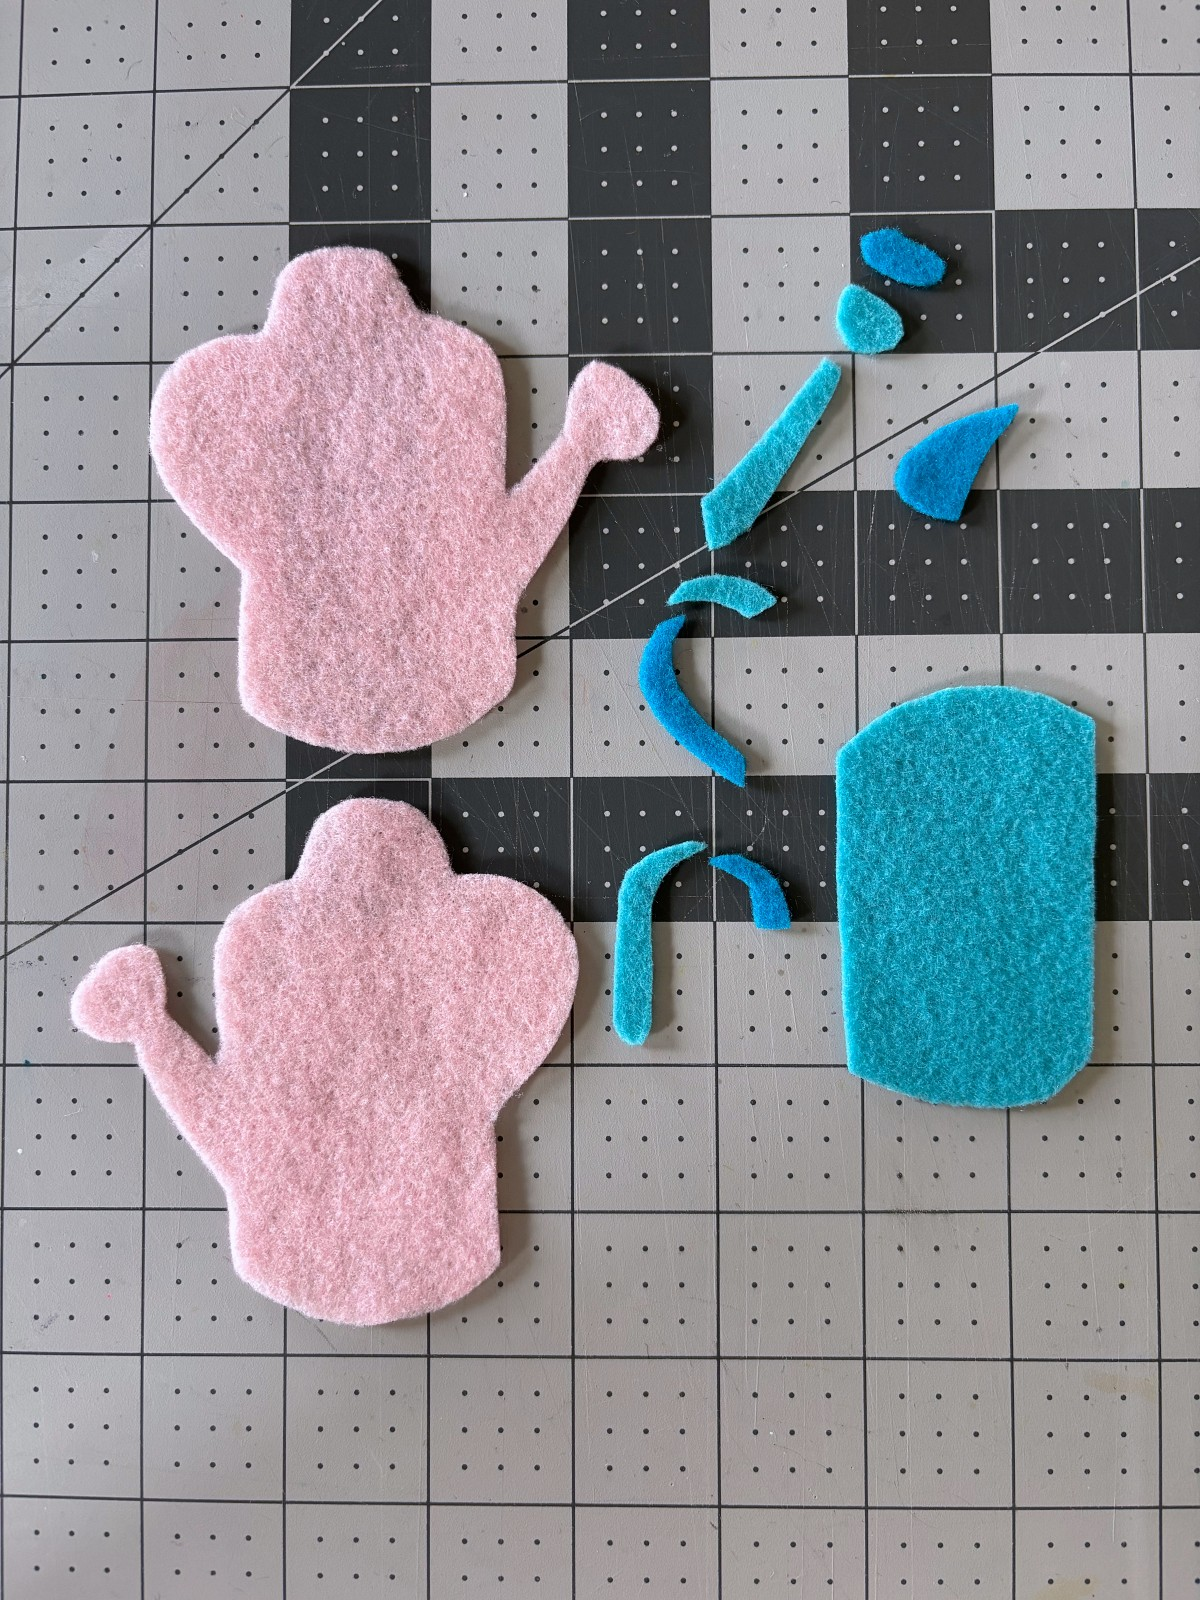
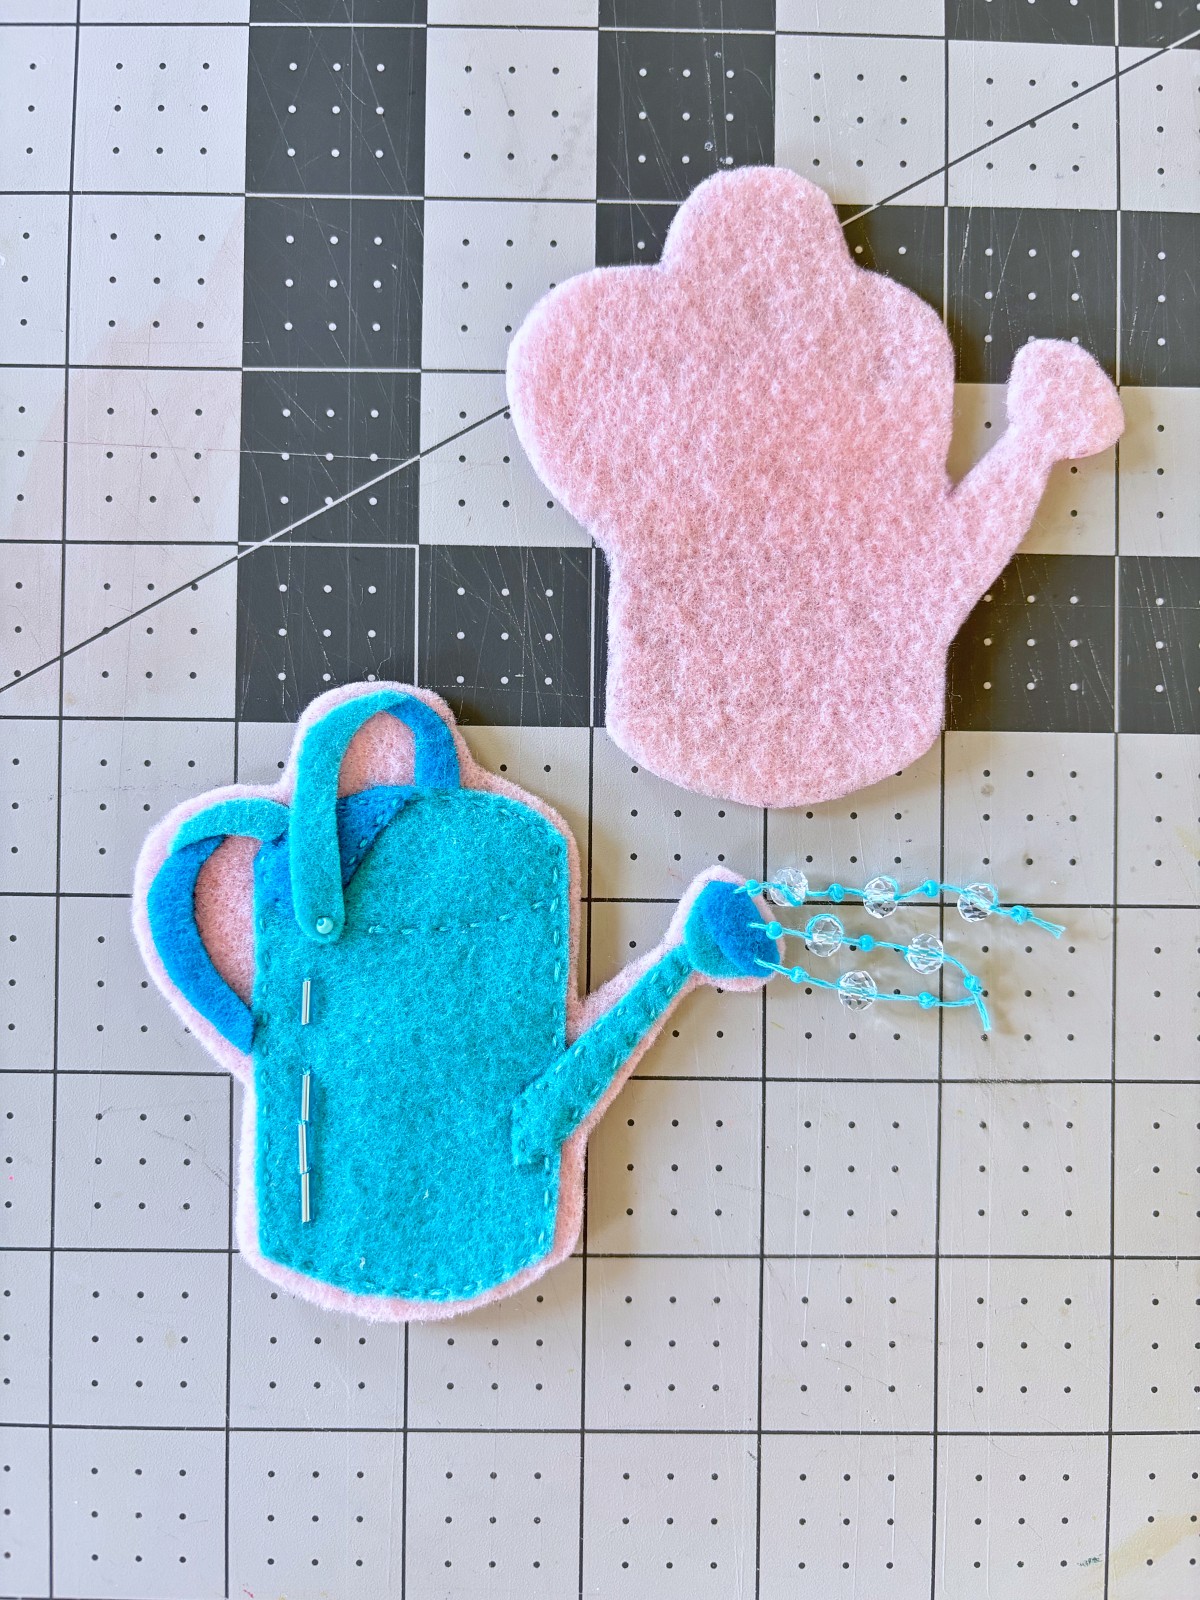
Trace each pattern piece onto the designated colors of felt with a ballpoint pen and carefully cut out each piece.
Step 2
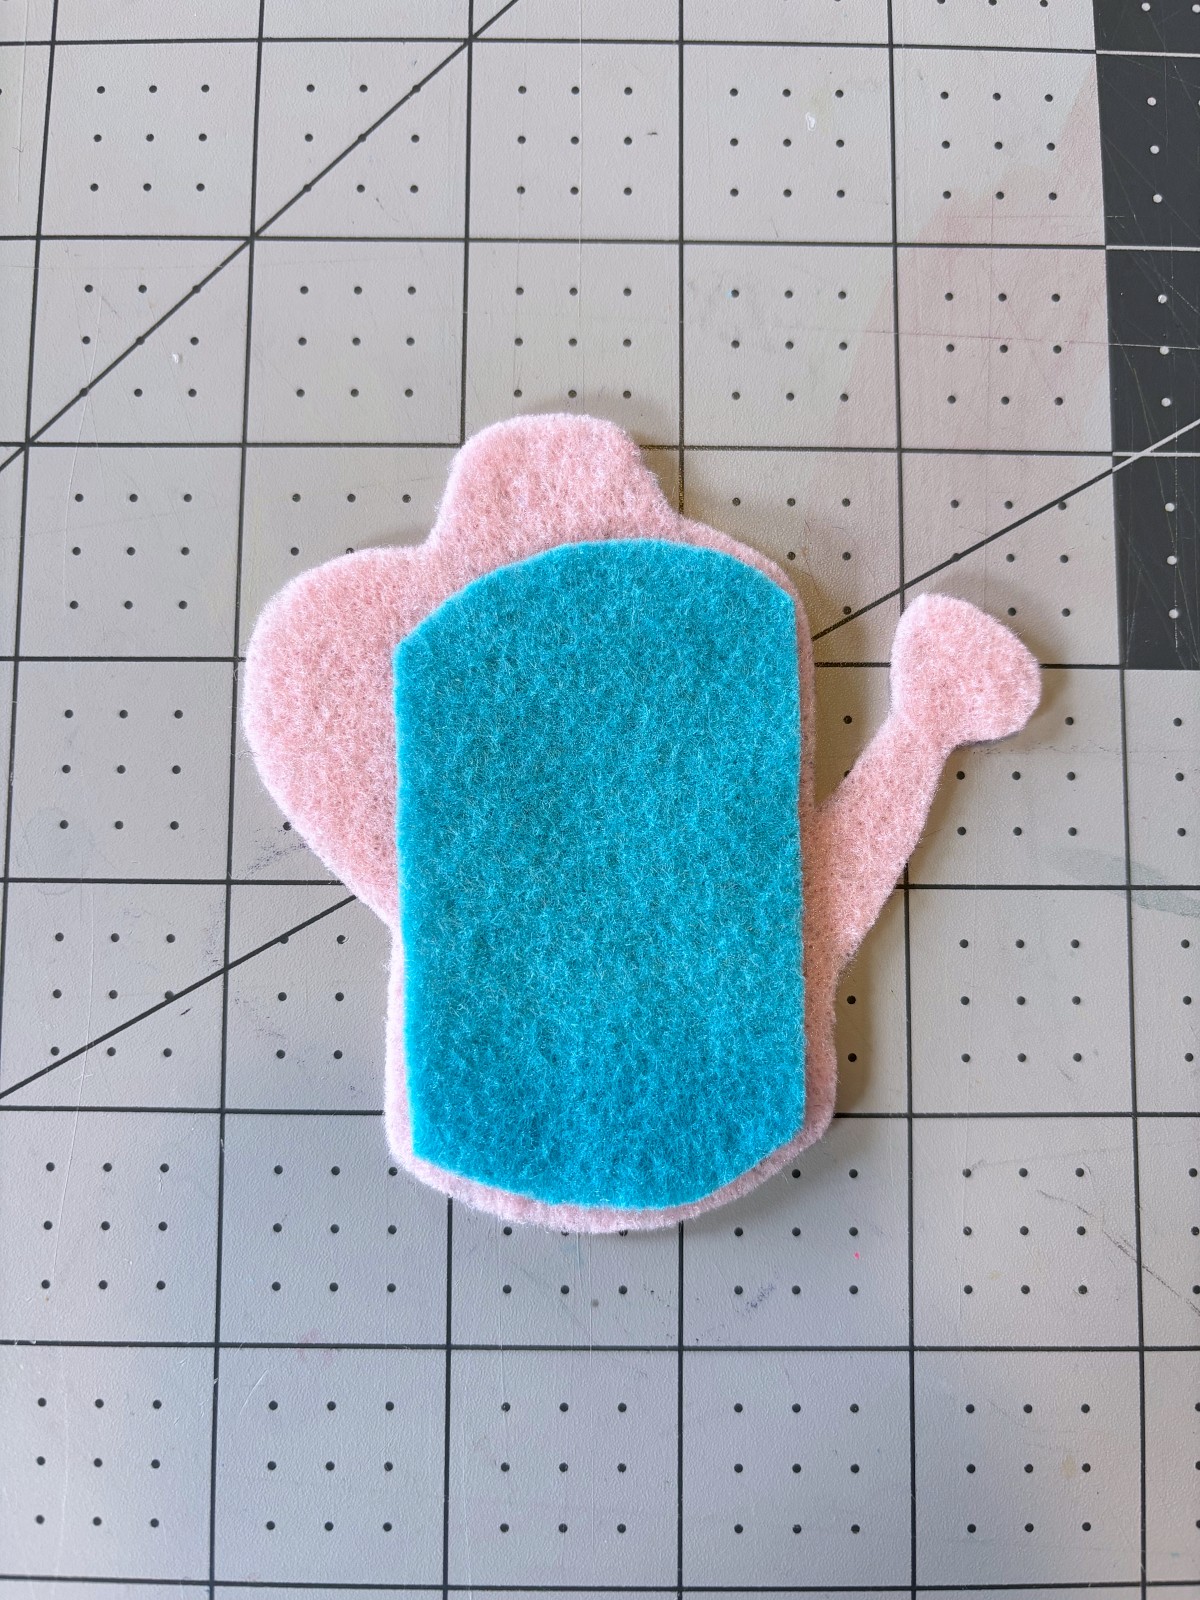
Place the watering can piece on the light pink base and pin in place. Using the light teal embroidery thread, sew a running stitch around the outer edge of the teal watering can. It is completely optional, but I like to use embroidery thread wax to help make my thread more smooth and easier to sew with, preventing knots.
Note: All sewing will be done with three strands of embroidery thread.
Step 3
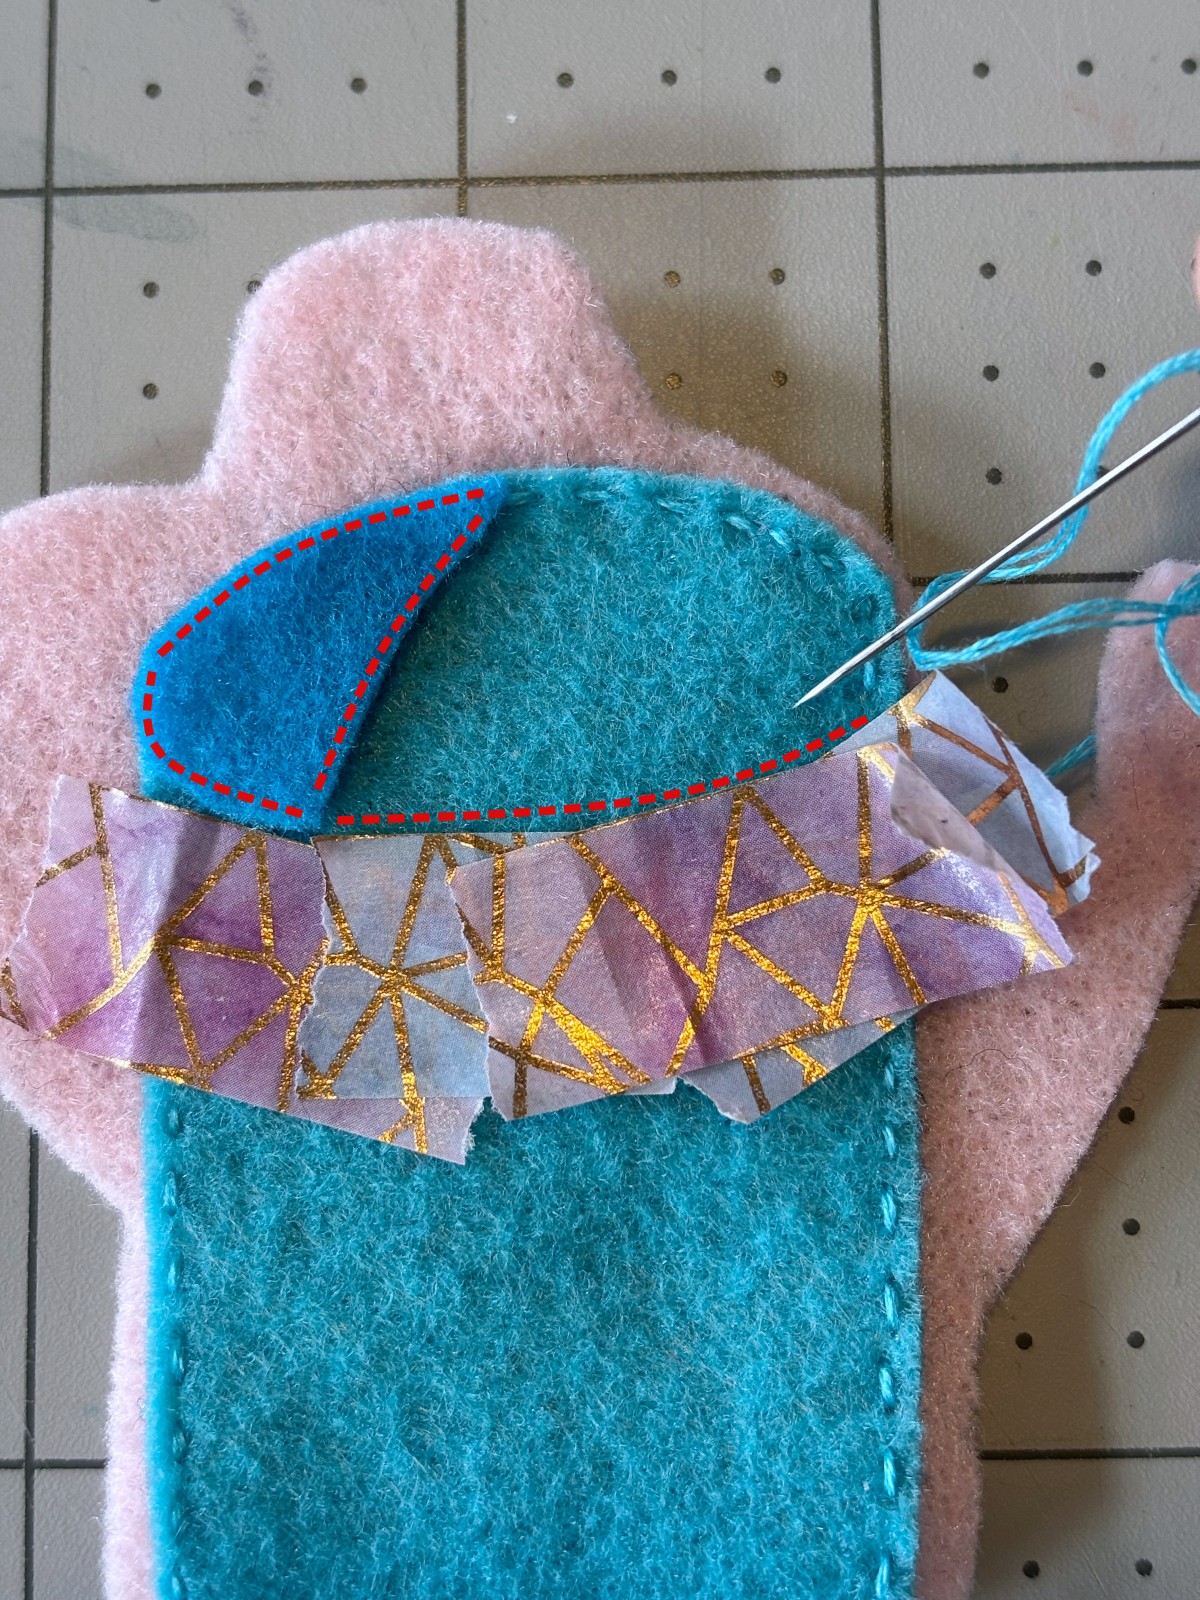
Place the dark teal top opening piece in the upper left corner of the watering can and pin in place. You will now be adding the detail stitches with the light teal embroidery thread along the top of the can using a running stitch. Continue the stitch along the top opening piece to attach it to the can.
Note: We like to use washi tape to create a guideline to follow while sewing the detail stitches, this
Step 4
Now you will sew on the watering can spout. Place the spout piece as shown below, and sew a running stitch around the perimeter of the piece.
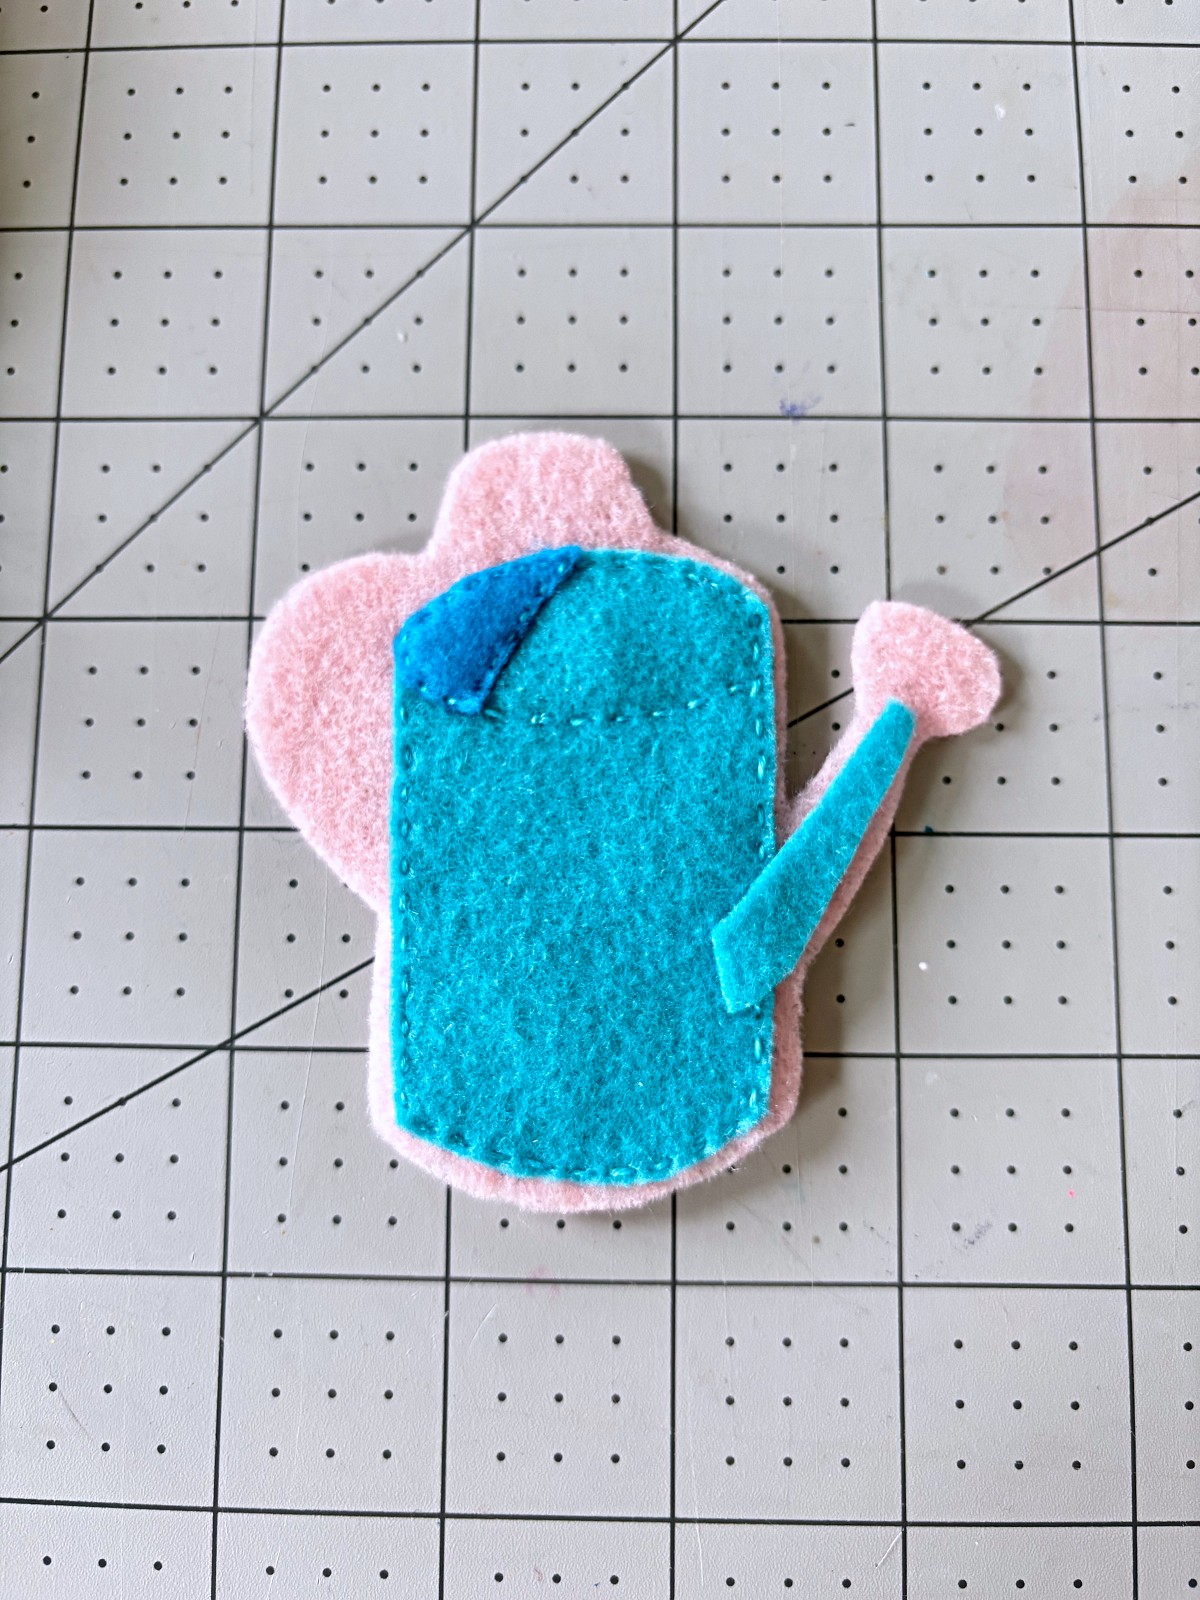
Step 5
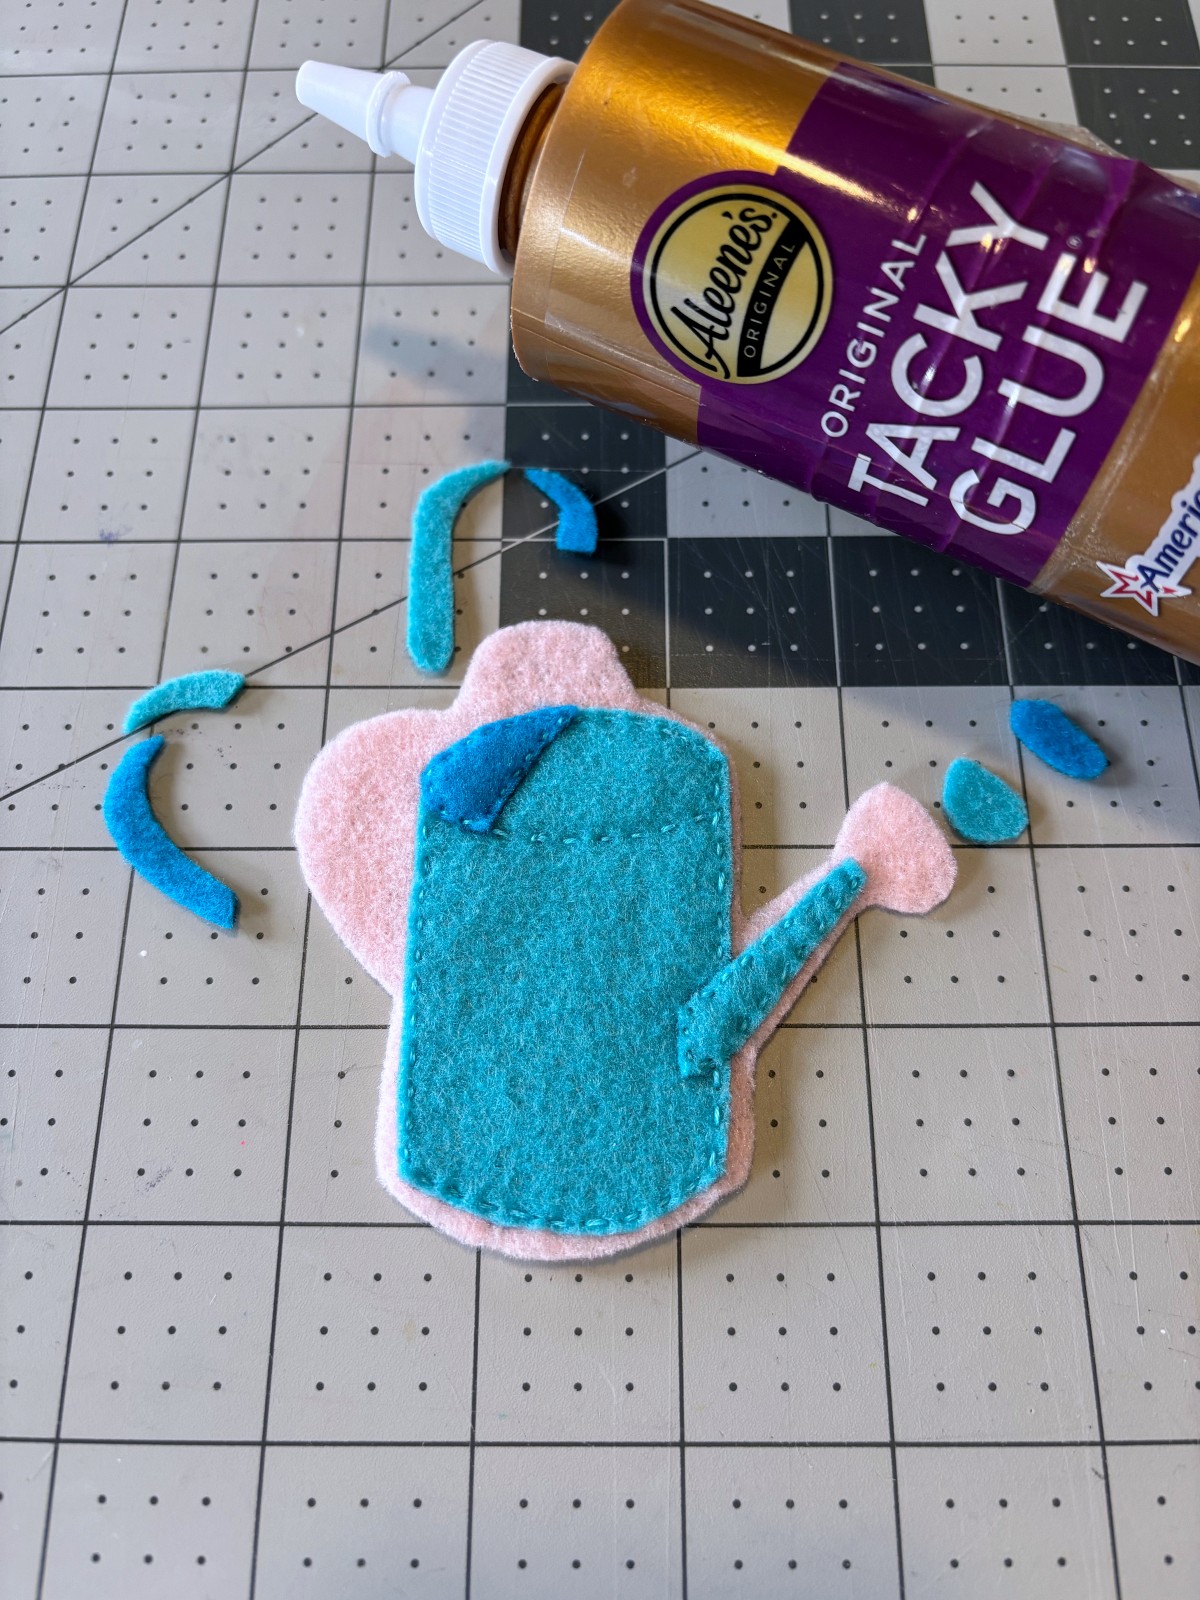
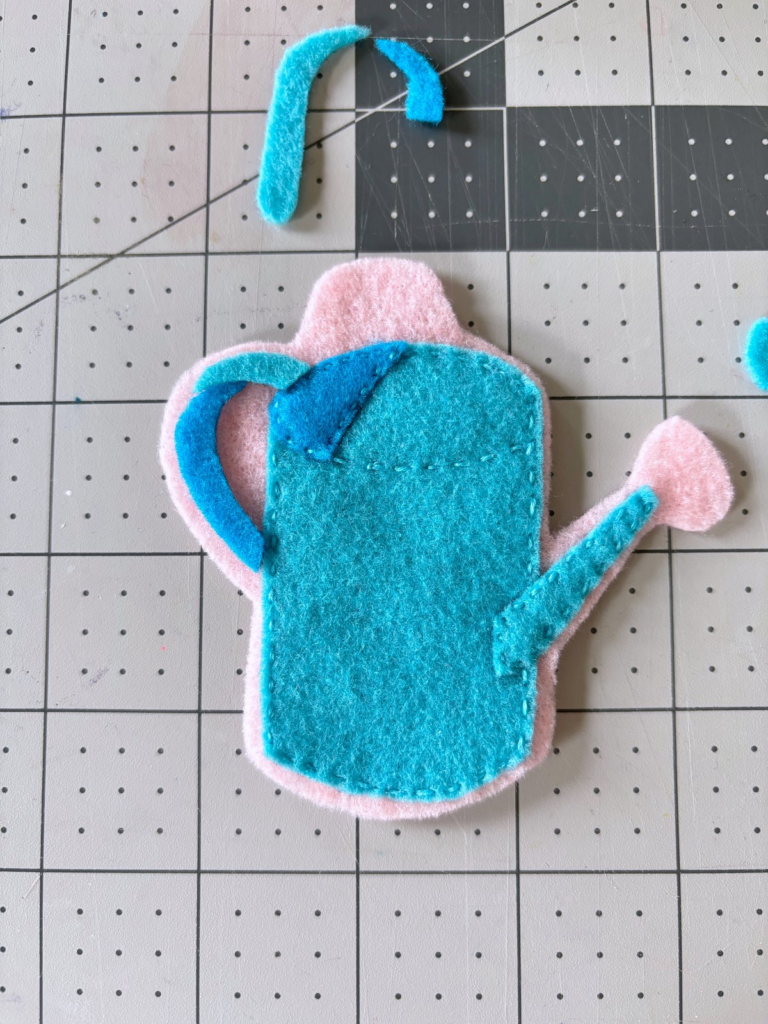
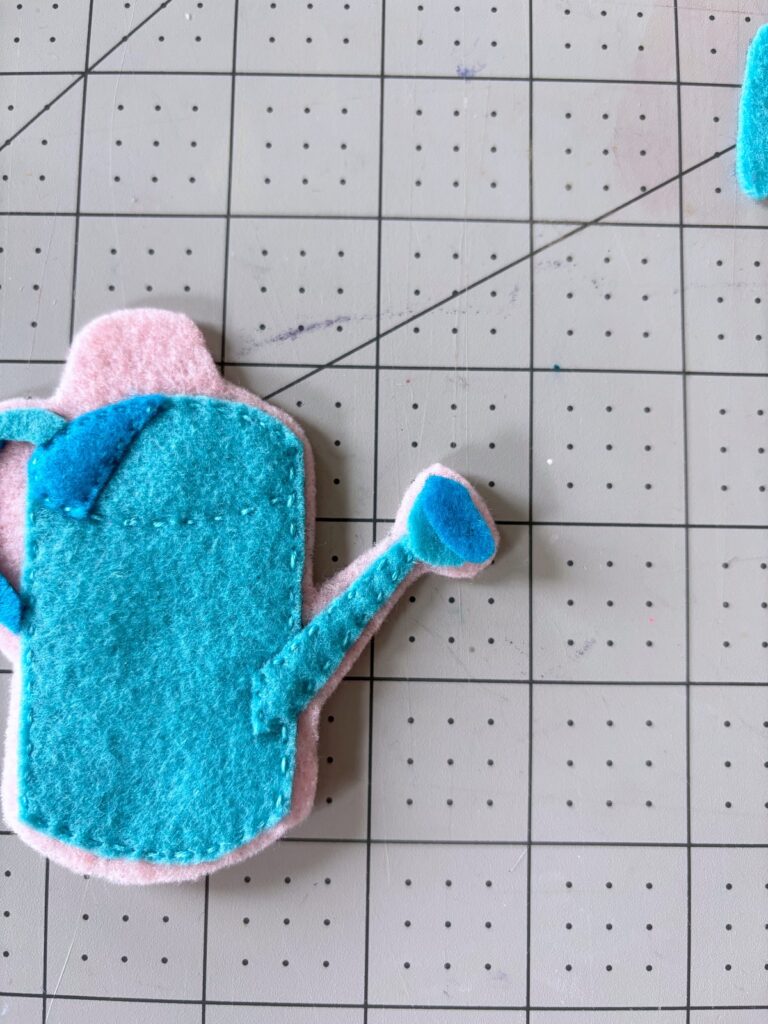
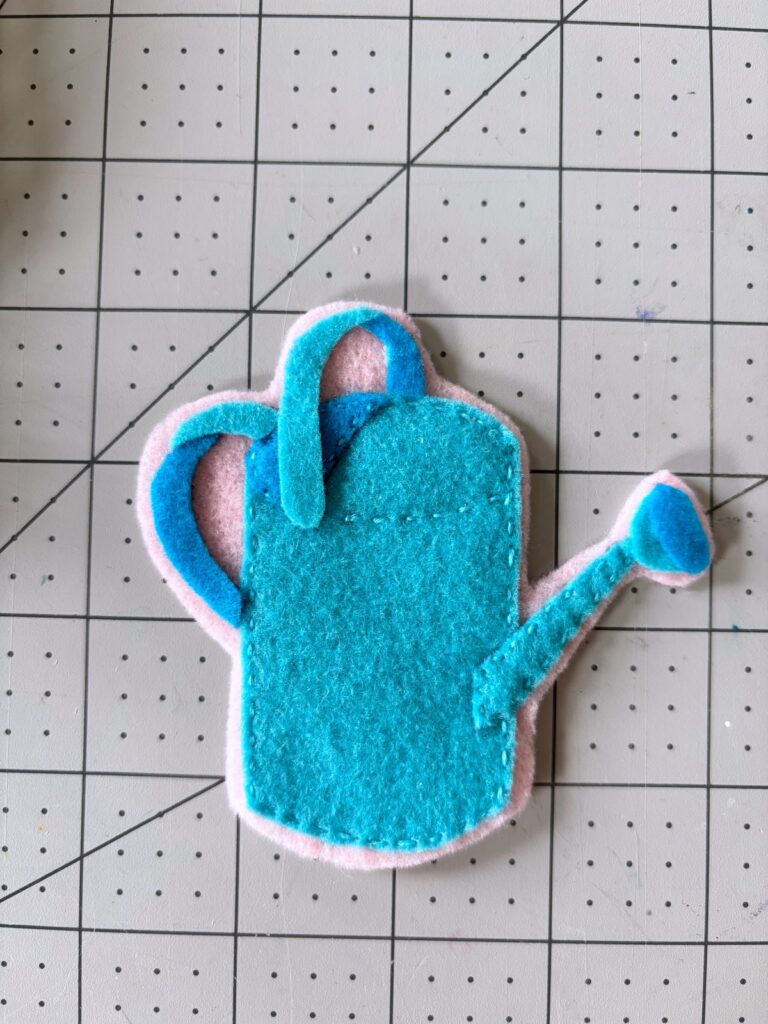
Time for some Tacky Glue. Tacky glue works very well with felt and helps to attach the smaller details without having to sew them on. You can now glue on the side handle pieces, top handle pieces, as well as the watering can nozzle and head. Wait until the glue has fully dried to move on to the next step.
Note: Start by gluing the dark teal pieces of the handles first, then place the top light teal pieces next.
Step 6
You are almost done, keep up the good work. Now it’s time to add the bead details. Sew on four glass tube beads to the lower left side of the watering can. Arrange three together in a line, and one spaced out a little at the top. This will make a cute shine effect. Next sew a single seed bead at the base of the top handle piece.
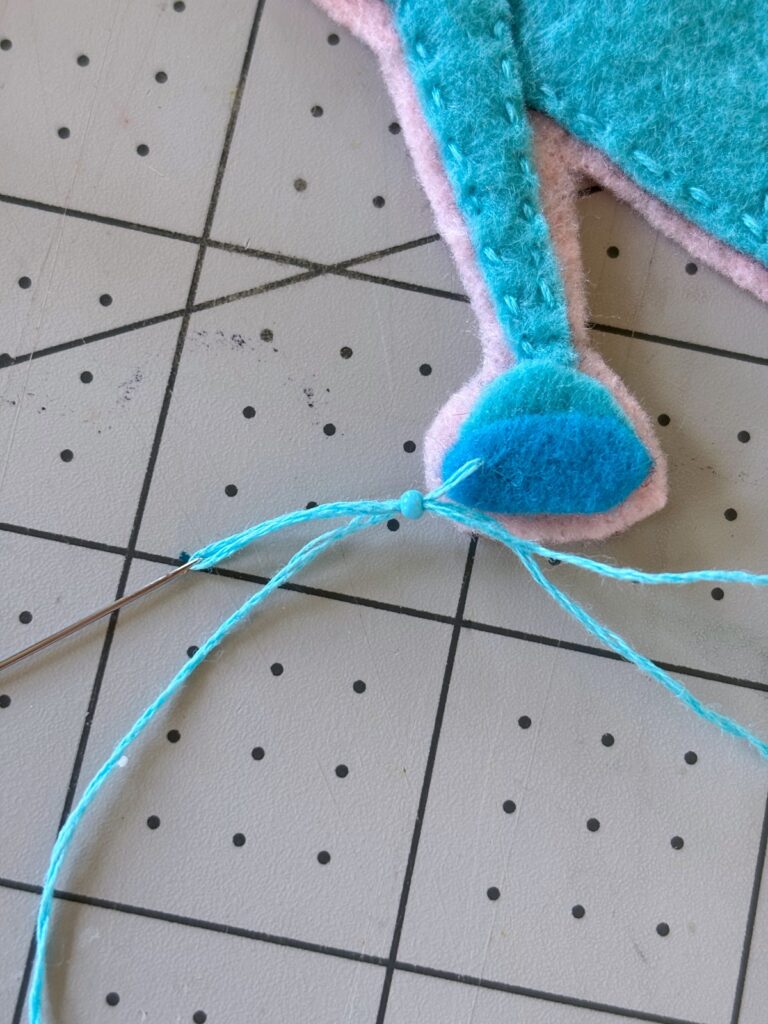
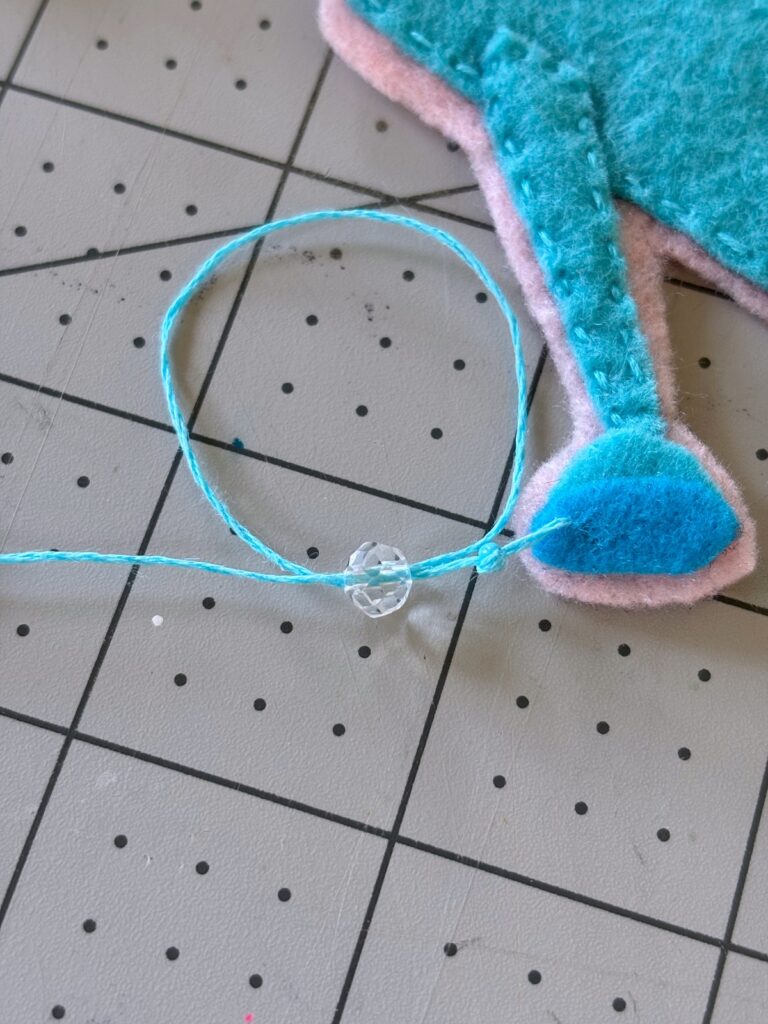
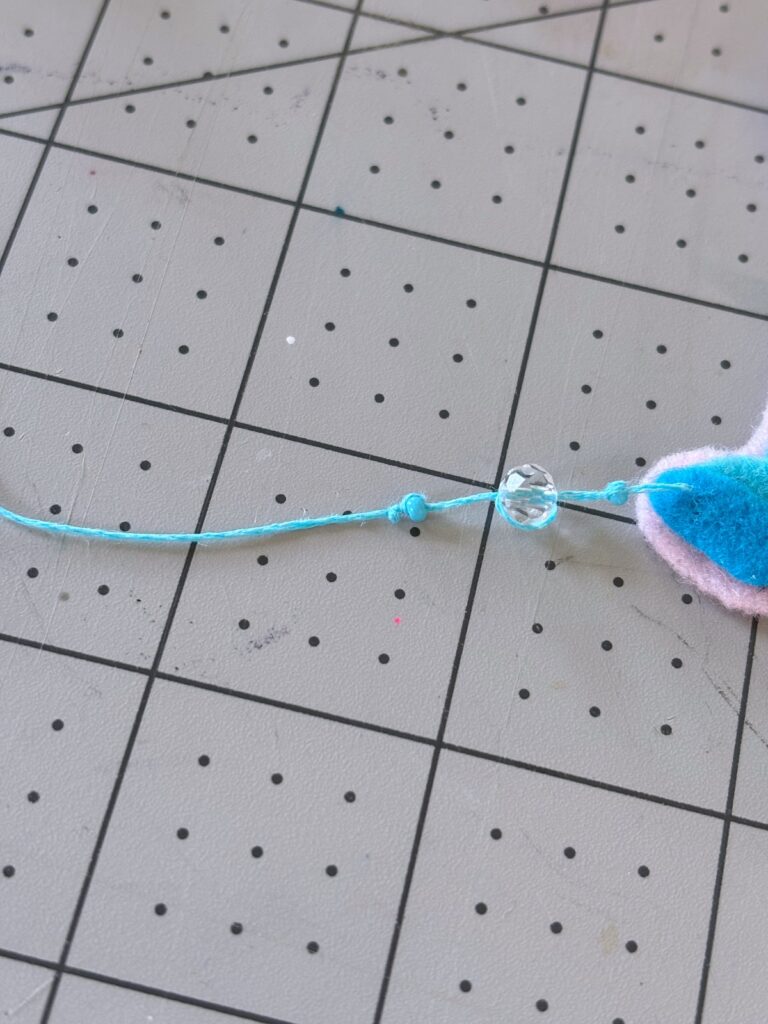
Step 7
We will now be adding the water drop beaded lines to the watering can head. Start by sewing a single line of embroidery thread through the back of the nozzle near the bottom. Add a single seed bead onto the thread. Thread the needle for a second time back through the same bead to secure it in place.
Repeat these steps for the second glass suncatcher bead, and then again for another seed bead, creating a pattern. This technique should allow the beads to be able to slide a little so you can adjust them to where you like. End the line by tying a double knot and cutting the thread.
Repeat these instructions for two more lines of water drops, extending the length by adding a few additional beads to the pattern.
Note: You can use any of your favorite beads here if you would like to adjust the look of the water drops.
Step 8
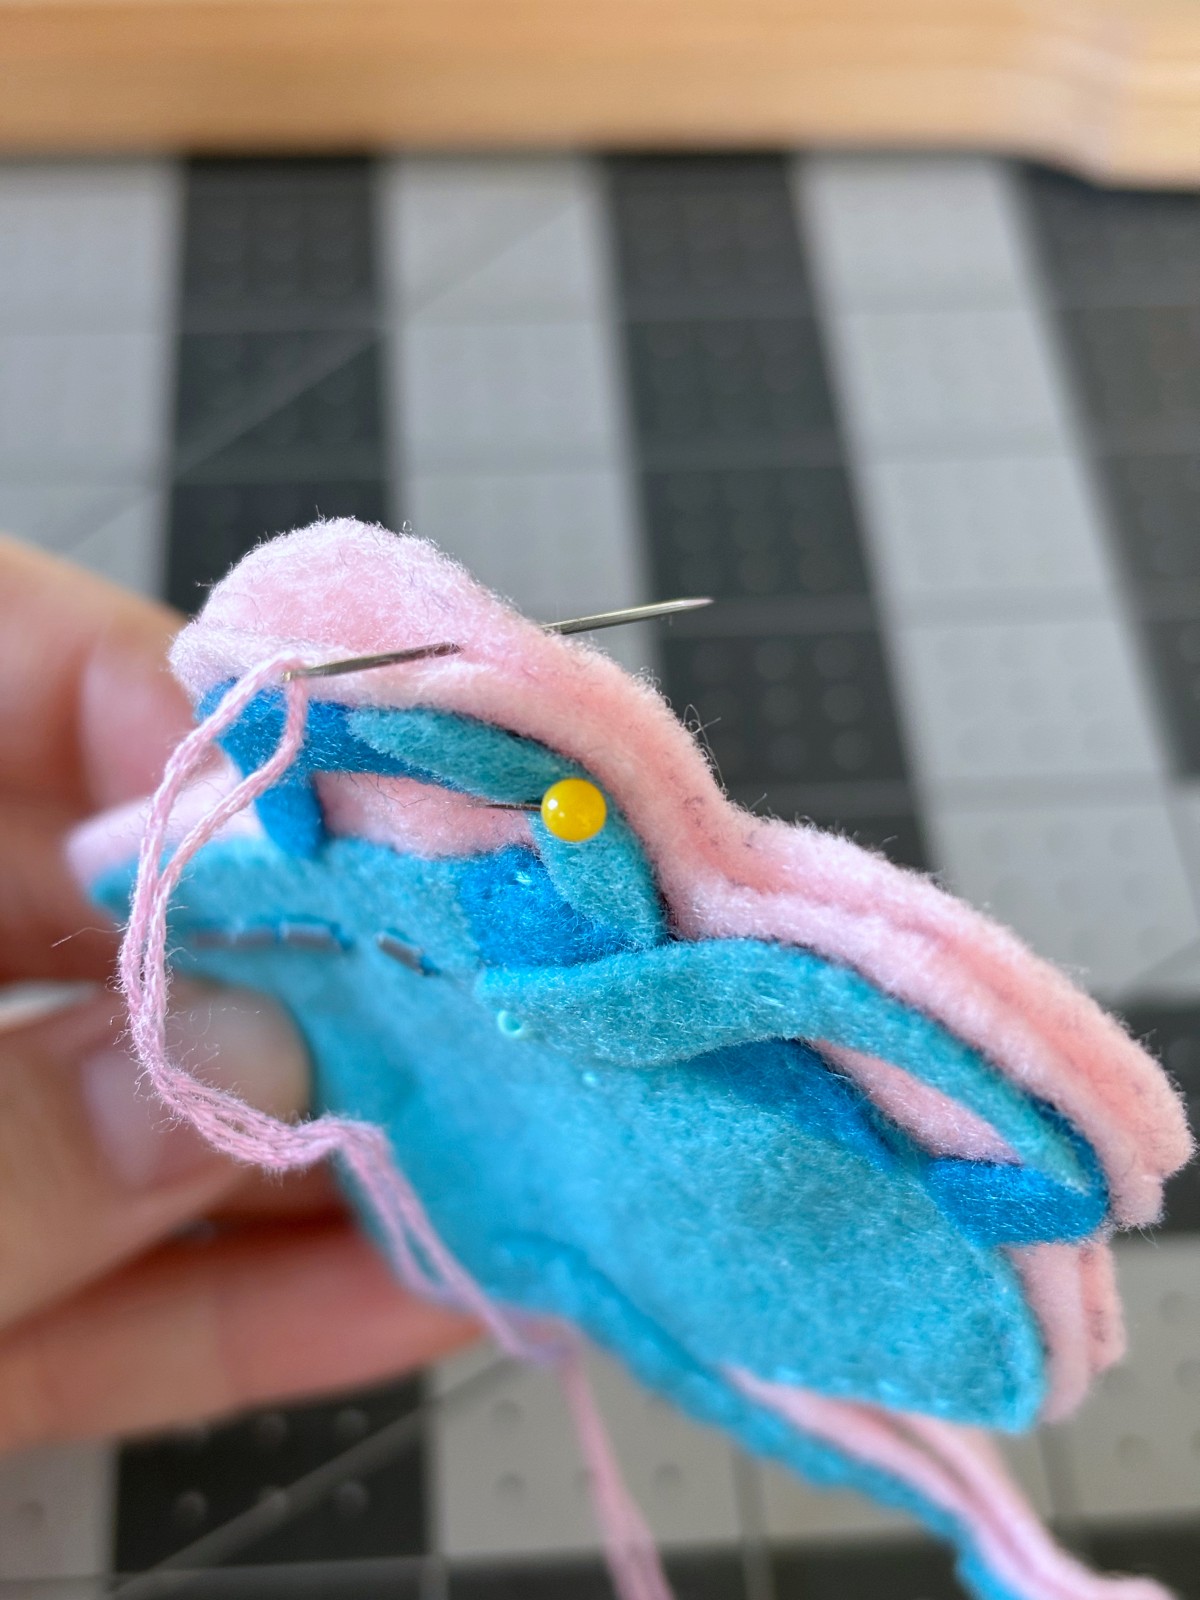
Now pin the two watering can base pieces together and sew a blanket stitch around them. This will hide all of the stitch details and knots to create a nice finished look. Make sure to start the blanket stitch by hiding the knot in between the two base pieces.
Step 9
You can now hang your ornament by sewing a string through the blanket stitch, in the corner of the watering can base, between the side and top handle. If you would like to turn this ornament into a keychain, simply hang it by a jump ring and keychain instead of a string.

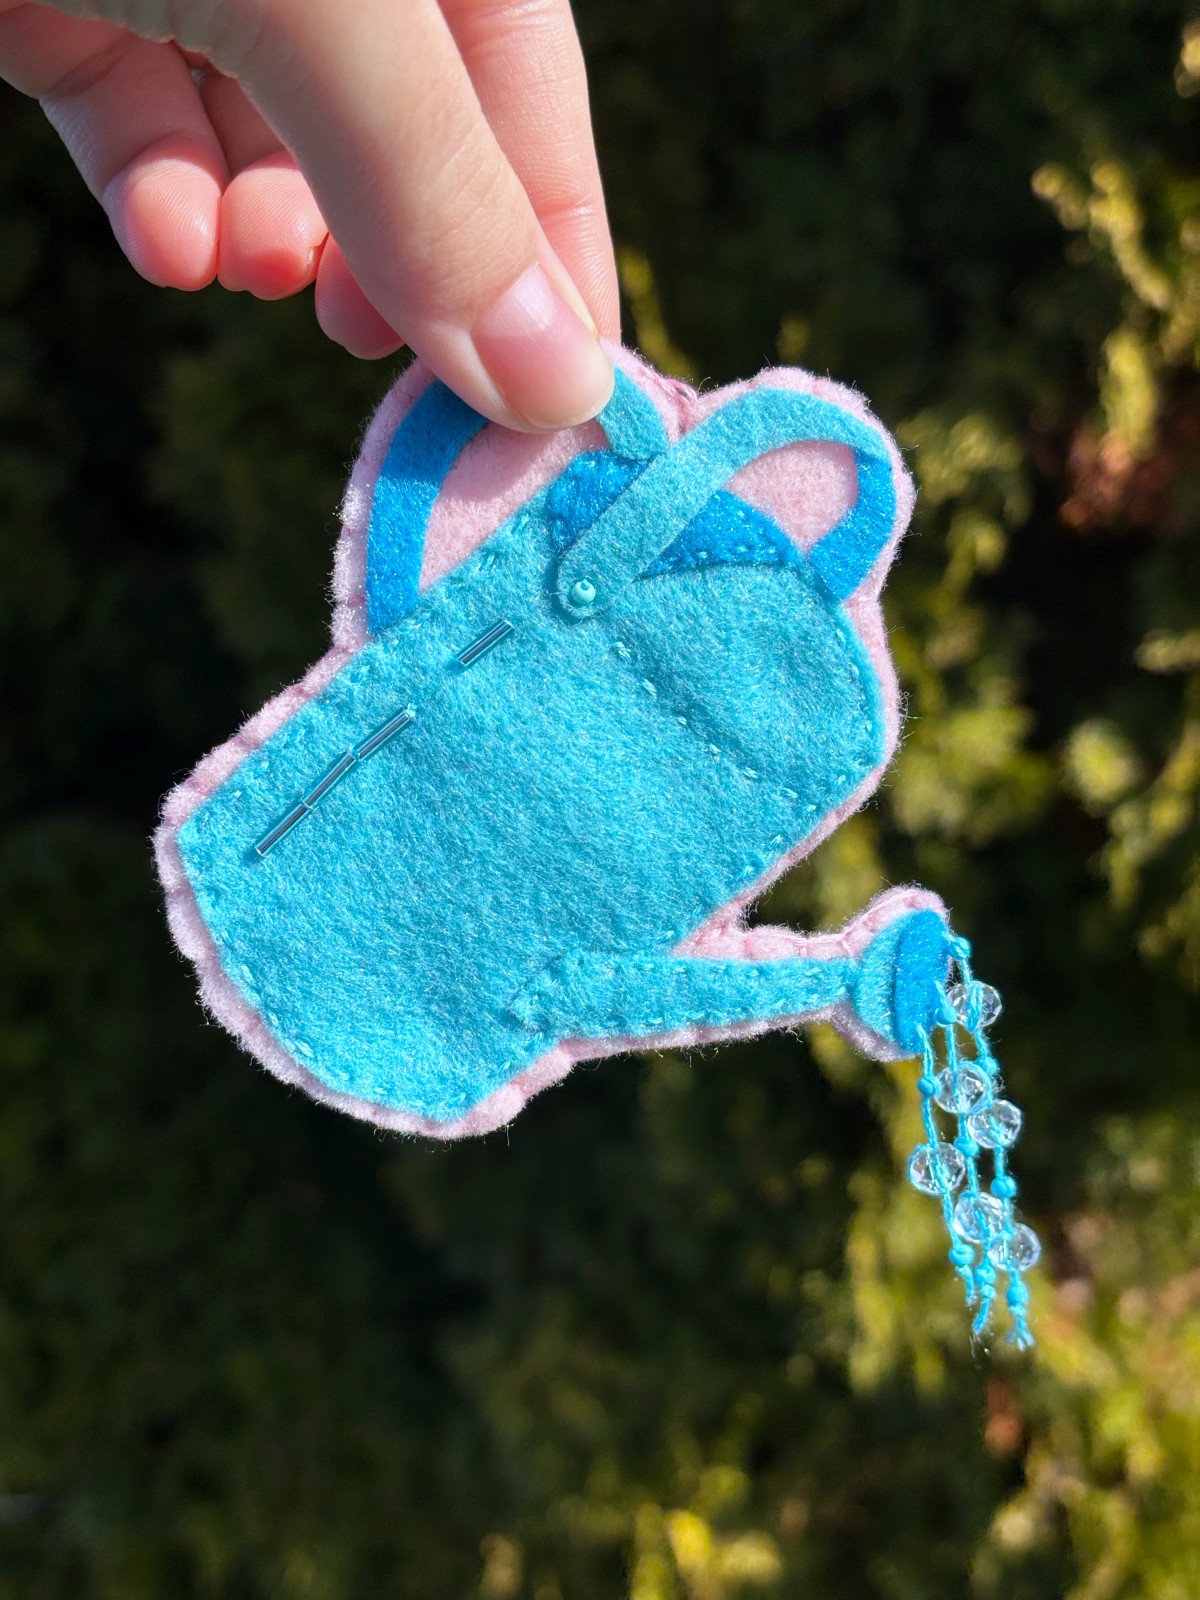
Celebrate! You did it. Now you can decorate your home or purse with this adorable watering can ornament. Good job. We would love to see your beautiful creation, tag us over on instagram @mirrortwins.studio, where we can share it on our story. Thank you for following along and crafting with us.