Lime Pie Ornament. DIY Simple Sewing Craft
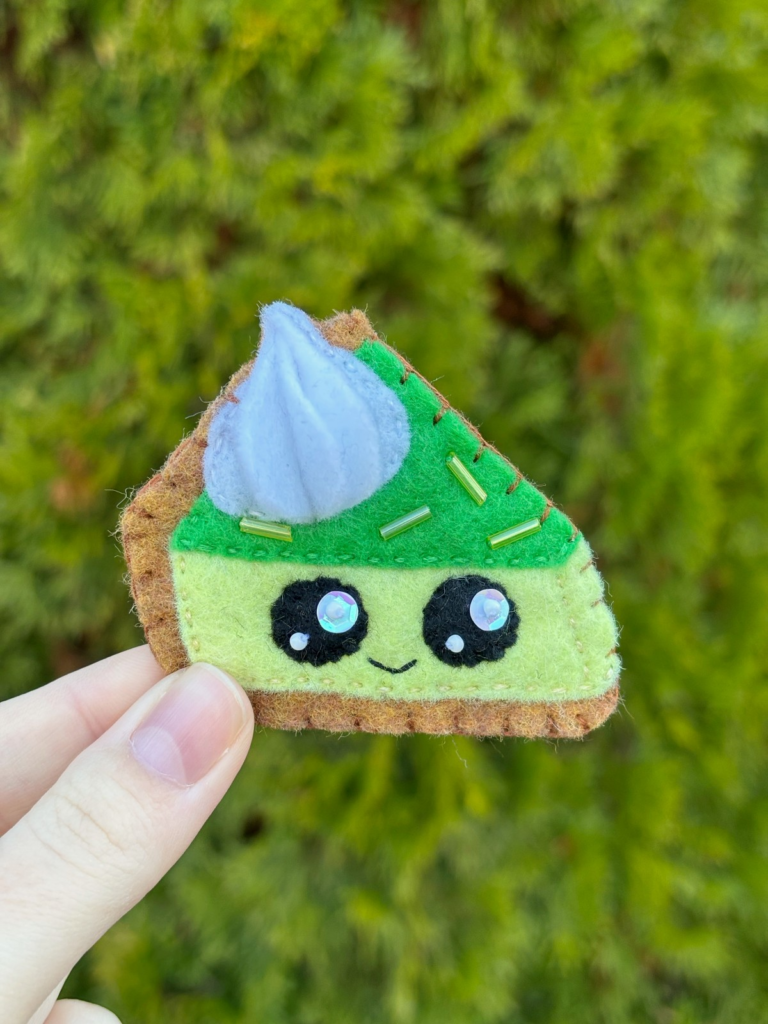
Looking to add a little whimsy and color to your kitchen? This project is a perfect place to start. This adorable DIY Lime Pie Ornament is a fun project you can complete in a weekend. Beginner friendly and easy to follow step by step instructions. Follow along with our Free PDF pattern. Happy crafting.
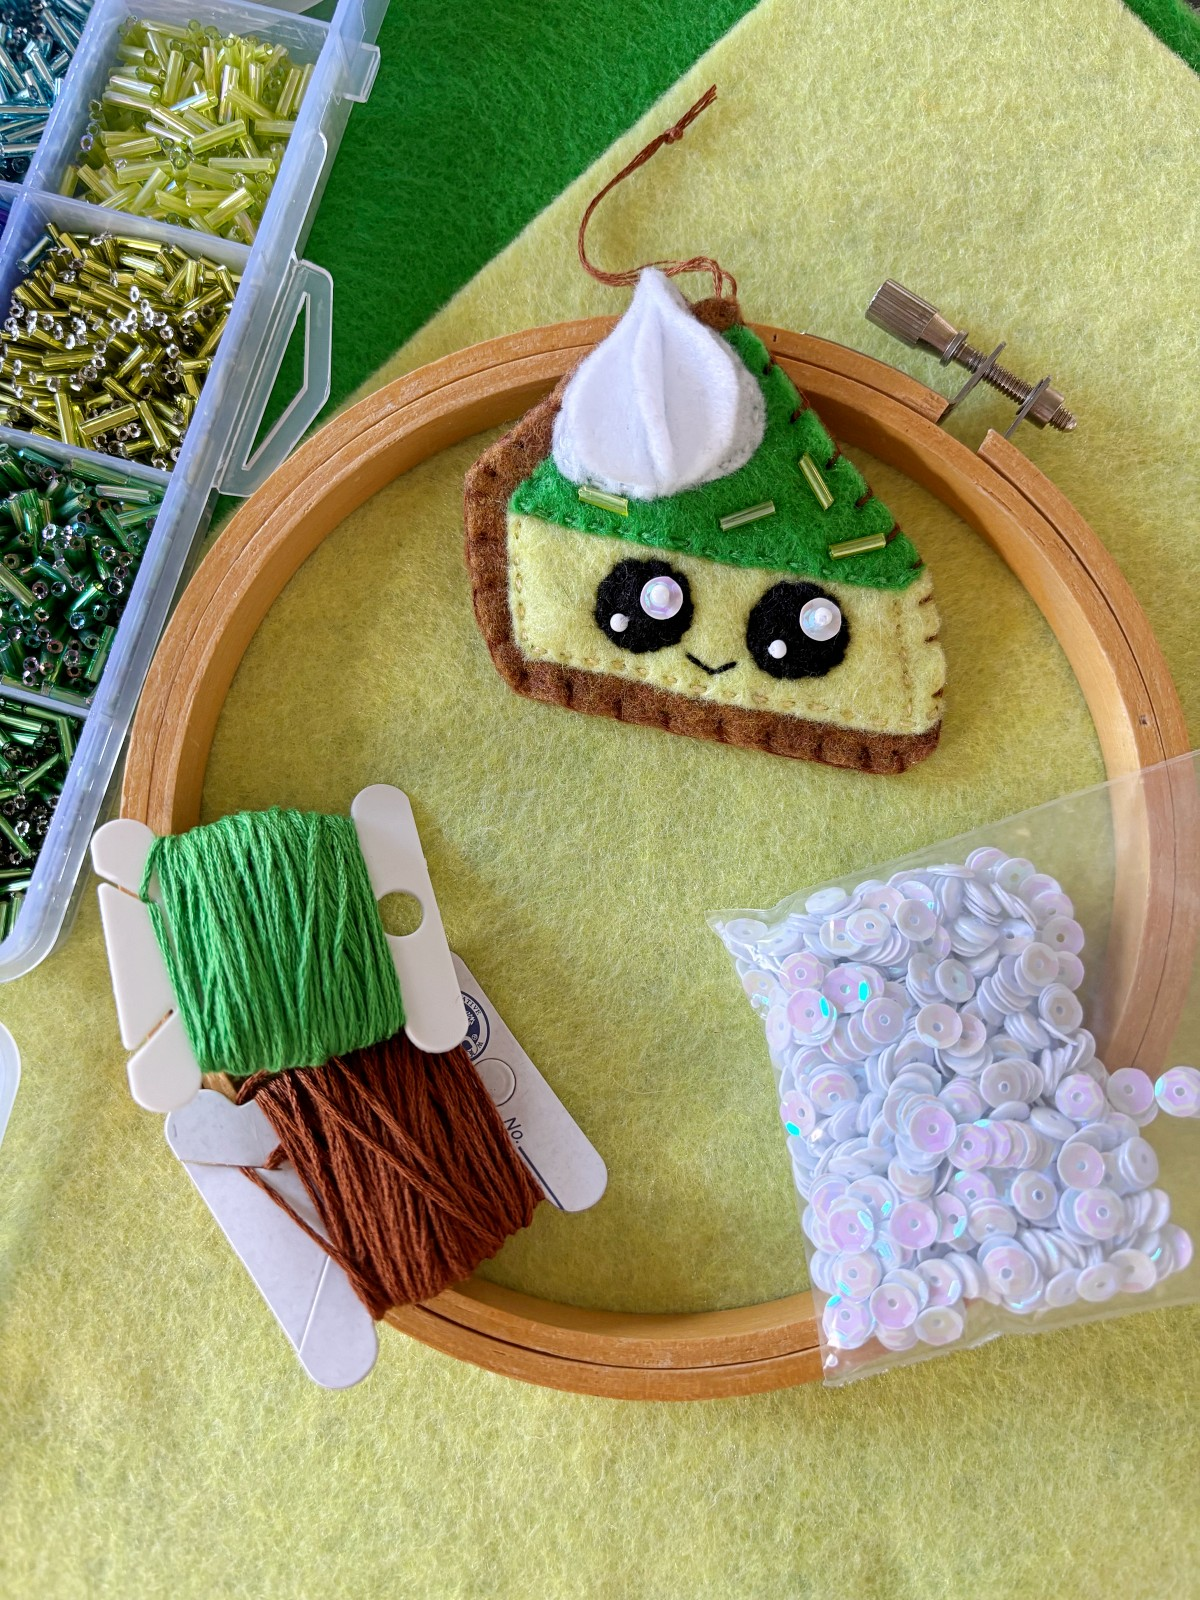
If there is one kind of dessert I always look forward to in the summer, it’s the delicious fruit pies. This inspired me to make an adorable little key lime pie ornament that looks perfect hanging in my kitchen. With a few simple materials including felt, embroidery thread, and sequins, you can make this little lime pie ornament too! Grab the Free PDF printable pattern at the bottom of this page and let’s get crafting.
Materials
- Felt (Brown, Dark green, Light lime green, White, Black)
- Embroidery thread (Brown, Green, Light green, White, Black)
- Scissors
- Ballpoint pen
- Sewing Needle
- Sewing Pins
- Embroidery Hoop (5 inch)
- Glass tube beads, light green (7mm)
- Embroidery Hoop Holder, Optional
- Washi tape, Optional
- White seed beads, Optional
- White Sequins (6mm), Optional
Instructions
Step 1
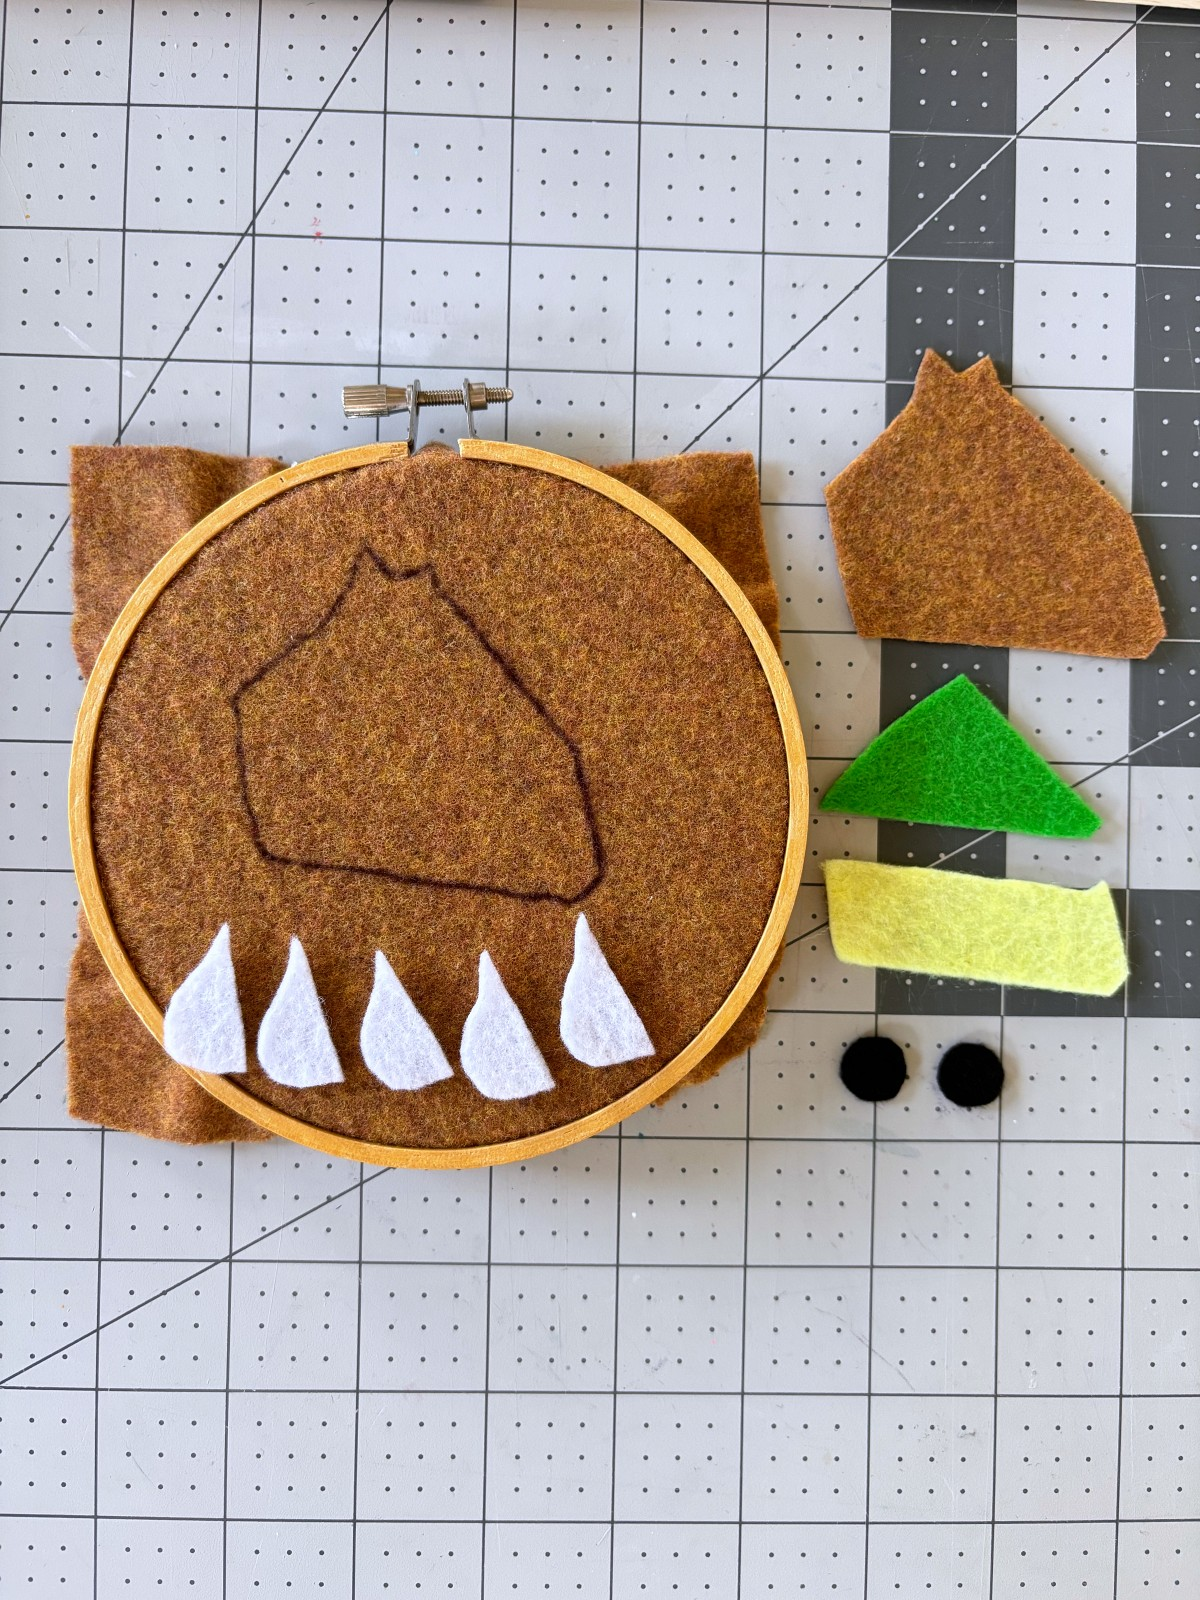
Cut out the paper pattern template and trace the pieces onto the designated colors of felt with a ballpoint pen. Next cut out each piece except for one of the brown bases which you will place in an embroidery hoop.
Note: I like to use an embroidery hoop holder to make it easier to sew the small pie details on top of the base. This is optional, but I like using it because it allows me to sew without my hands getting too tired.
Step 2
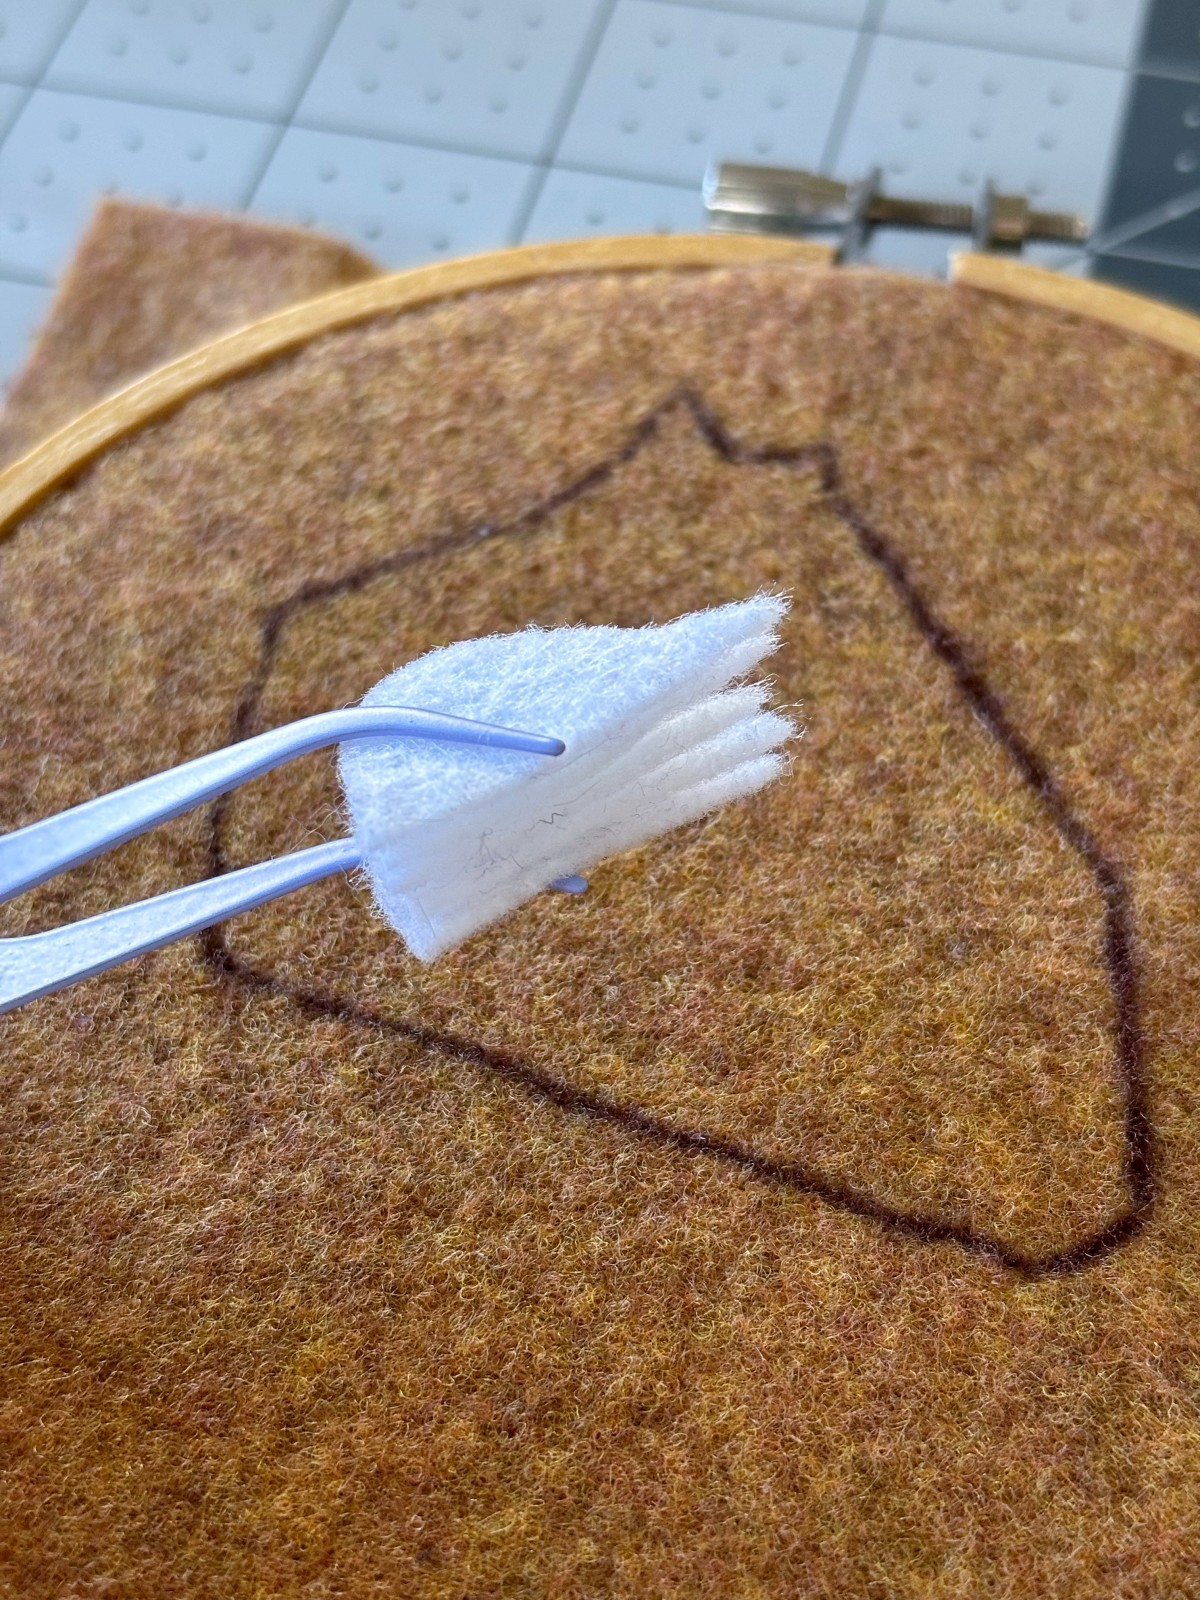
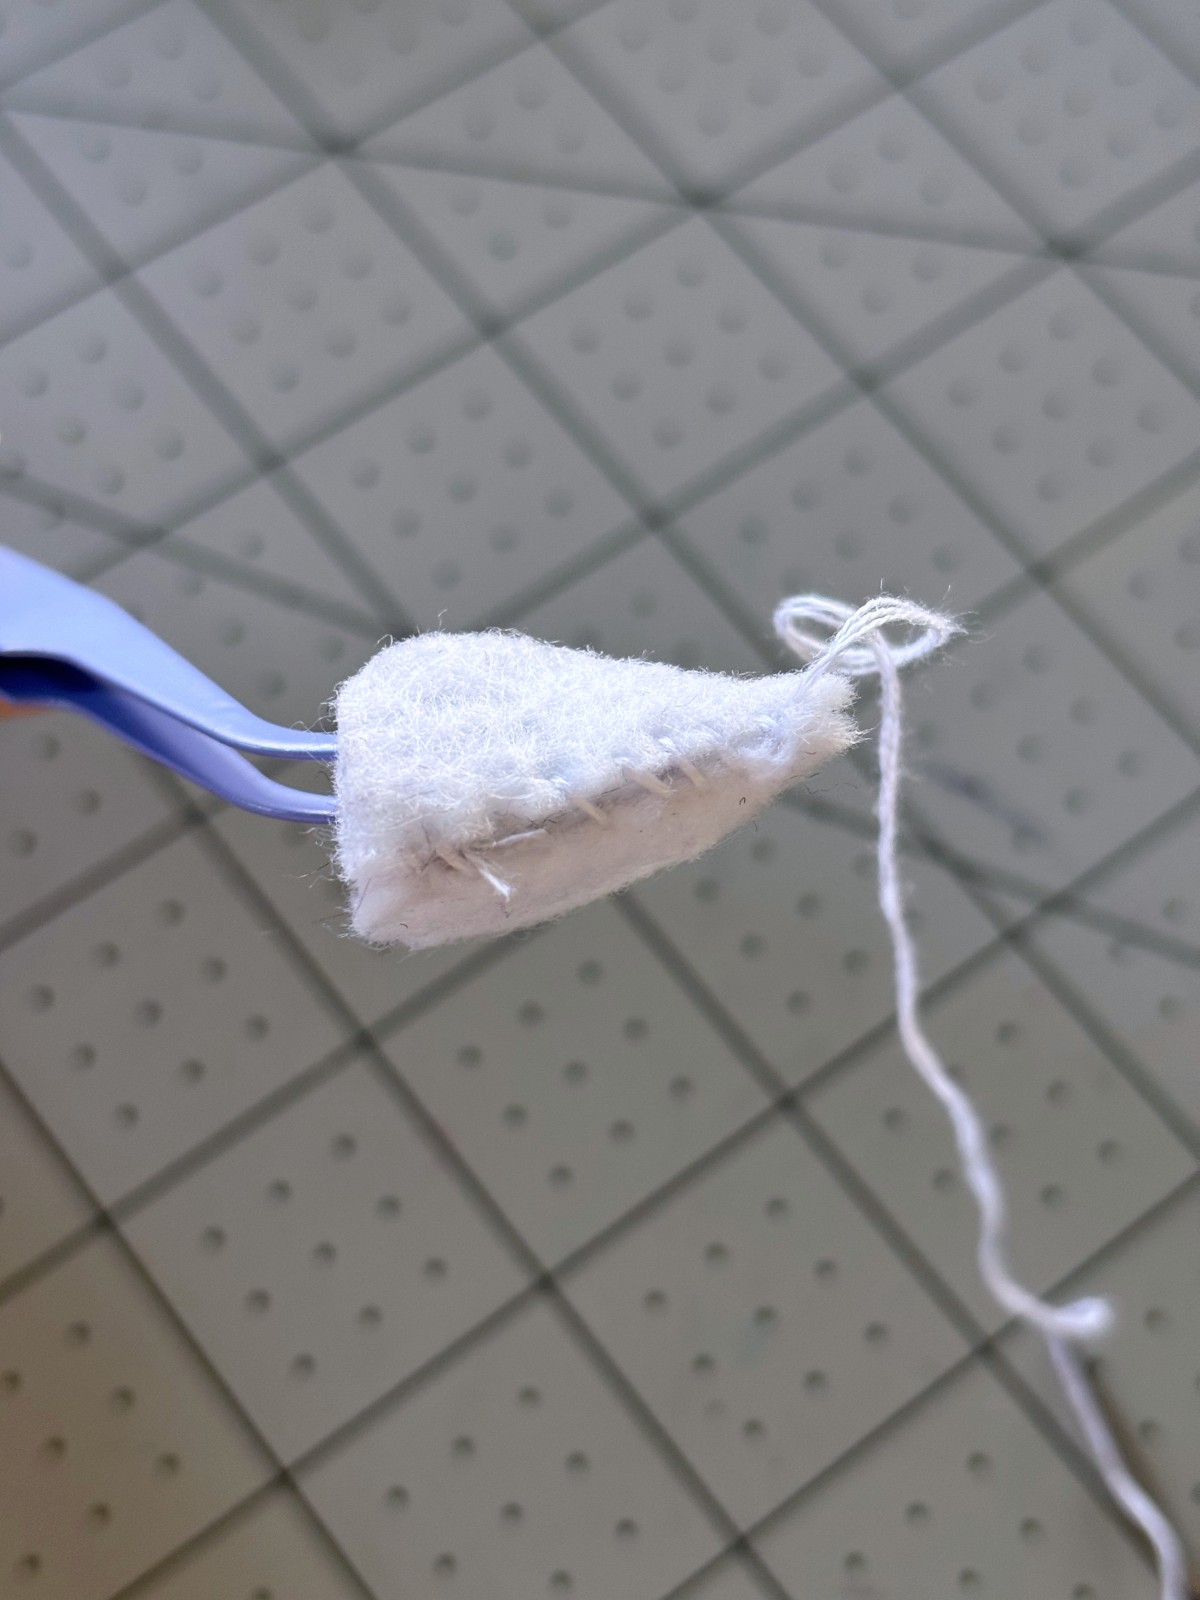
Let’s start with prepping the dollop of frosting we will add to the pie later. Gather all five frosting pieces and stack them on top of each other all facing the same direction. Now, using a whip stitch, sew along the straight spine of the frosting from the bottom to the pointed top with white embroidery thread. Tie a knot. Make sure to leave plenty of thread, we will use this later to attach the frosting to the pie base.
Note: All sewing for this pattern will be done with three strands thick of embroidery thread.
Step 3
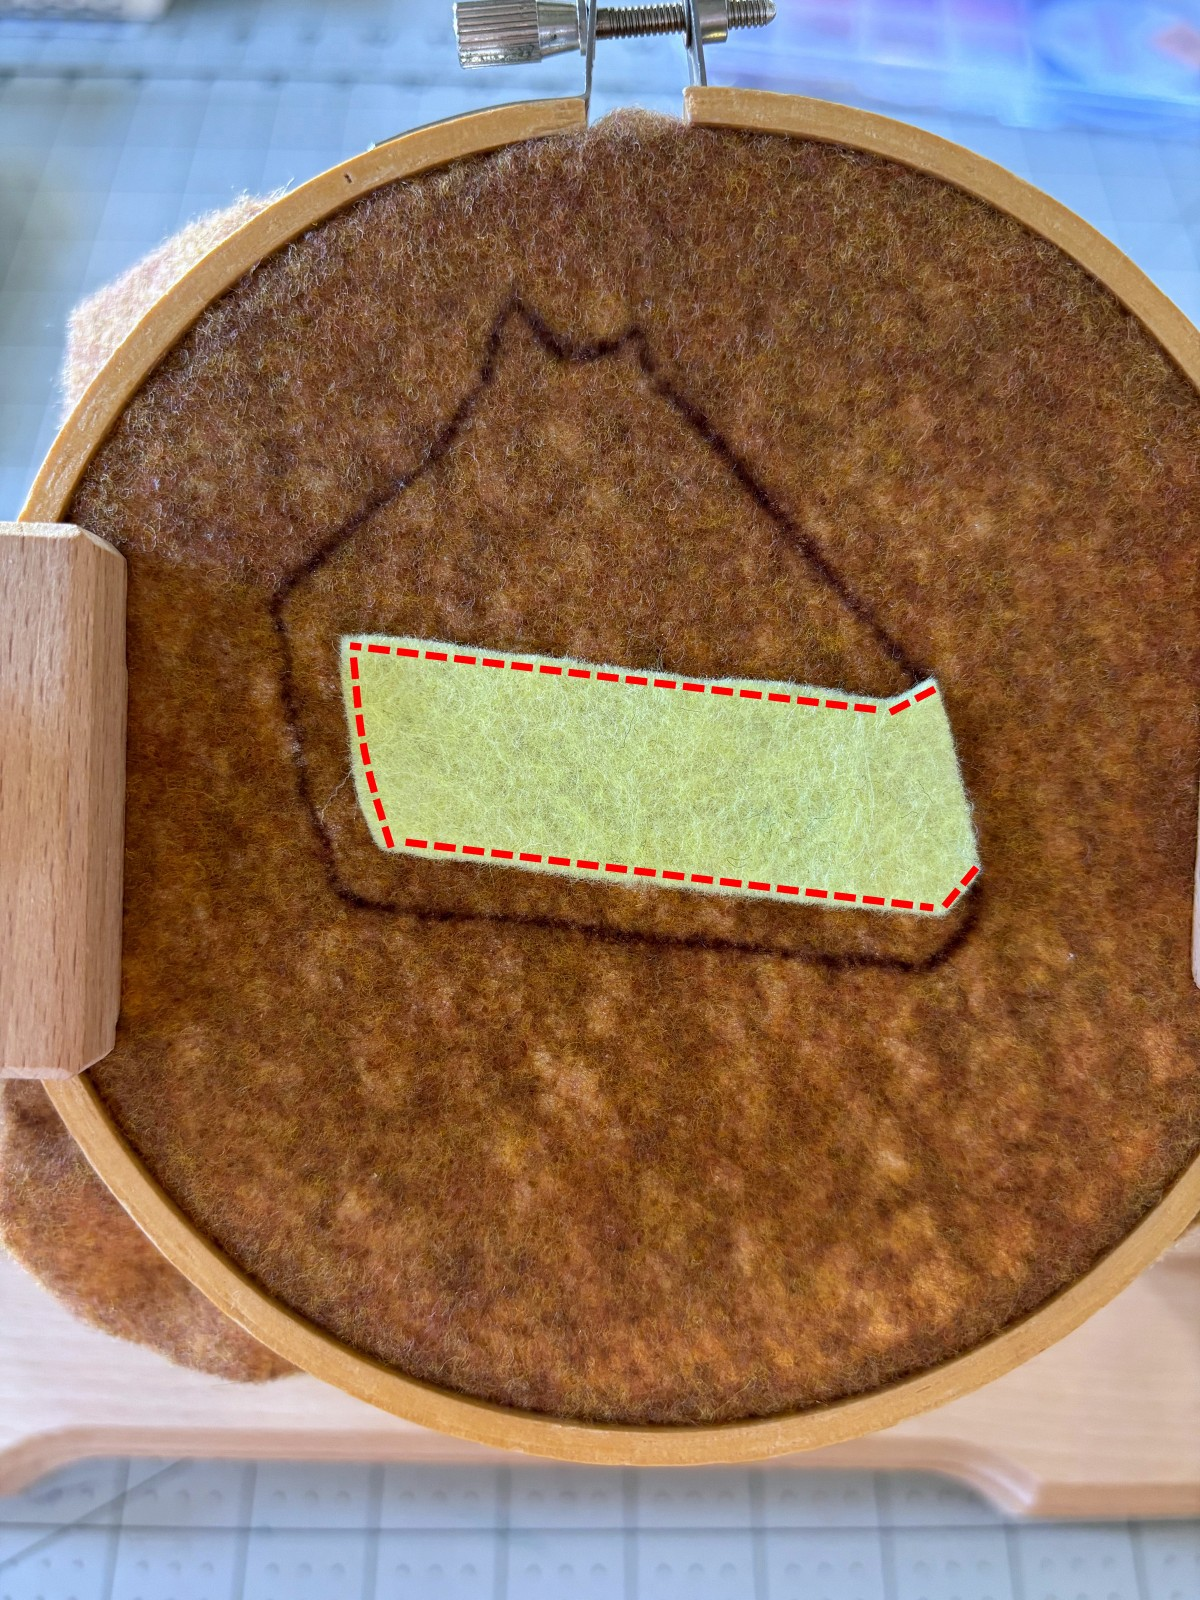
Next, line up the pie filling layer on top of the brown base in the embroidery hoop. Here we will use light green embroidery thread. Sew a running stitch around the perimeter, indicated by the red dashed lines, as seen below.
Step 4
To add more dimension to the pie slice we will add some detail stitches to the filling layer. Sew a line of running stitches as indicated by the single dashed red line shown below. I like to use a piece of washi tape as a guide line when sewing straight lines, but this is optional.

Step 5
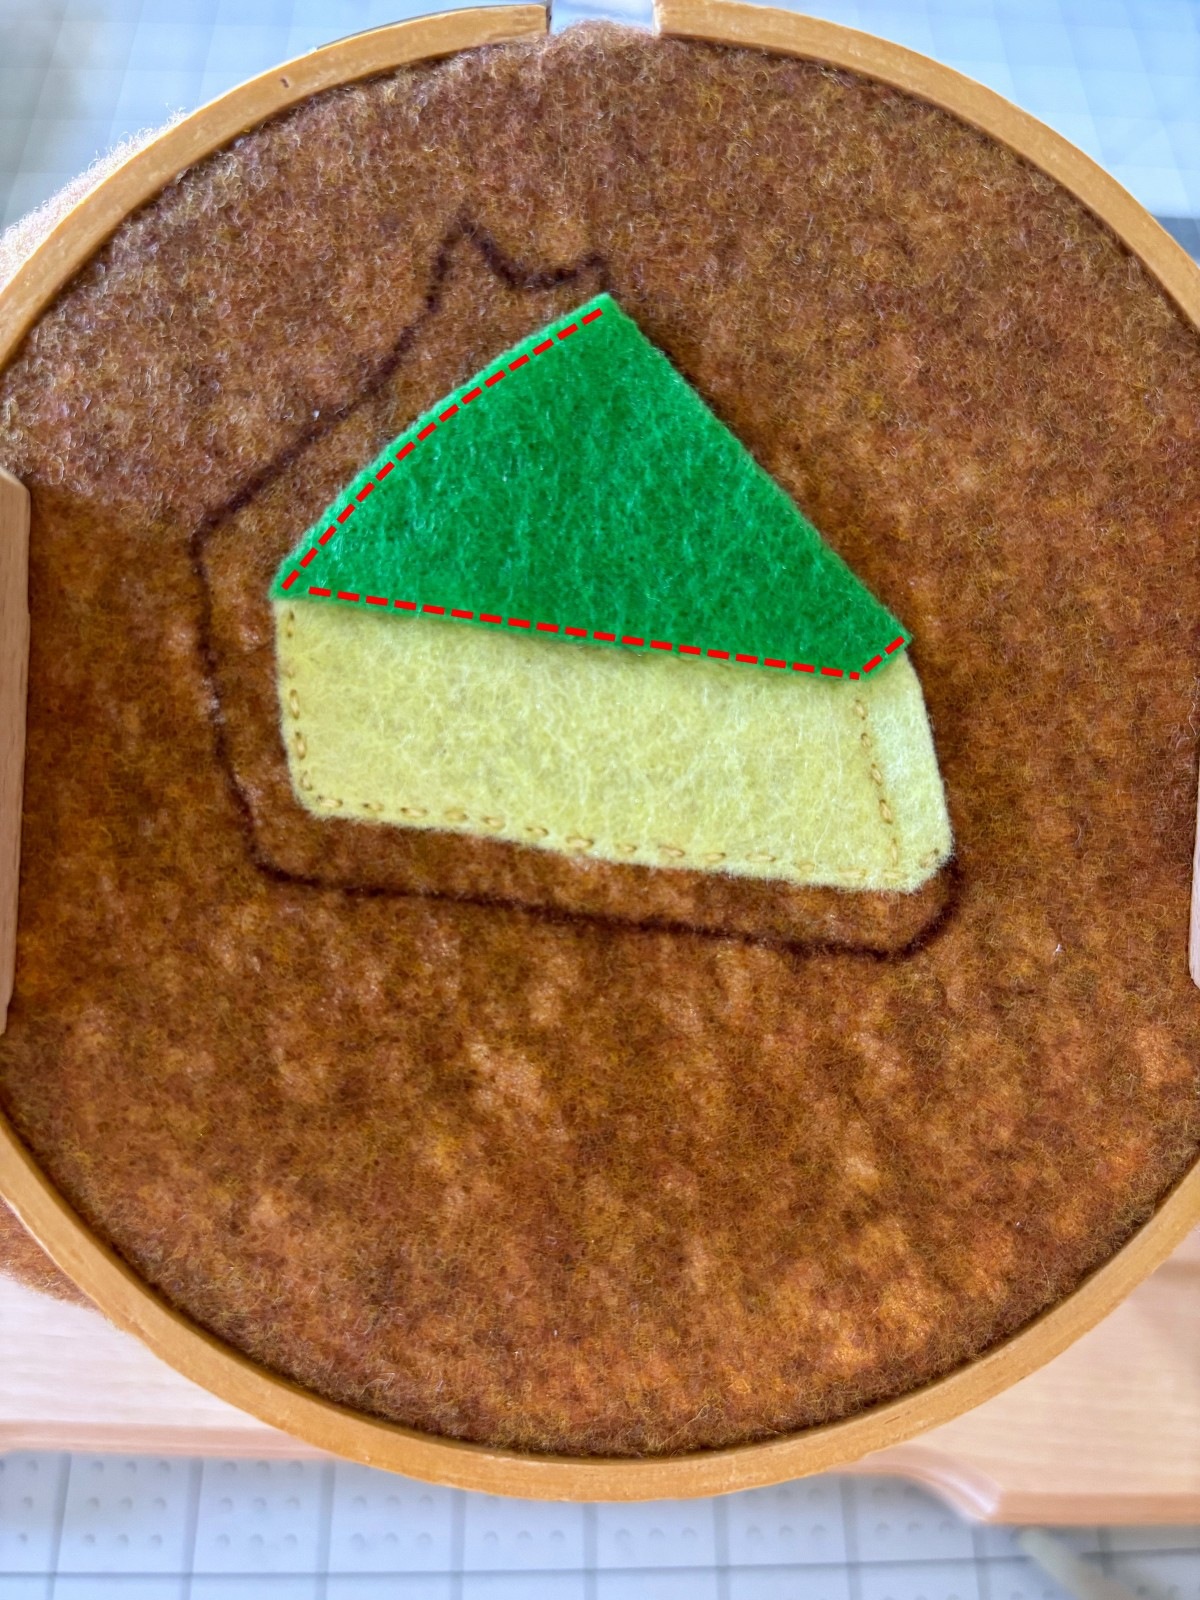
Now we can add the pie top layer. Line up the top of the pie with the filling layer and the side of the brown base. Using green thread, sew a running stitch around the perimeter of the green top piece, indicated by the red dashed lines pictured below.
Step 6
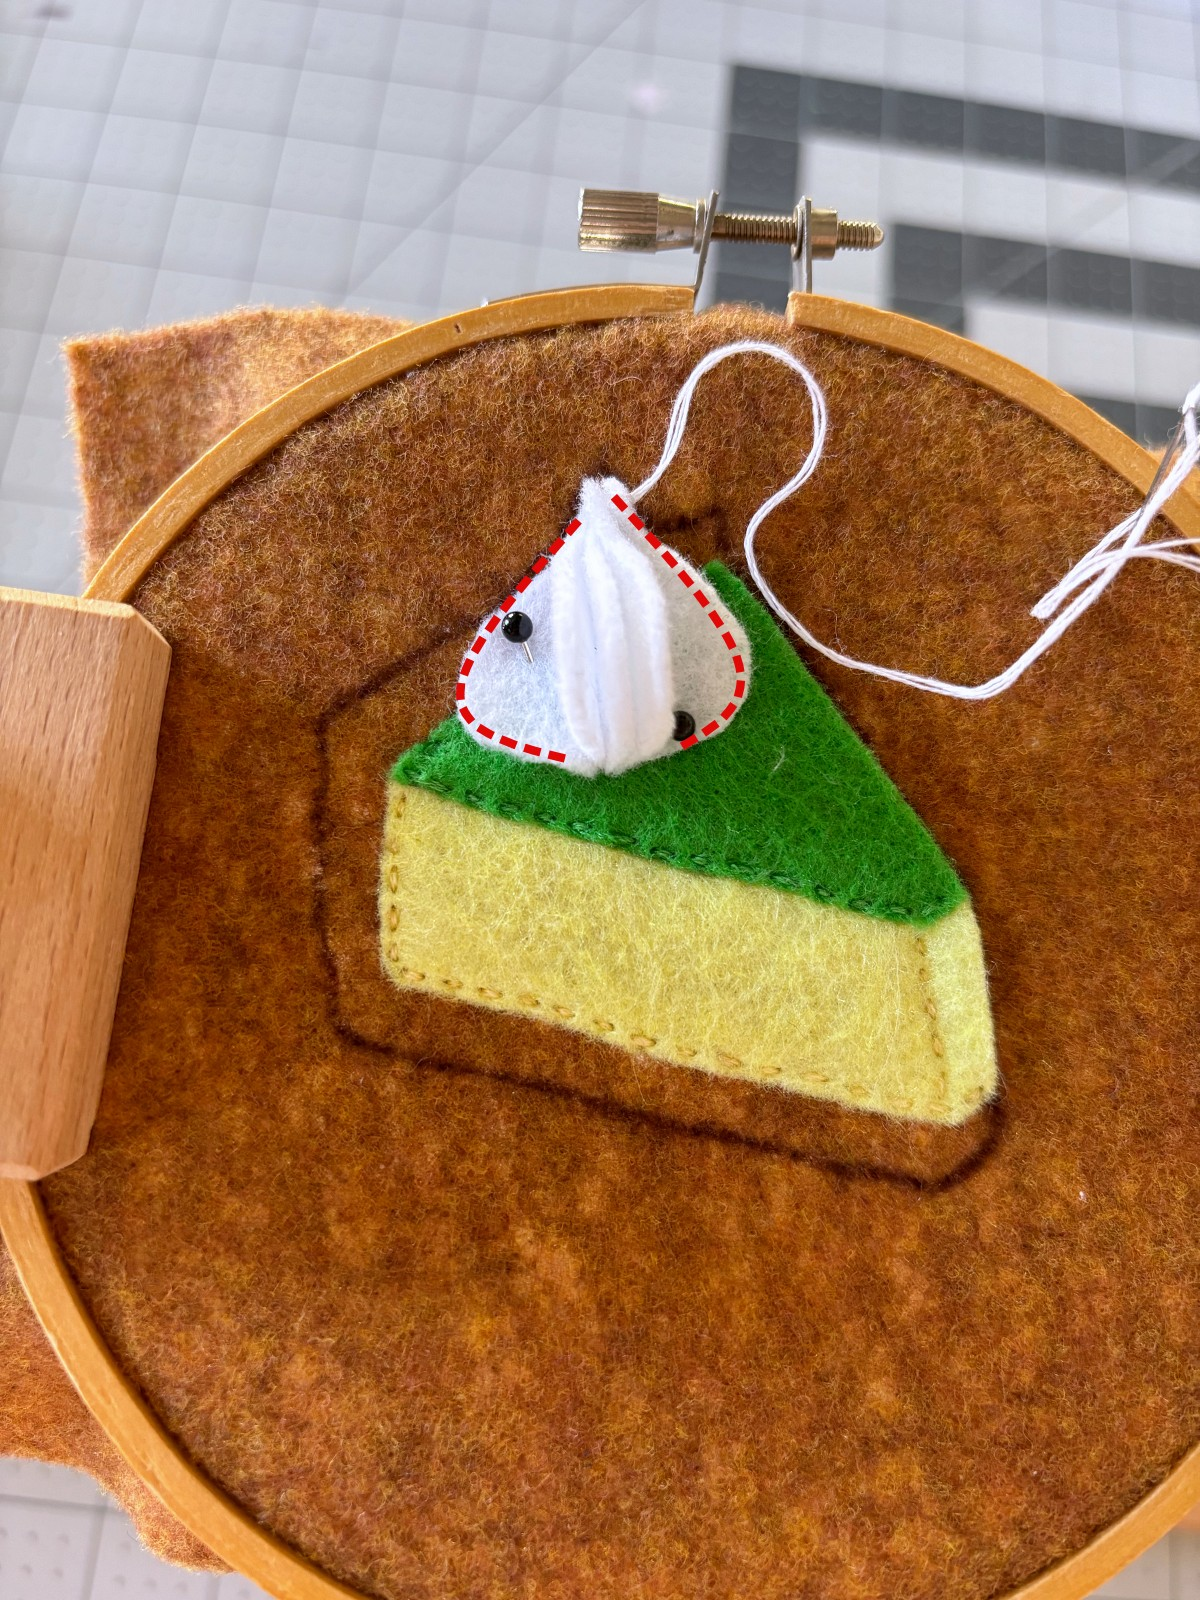
It is time to add the frosting to the pie base. Fan out the frosting layers so that the two end pieces are pinned down, one side on the left and one on the right. Three layers should be left in the middle. Make sure the point of the frosting is lined up with the point on the base layer. Now with the remaining thread we left on the frosting from earlier, sew a running stitch all the way around the perimeter of the frosting, as indicated by the red dashed lines shown below.
Step 7
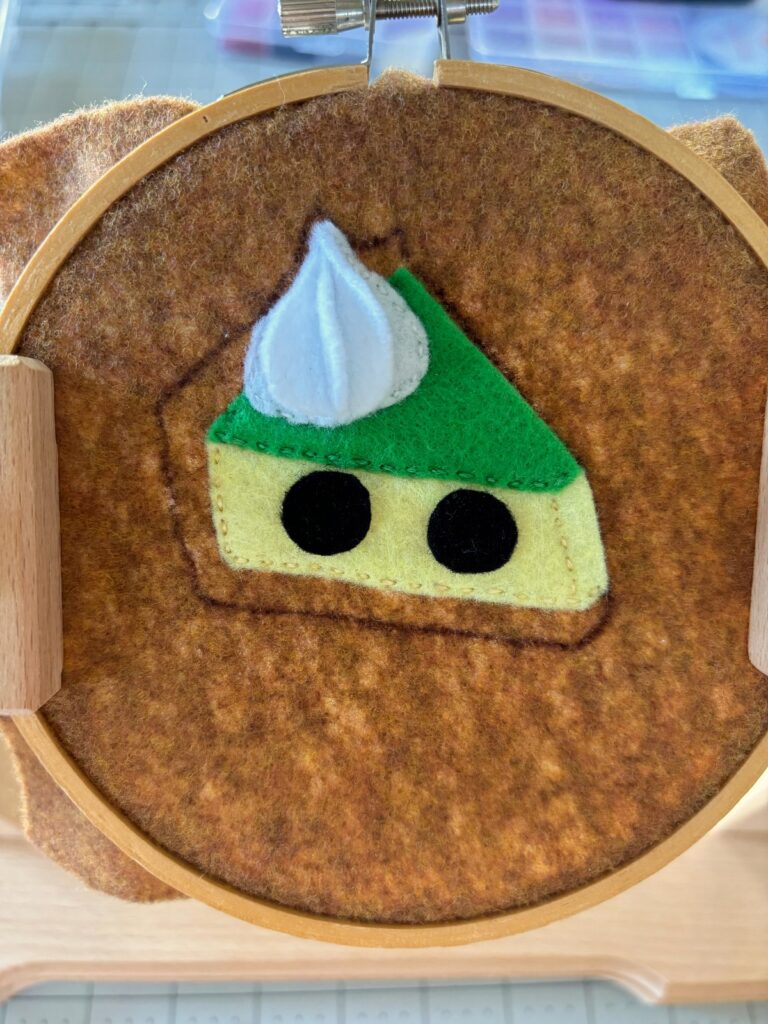
Take both Eye circle pieces and place them where you want on the pie filling. Using a whip stitch, sew around the perimeter of each eye with black embroidery thread.
Step 8
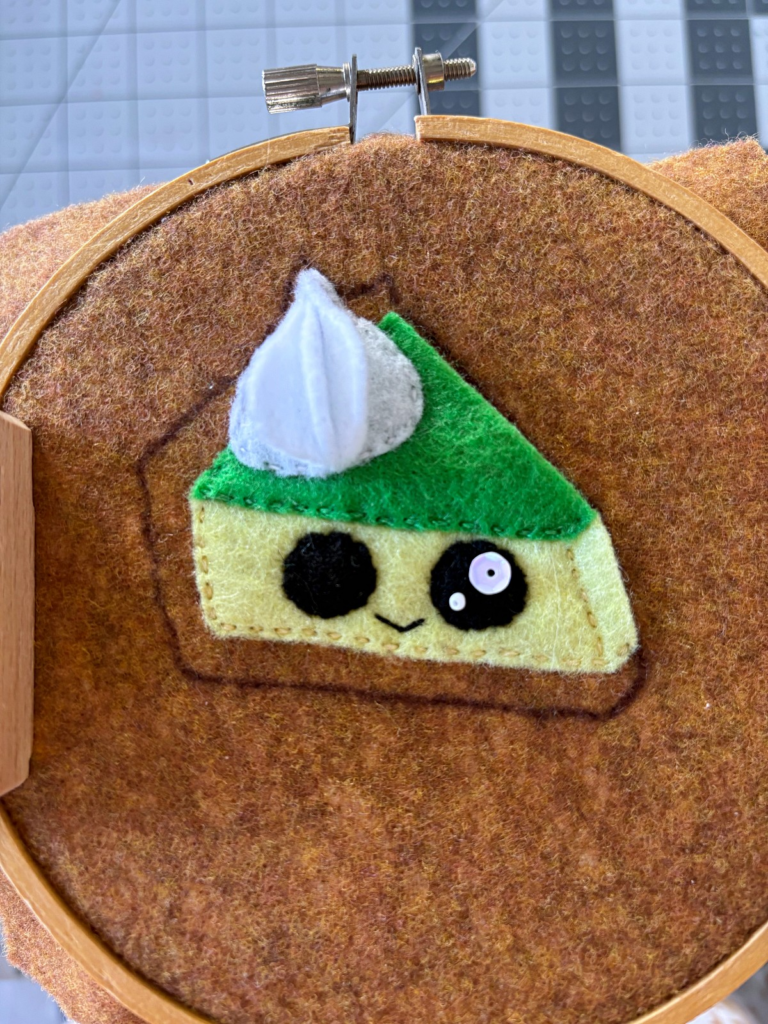
Adding the face details. To embroider the mouth on the pie, sew a fly stitch with black embroidery thread. Next you can choose to either embroider a few dots in each eye with white embroidery thread, or alternatively you can use white sequins and seed beads.
I chose to use the sequins and seed beads. Attach the sequins by sewing up through the center, thread a seed bead onto the embroidery thread, and sew back through the center of the sequins. Add one single seed bead offset from the sequins and you have a beautifully sparkling eye. Repeat for the other eye.
Step 9
Take four tube beads and arrange them in any pattern you like on the pie top. Make sure to test your needle to see if it can fit through the tube beads. Sometimes you need to switch to a skinnier needle. Then sew each bead in place with green embroidery thread.
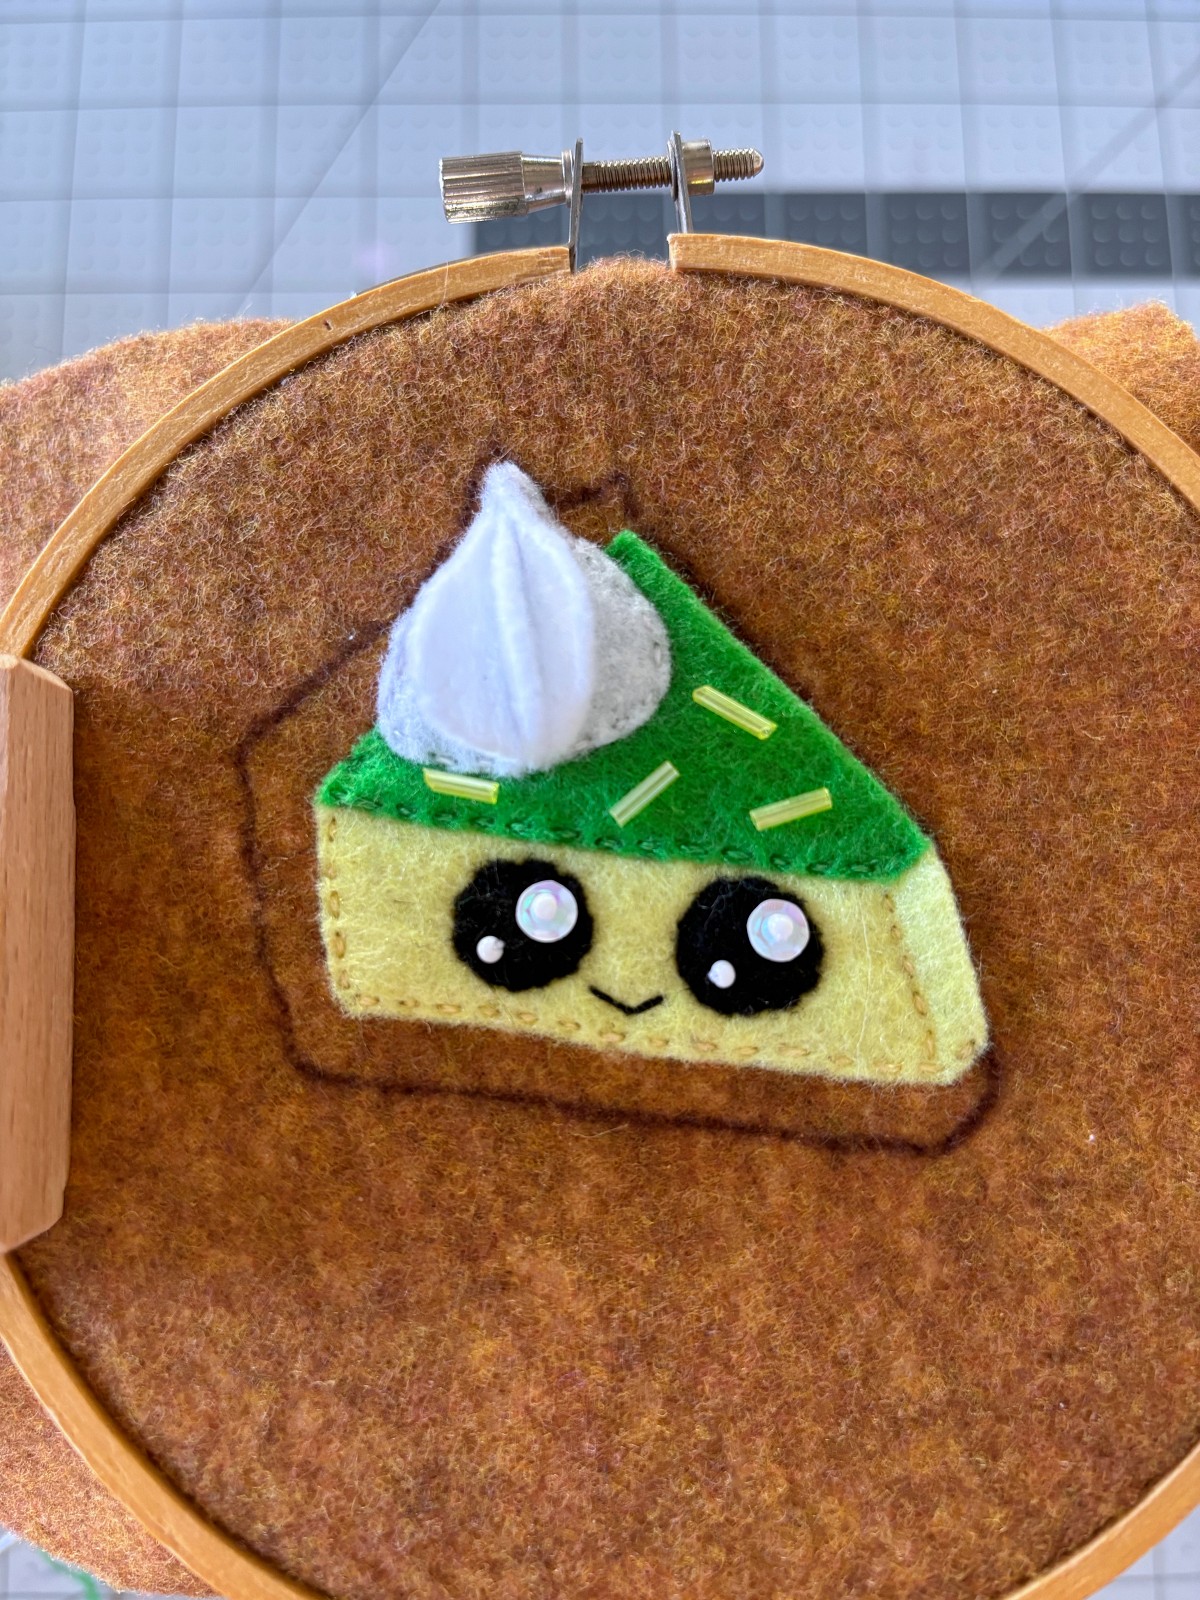
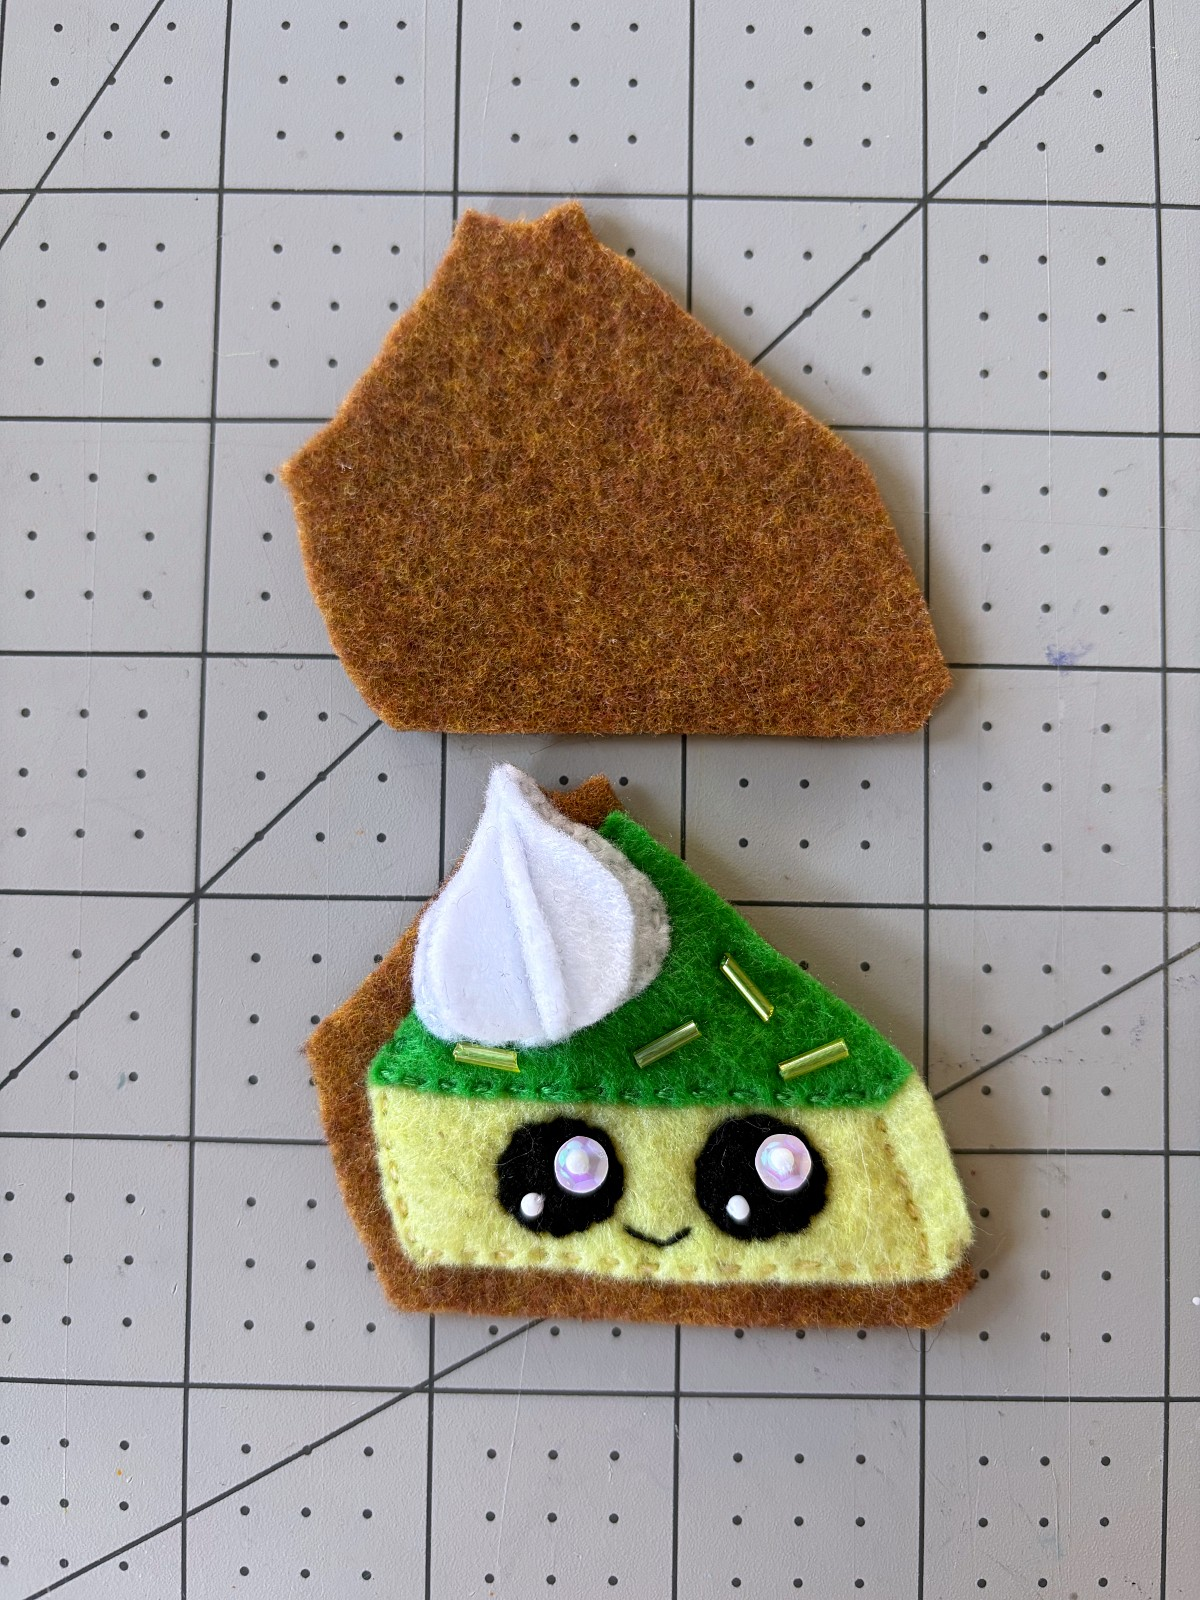
Step 10
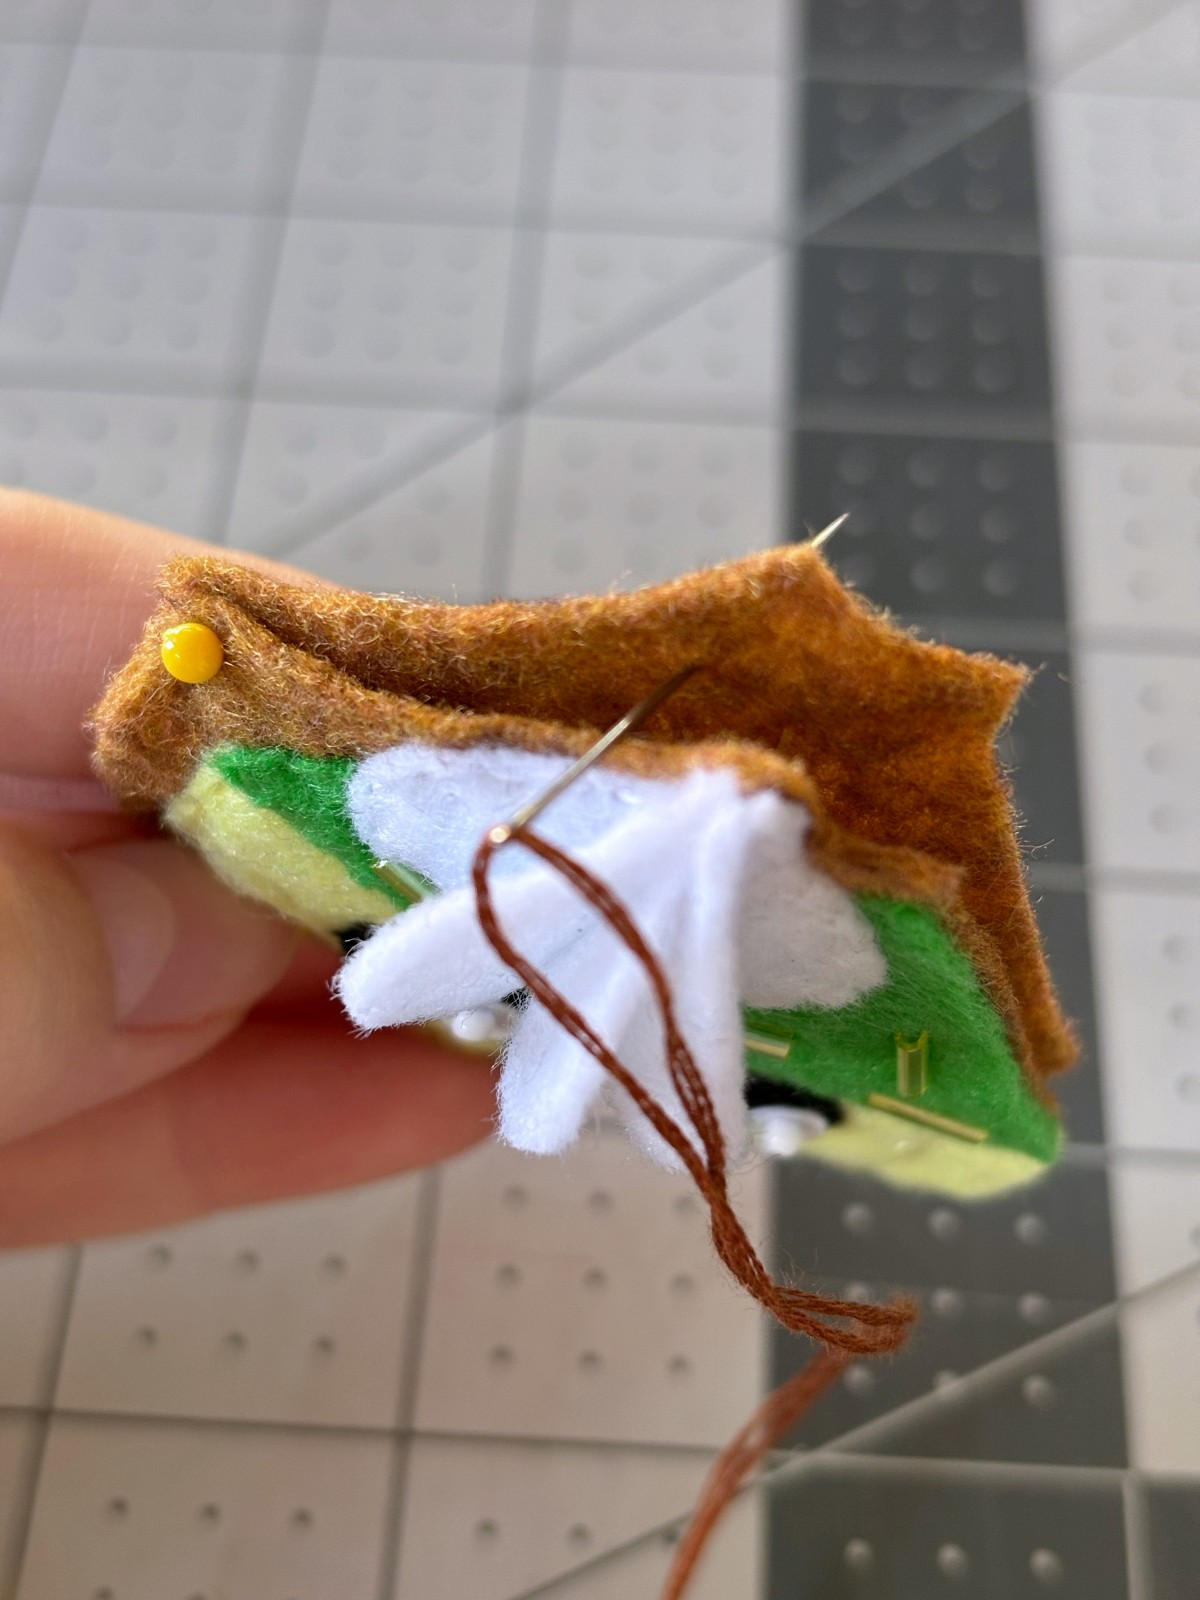
You can now take the brown felt out of the embroidery hoop and cut out the base layer. Take both base layers and pin them together. This will hide all of the stitches and make a cleaner finished piece. Using brown embroidery thread, sew a blanket stitch around the two base pieces to attach them together. Make sure to hide the starting knot between the two layers.
Step 11
You are ready to hang the pie ornament now. Sew a string through the blanket stitch at the top for the ornament to hang by. Alternatively you could also turn this ornament into a keychain by adding a jump ring around one of the blanket stitches at the top and attaching a keyring. Congratulations! You did it.

Thank you so much for visiting our crafty corner of the internet. If you completed this project, we would love to see it. Tag us on instagram @mirrortwins.studio and we will share your project on our story. We love to see what fun creations you all come up with. You could make a variety of pie with this same pattern by simply choosing different felt colors. Yellow felt could make a lemon pie while orange felt could turn into a cute little pumpkin pie. The possibilities are endless. Good luck and happy crafting.