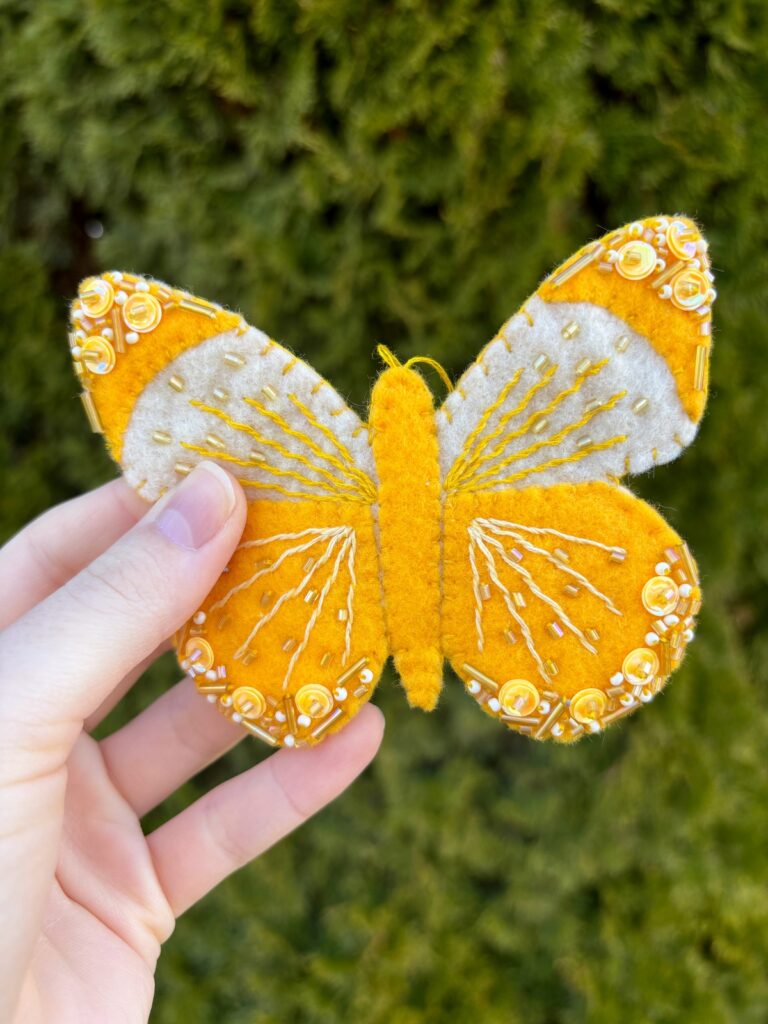
Monarch Butterfly Felt Ornament Hand-sewn DIY Project
Create this beautiful hand-sewn monarch butterfly felt ornament that sparkles in the light with glass beads and sequin details
I love crafting with felt because it has so many uses and you can find sheets of it at almost any craft store. One of my favorite ways to use felt is making beautiful ornaments to hang on a tree or use as wall decor. Felt is also the perfect base to add embroidery, bead, and sequin details. That’s why it makes such a great base for sewing ornaments. Today I will show you how I made this monarch butterfly felt ornament, step by step. A free PDF pattern can be found at the bottom of the page. This project can easily be completed in one day or over the weekend depending on your sewing knowledge and experience. I hope you follow along and enjoy it.
* This post contains affiliate links meaning I get a commission if you purchase through my links, at no extra cost to you.
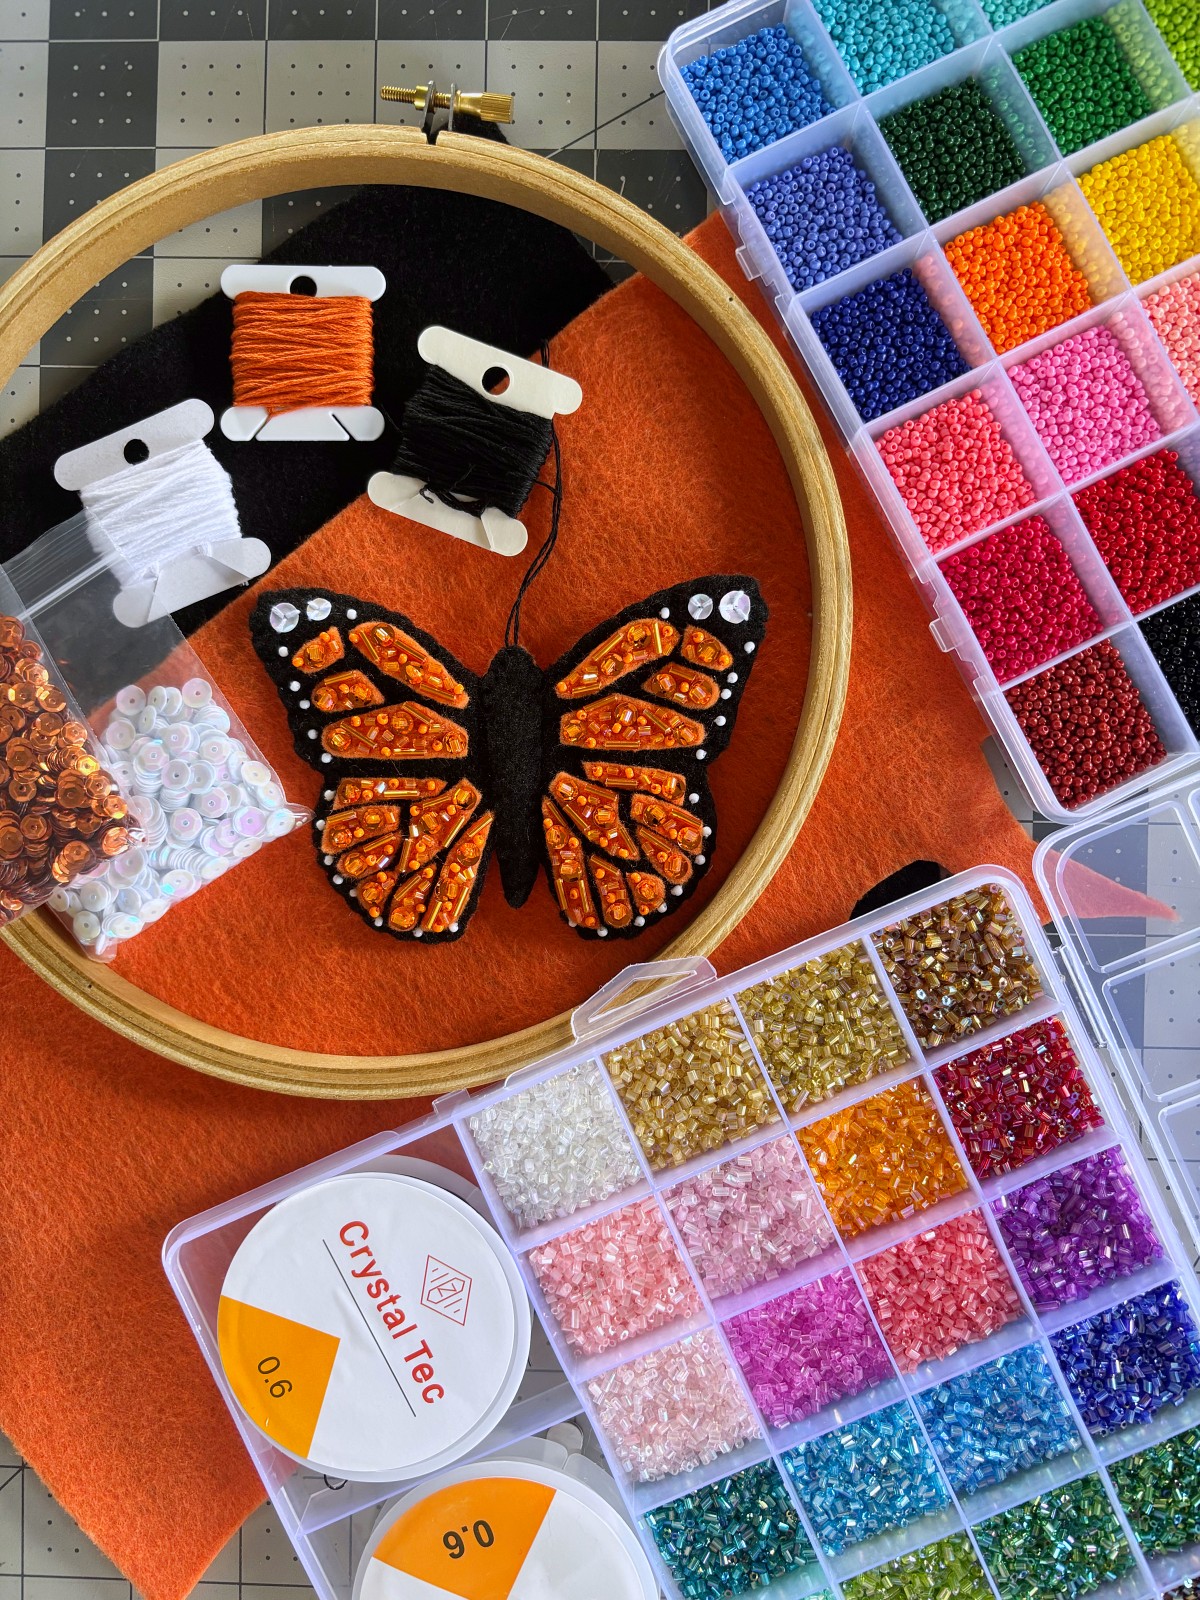
Materials you will need
- 8 inch Embroidery hoop
- Scissors
- Sewing needle
- Black felt (one sheet)
- Orange felt (one sheet)
- Embroidery thread (black, orange, white)
- Sequins 4mm (white and orange)
- Sequins 6mm (white)
- Tube beads (orange)
- Seed beads (white and orange)
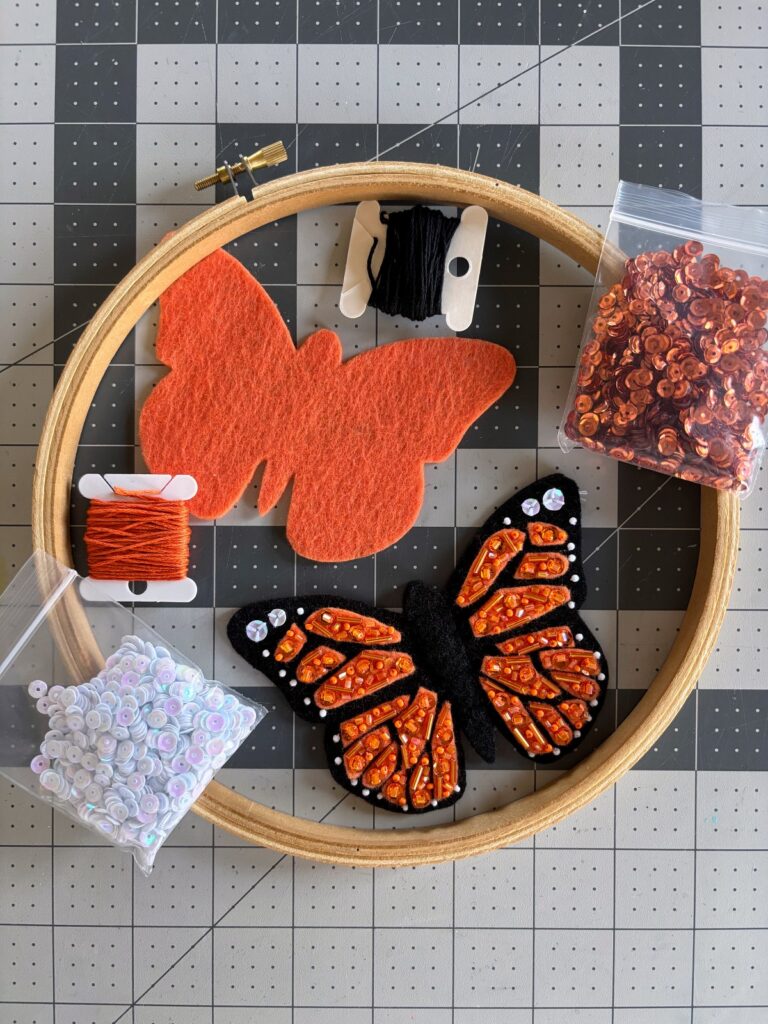
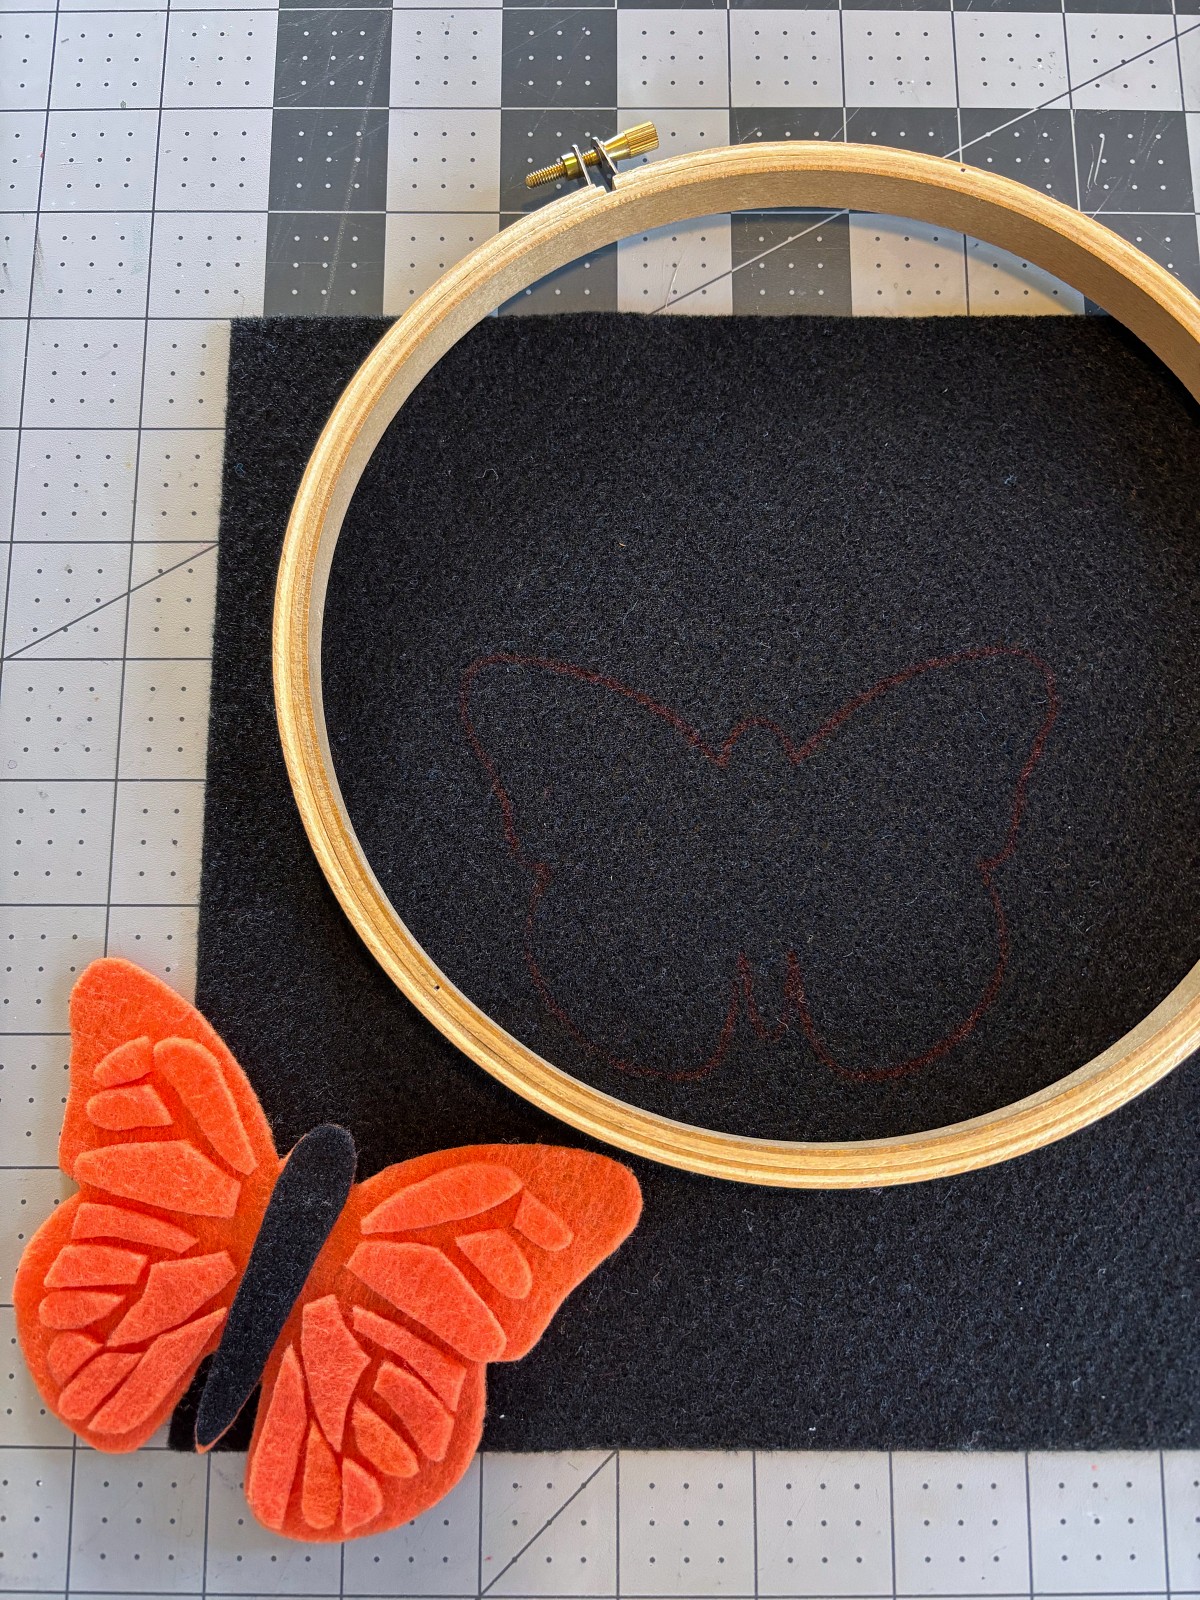
Step 1
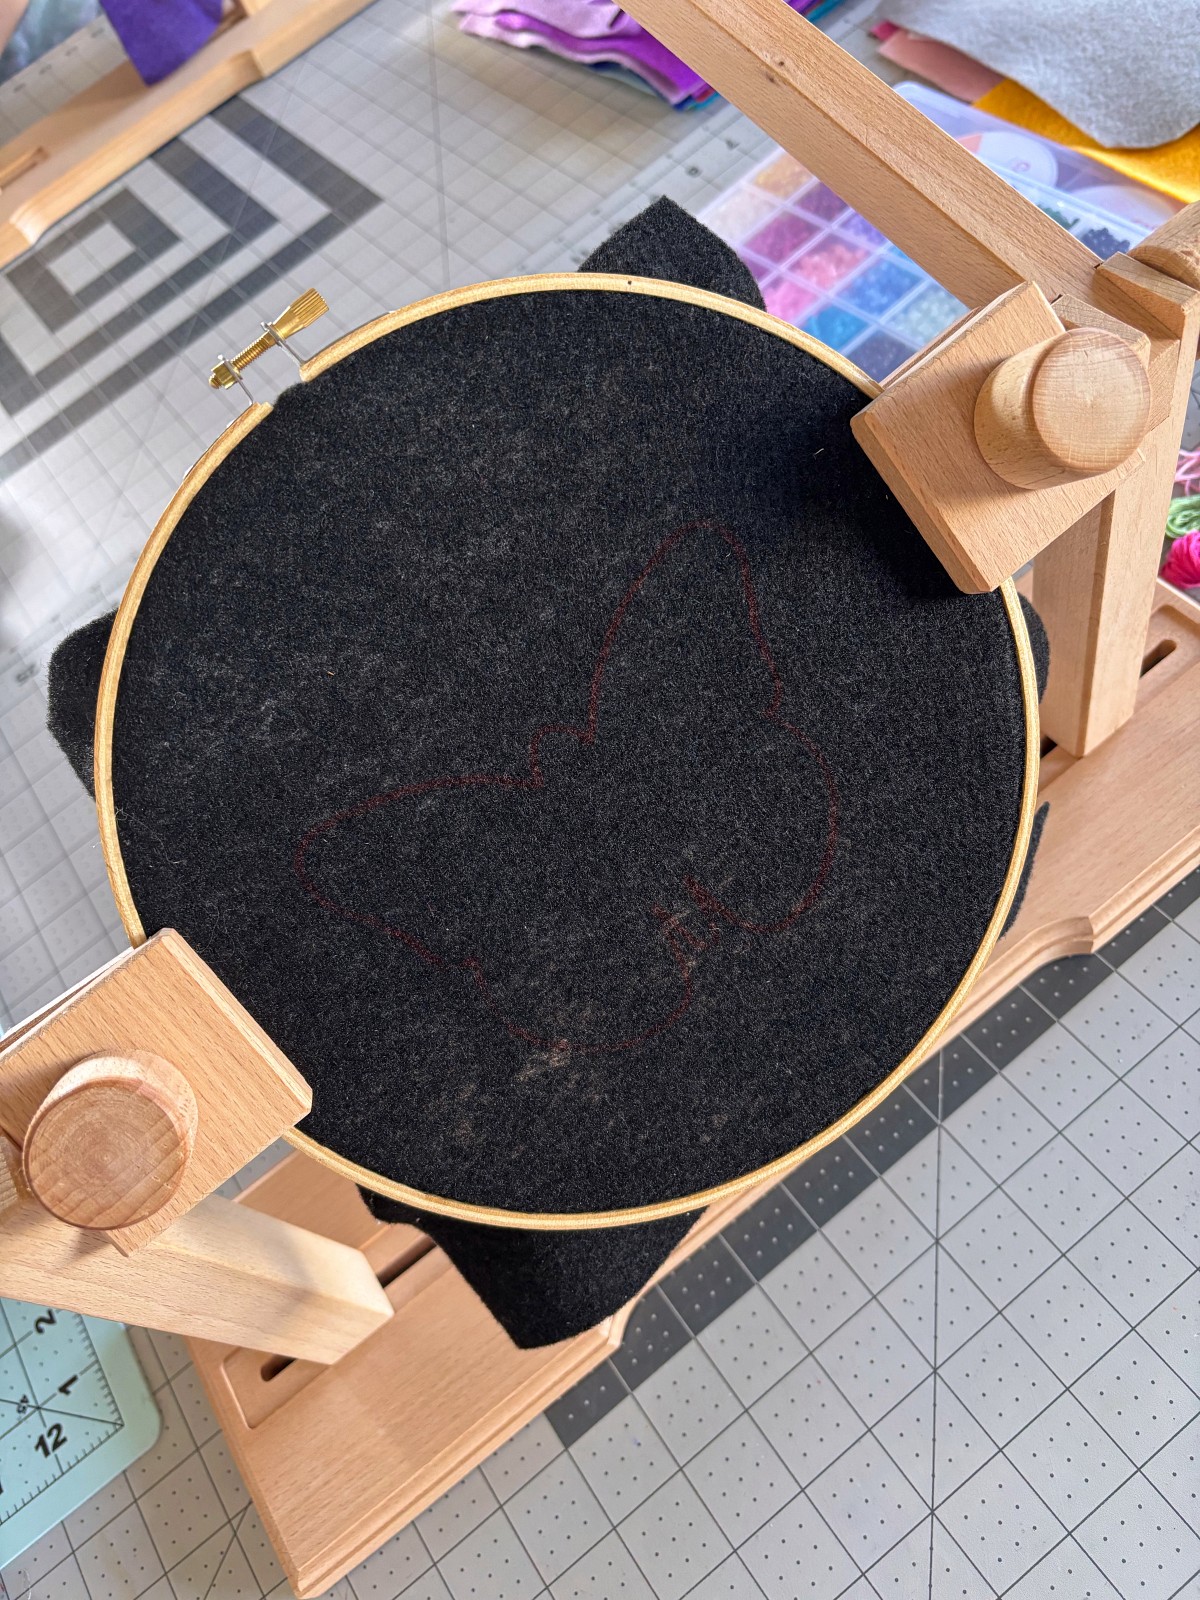
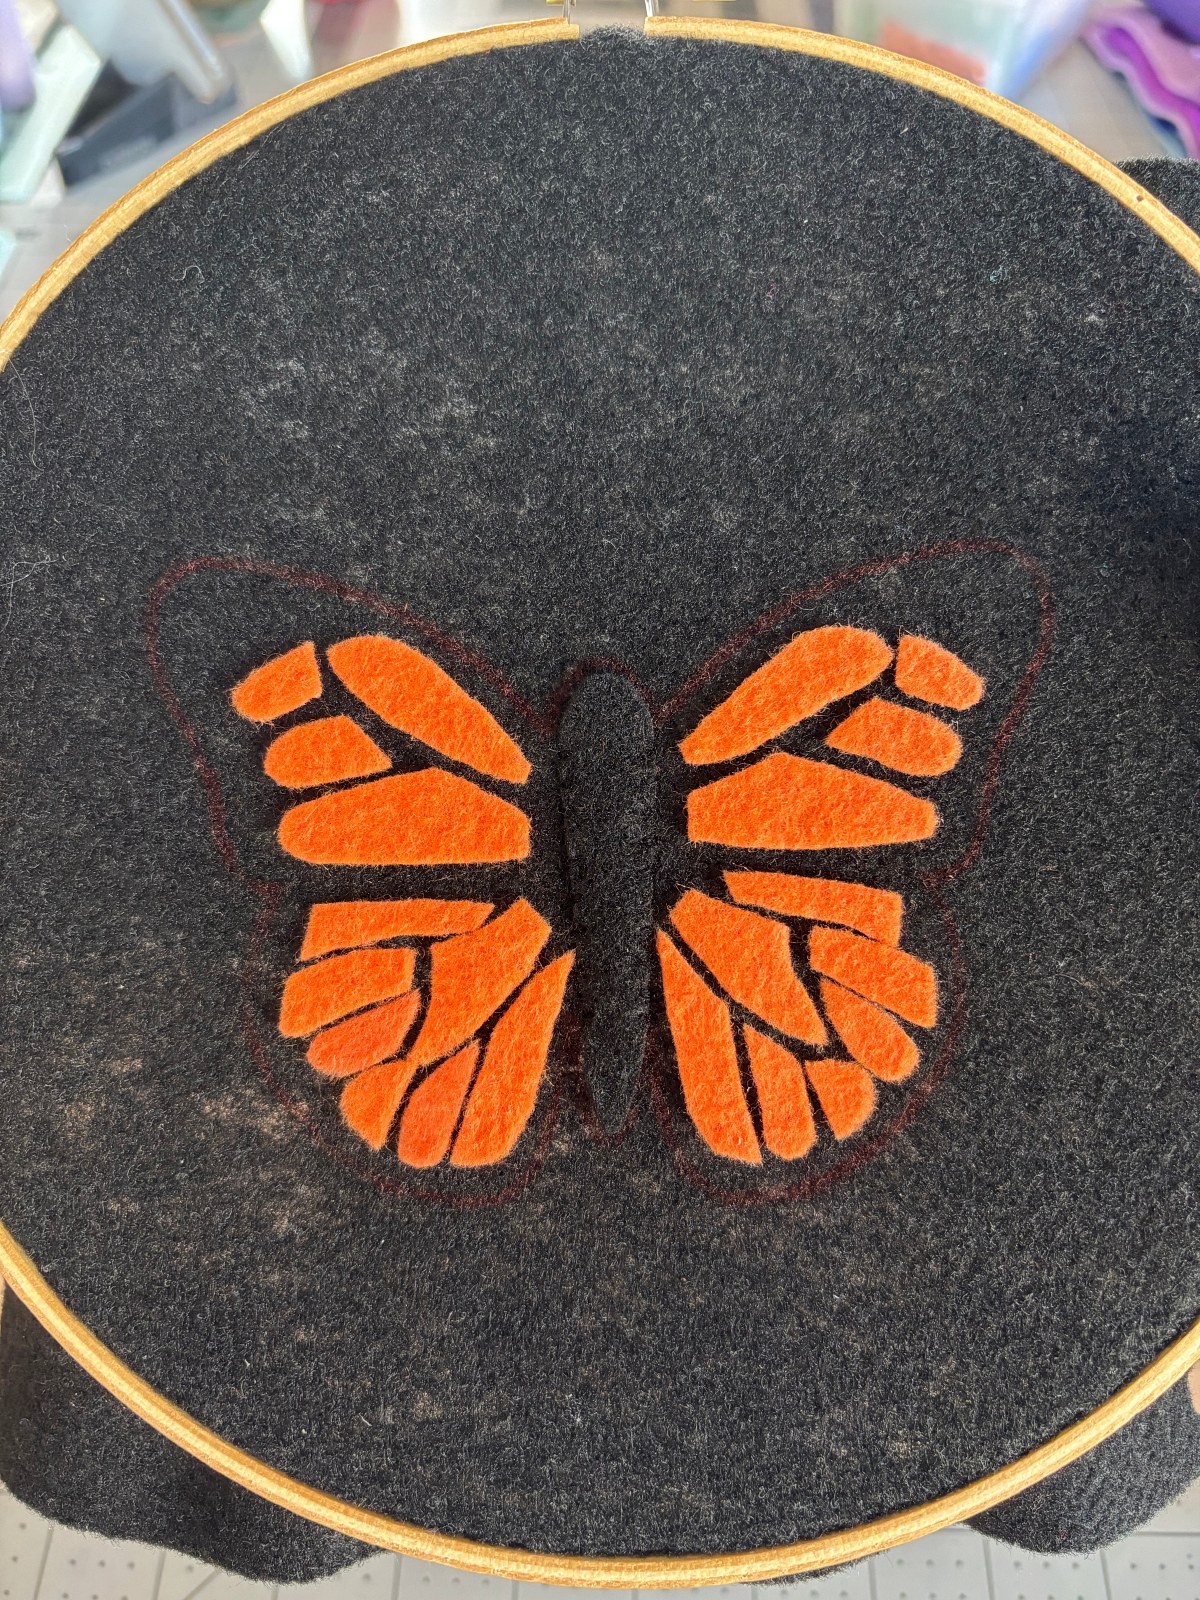
Start by tracing your pattern pieces on the felt using a pen. Then cut out all the pieces except the front base of the butterfly on the black felt. You will be putting this piece in an embroidery hoop. I personally like to use an embroidery hoop holder so my hands don’t get too tired while working.
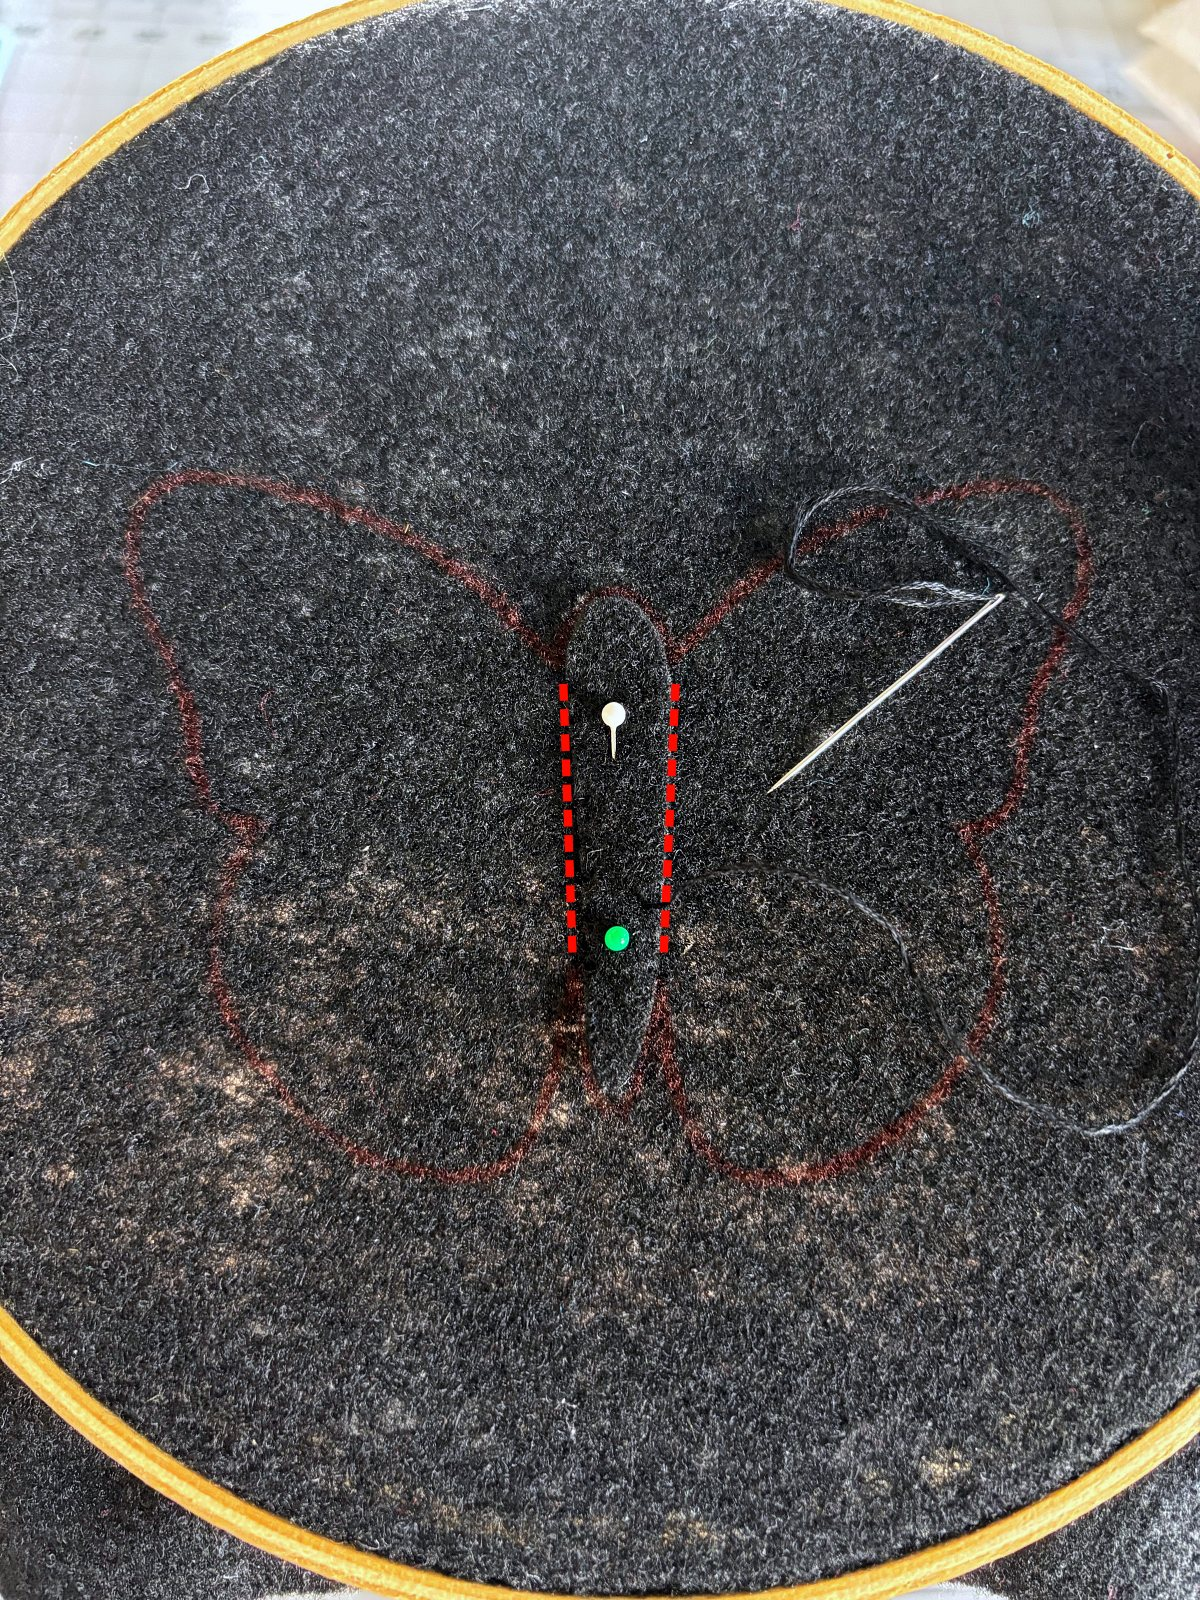
Step 2
Next you will pin the butterfly body in place using a few sewing pins. Separate three strands of black embroidery thread and sew around the sides of the butterfly body using a whip stitch.
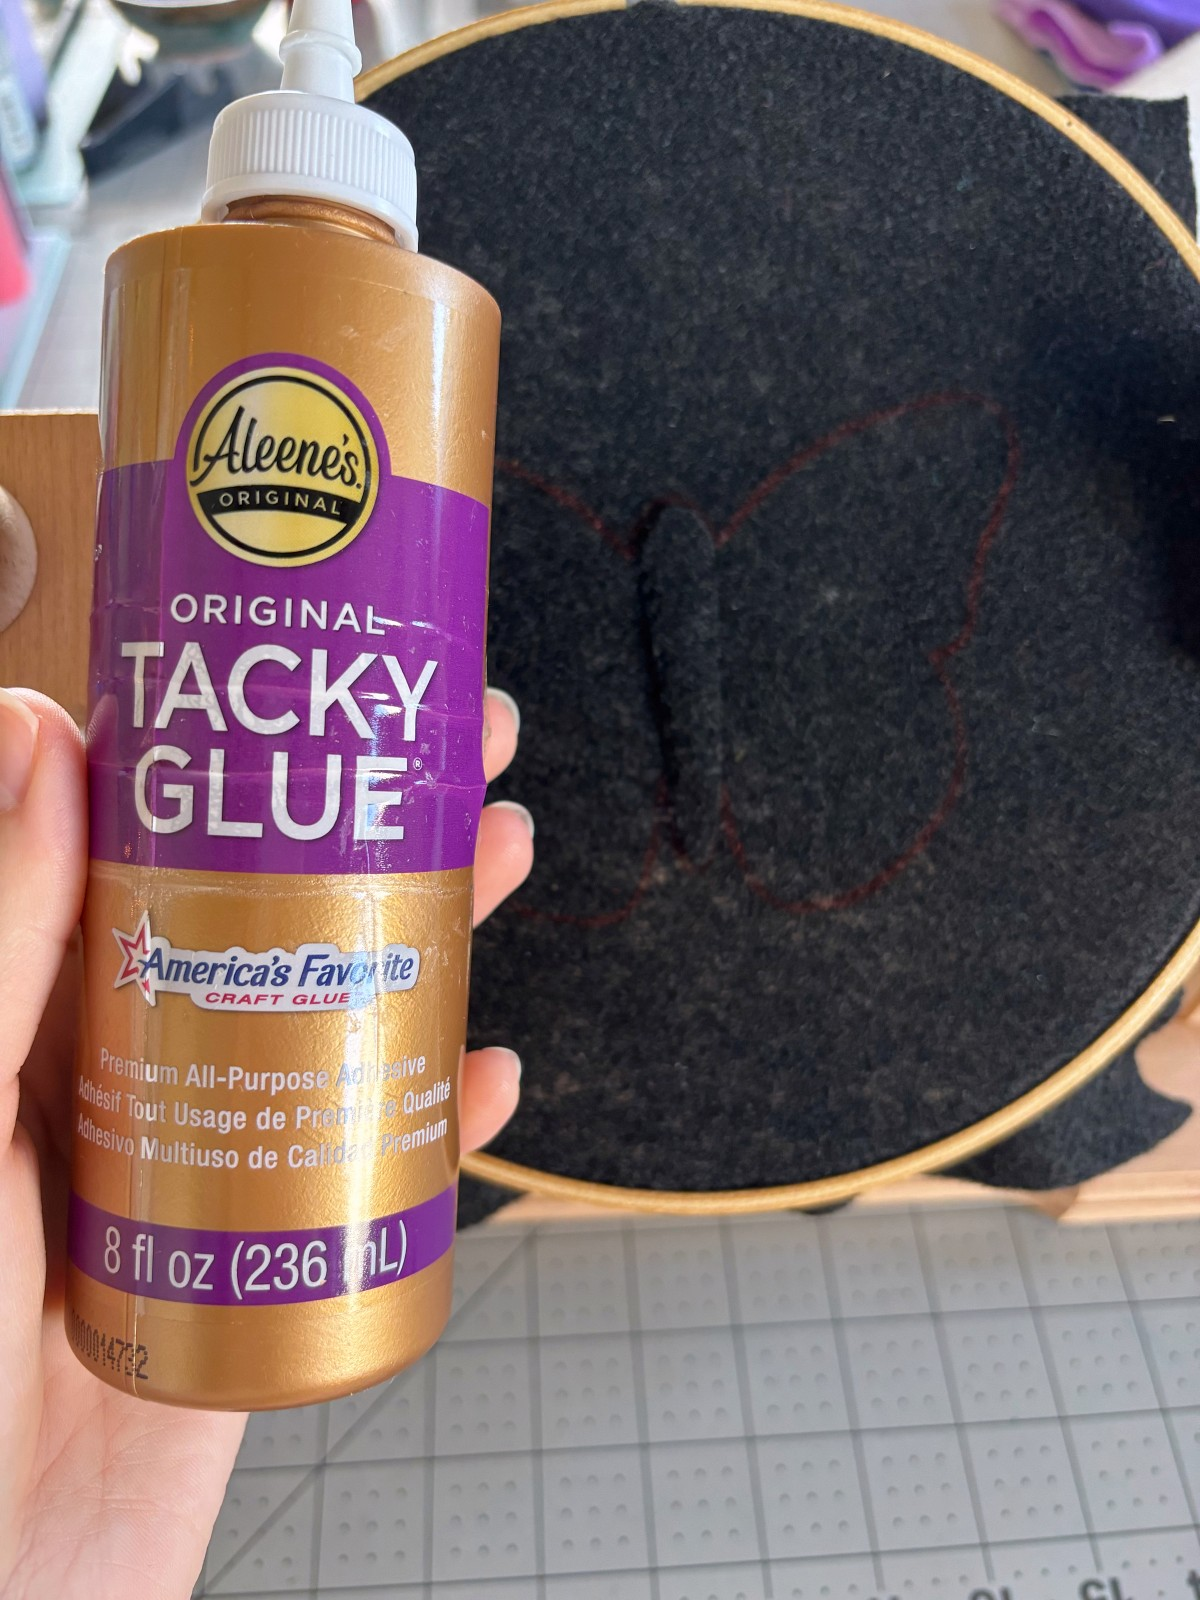
Step 3
Now you will use tacky glue to adhere the orange details of the wings to the base. Make sure to use a small line of glue along the outside edges. Avoiding putting glue in the middle to make it easier when sewing on the bead and sequin details later.
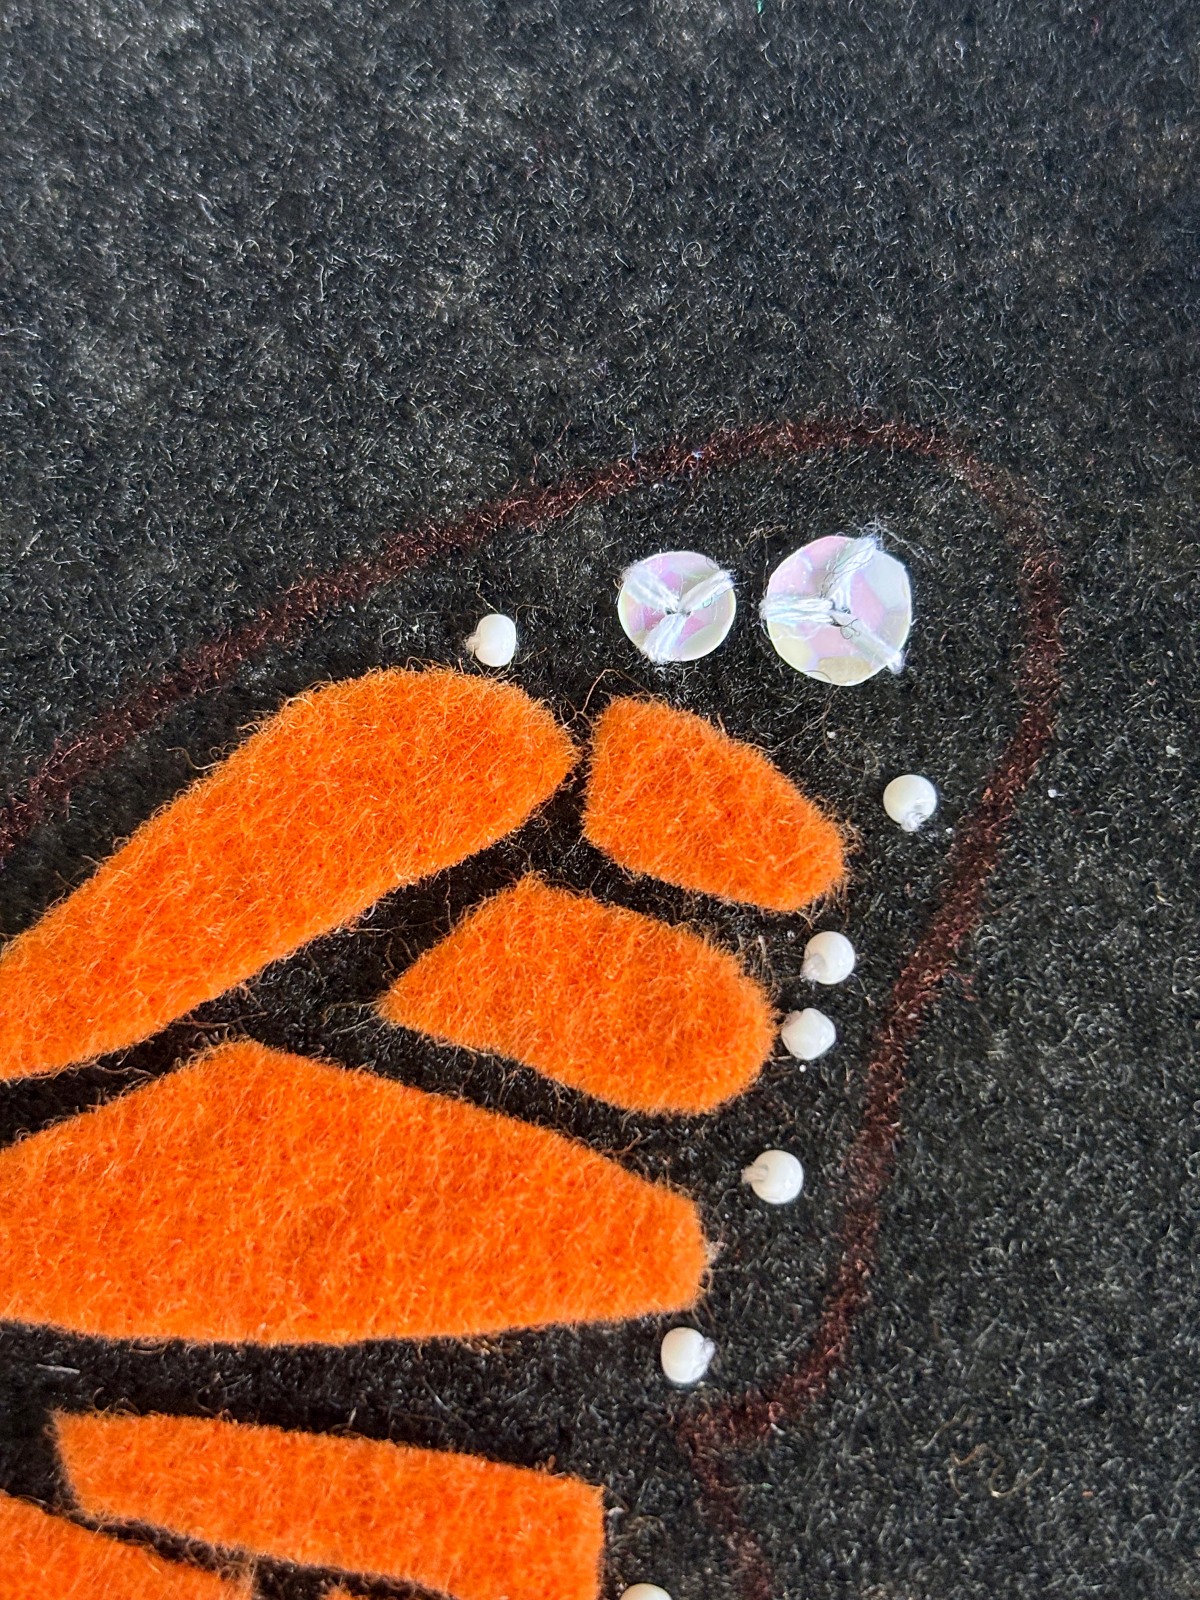
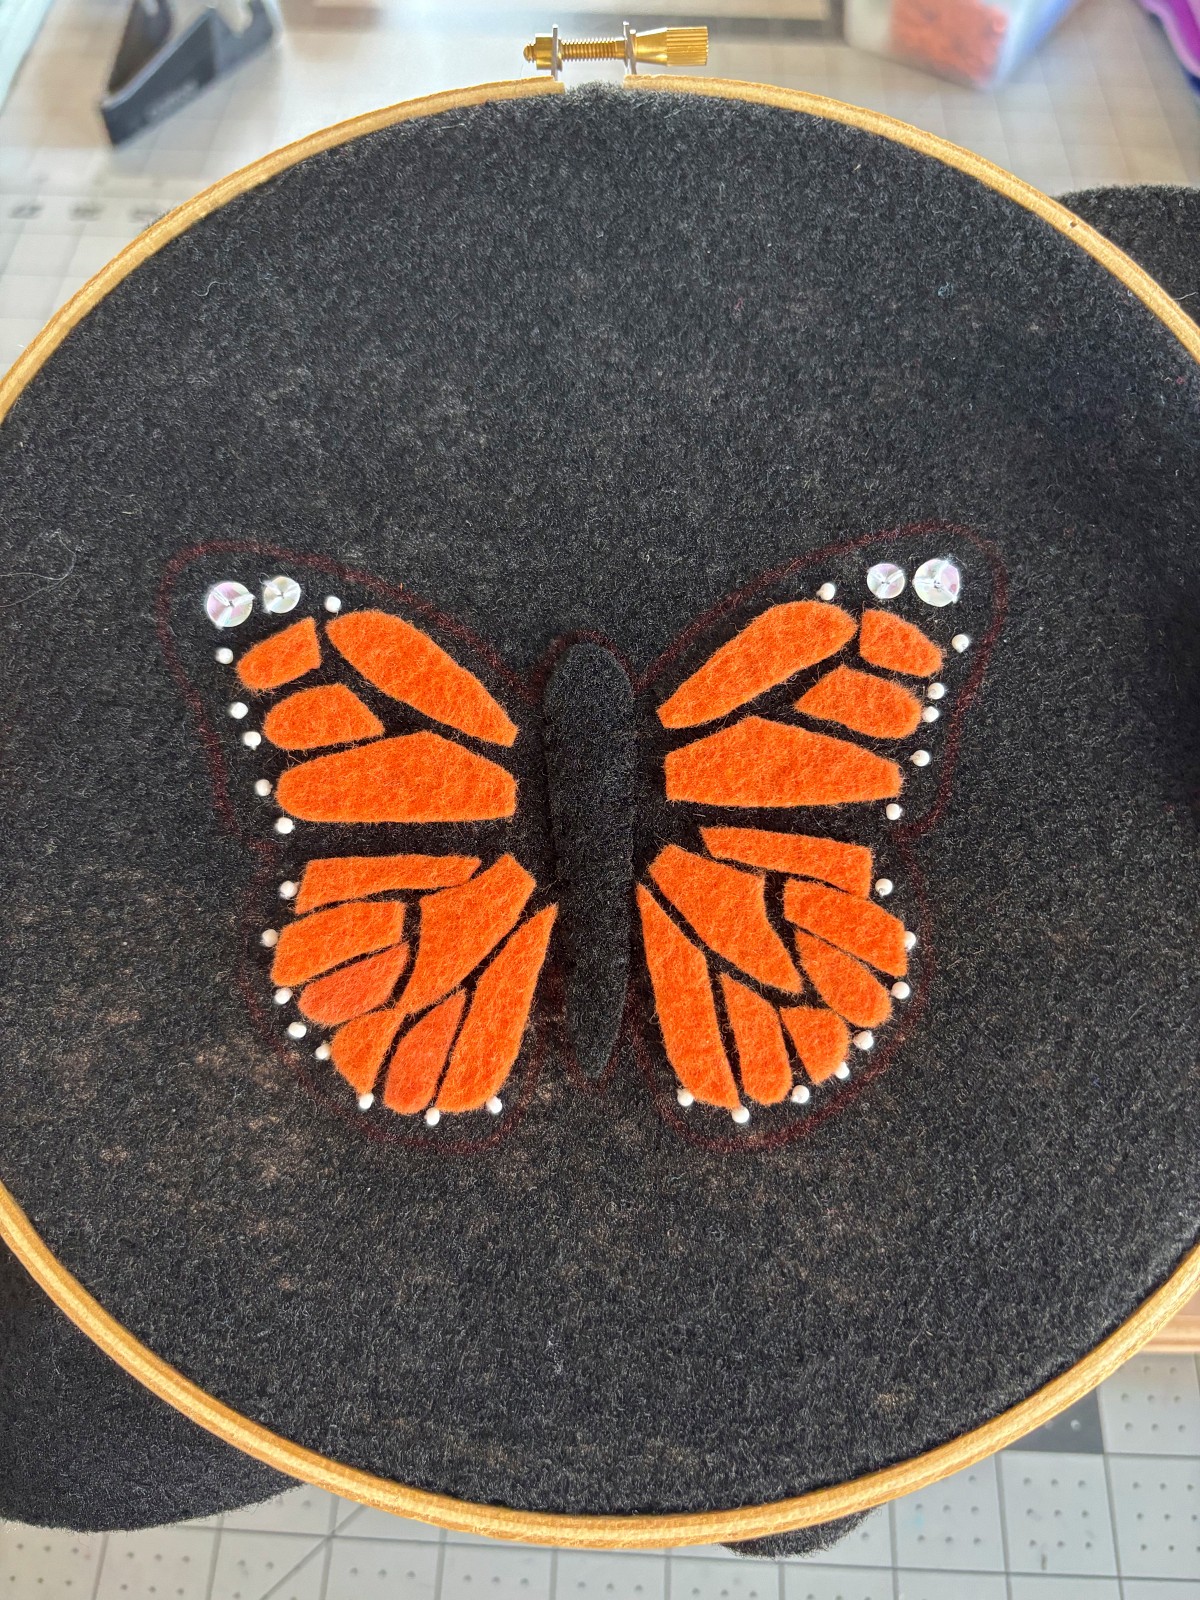
Step 4
While the tacky glue dries, you can sew on the outside wing details of the butterfly using three strands of white embroidery thread. I placed two sequins at the top (one 6mm and one 4mm on each side) and small white seed beads along the edge. If you don’t want to use beads and sequins, you could alternatively make the details using embroidery thread.
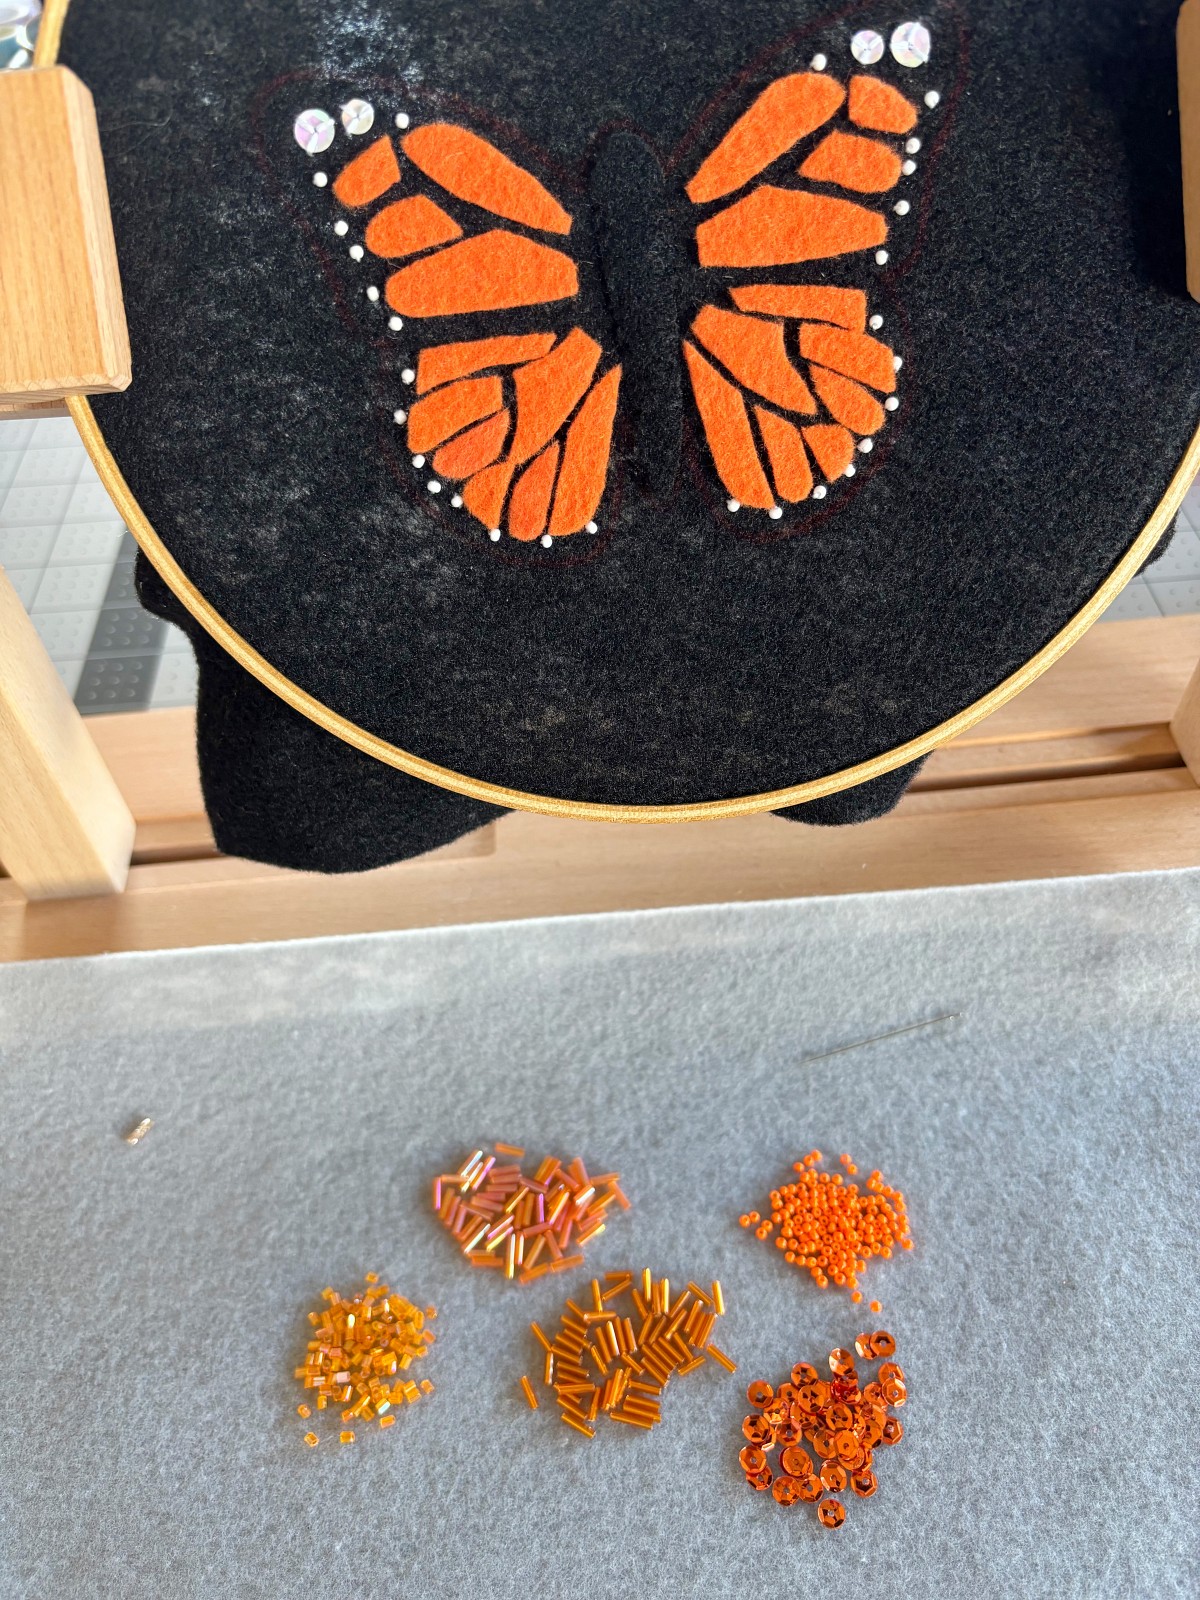
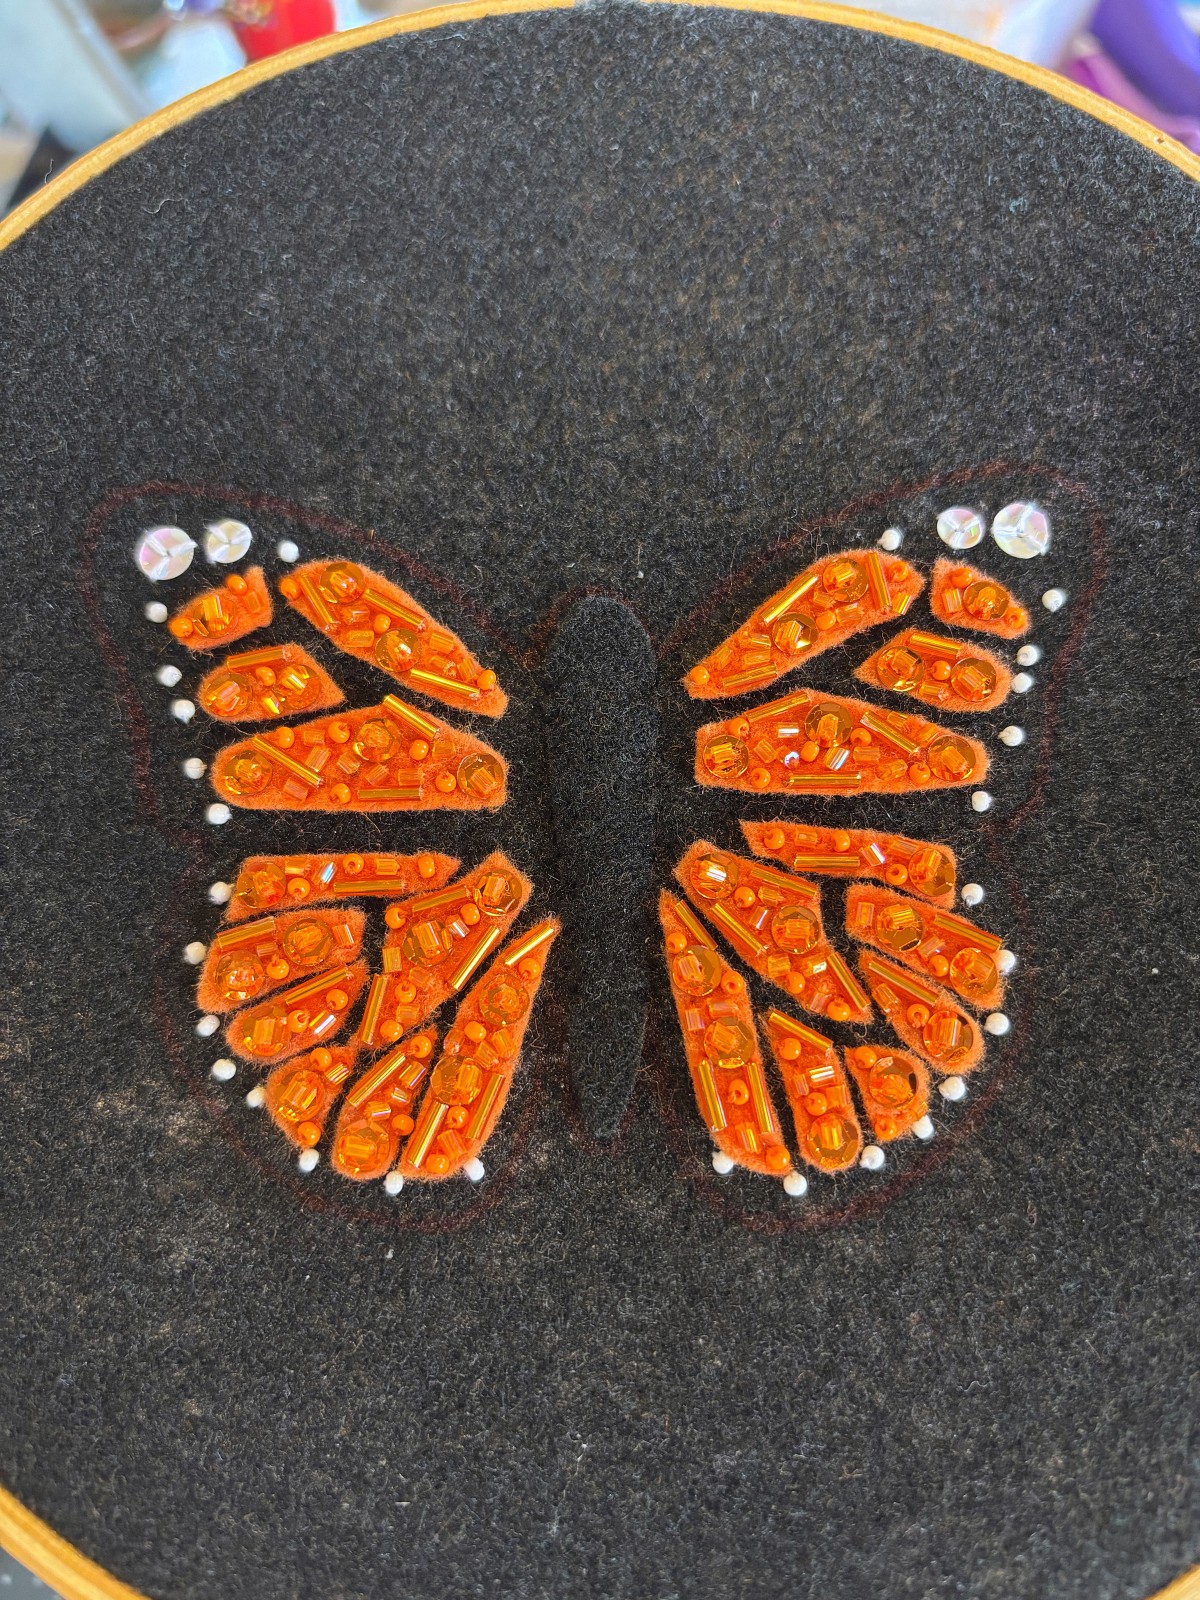
Step 5
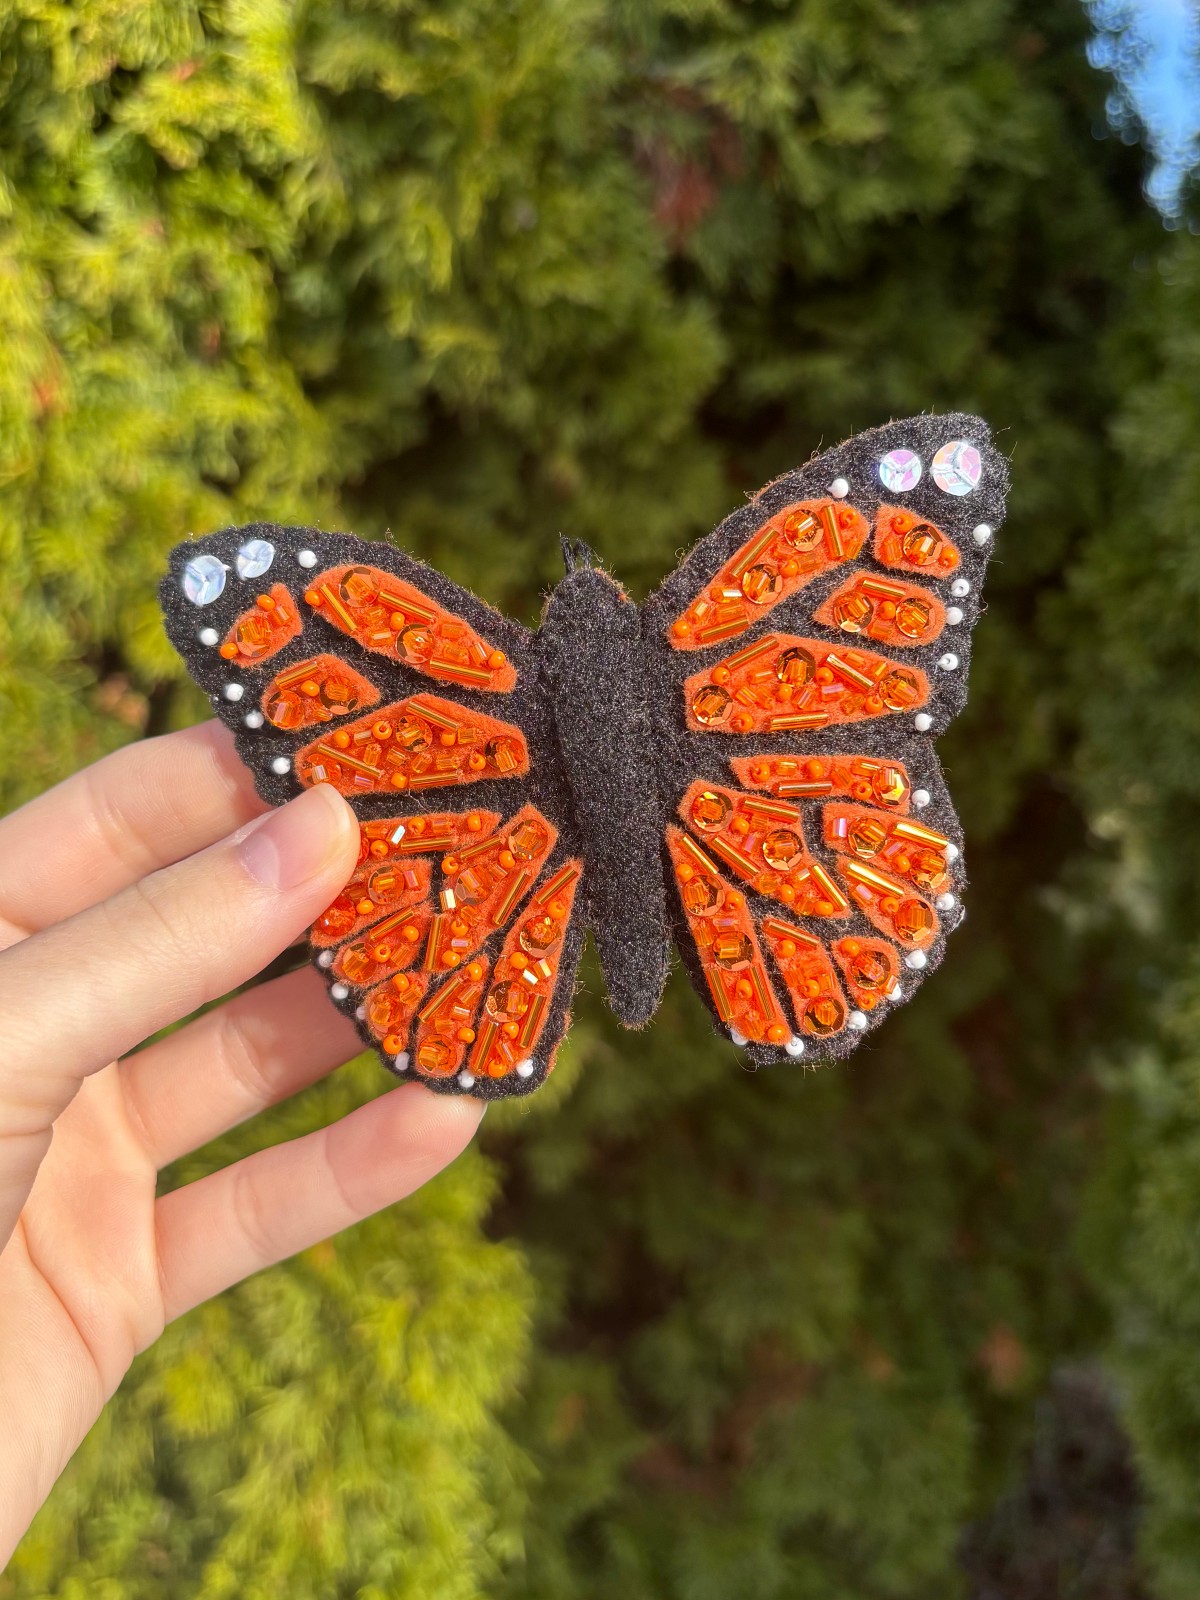
At this point you could choose to leave your butterfly as is and skip to step 6. However, if you want your ornament to have a beautiful shiny look then I would suggest adding beads and sequins to the orange wing details. Using three strands of orange embroidery thread, sew the varying beads and sequins in each section of the wings. There isn’t an exact science in the placement so just have fun with it.
Step 6
Once you are done with any details on the front of your butterfly, take it out of the embroidery hoop and carefully cut it out.

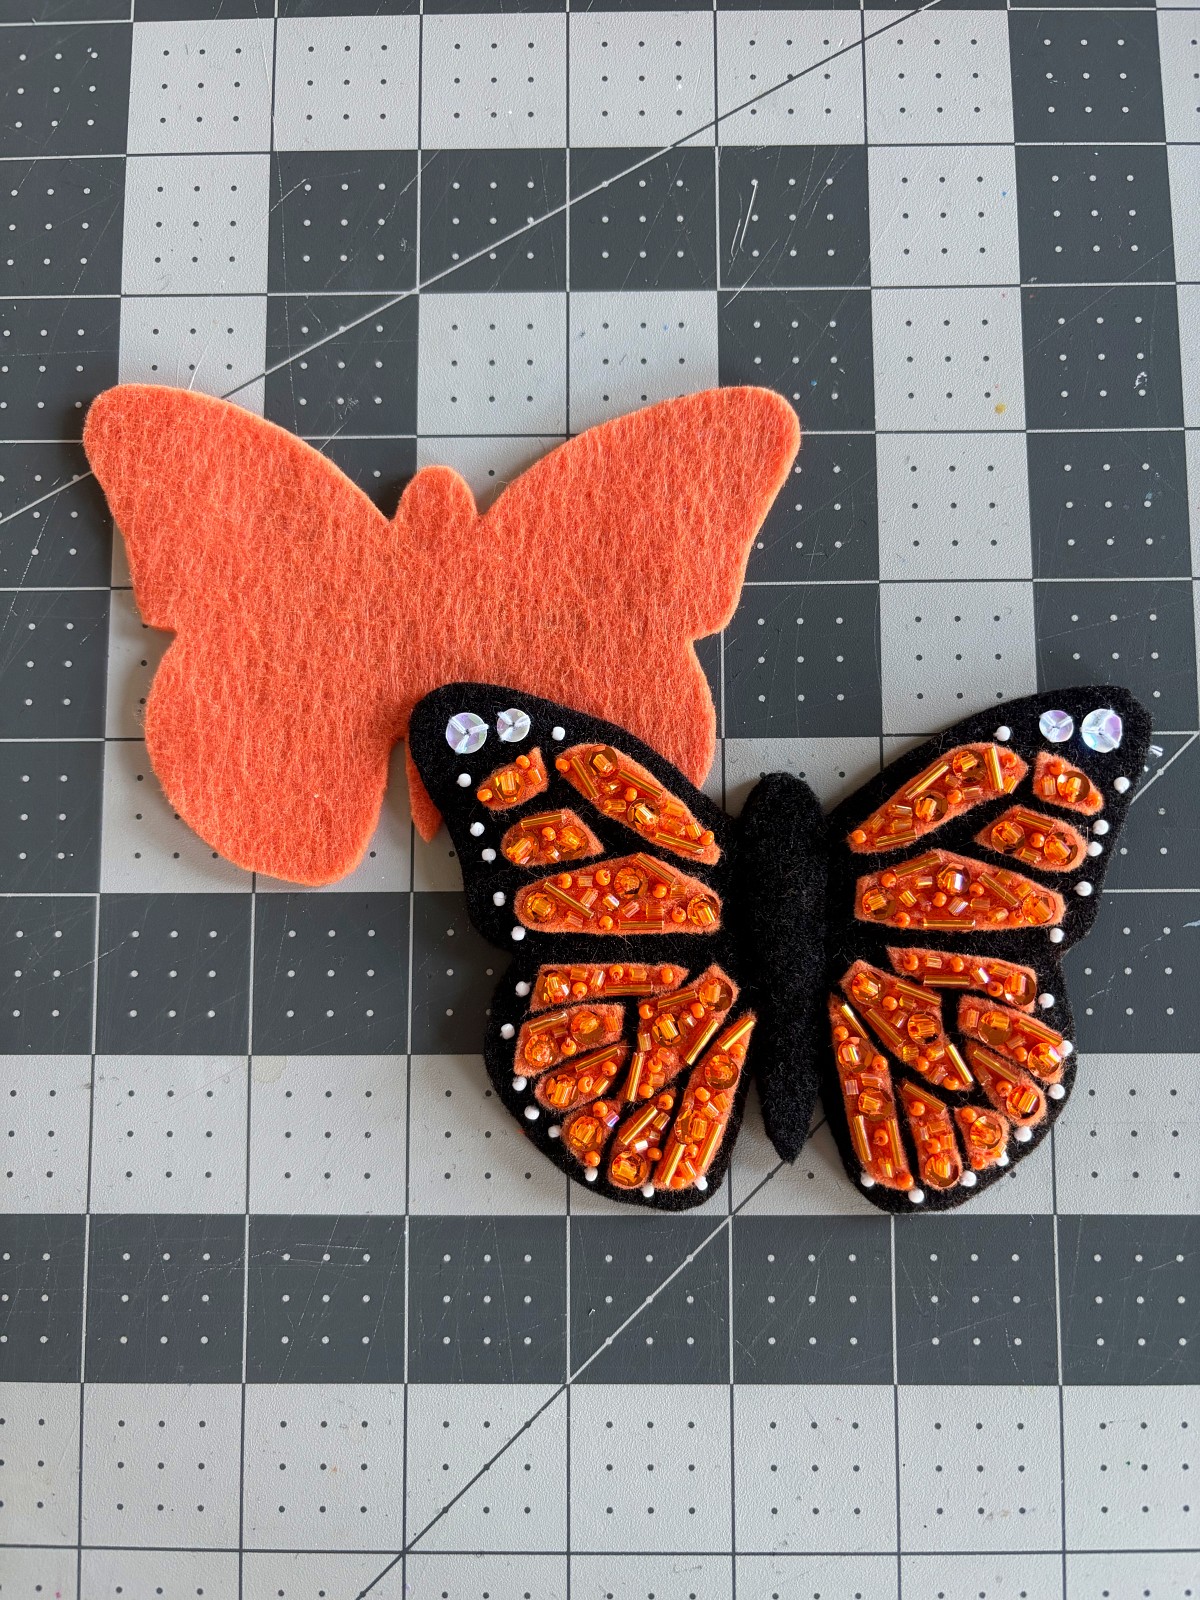
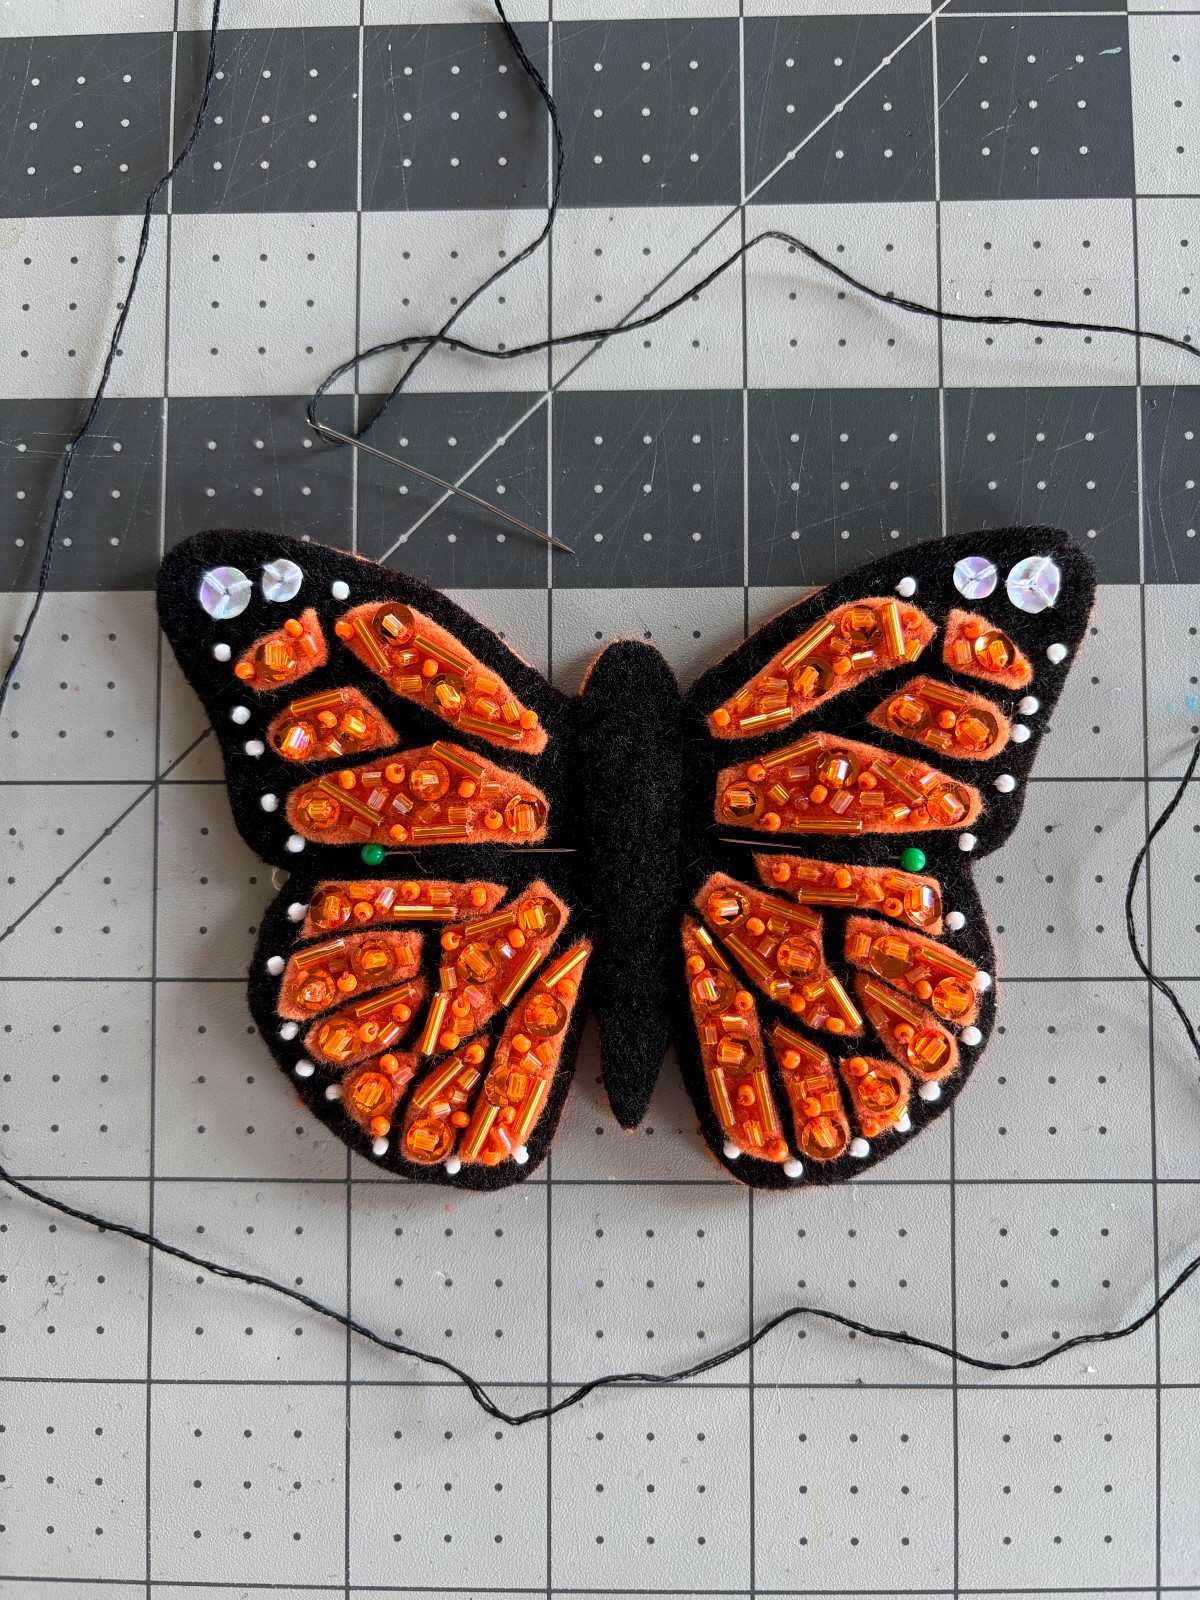
Step 7
Pin the front of the butterfly to the orange base and sew a blanket stitch around the entire outside edge using three strands of black embroidery thread.
Step 8
Lastly, I used a little bit of black embroidery thread hooked through the blanket stitch to hang it up by. You are now done with your monarch butterfly ornament!
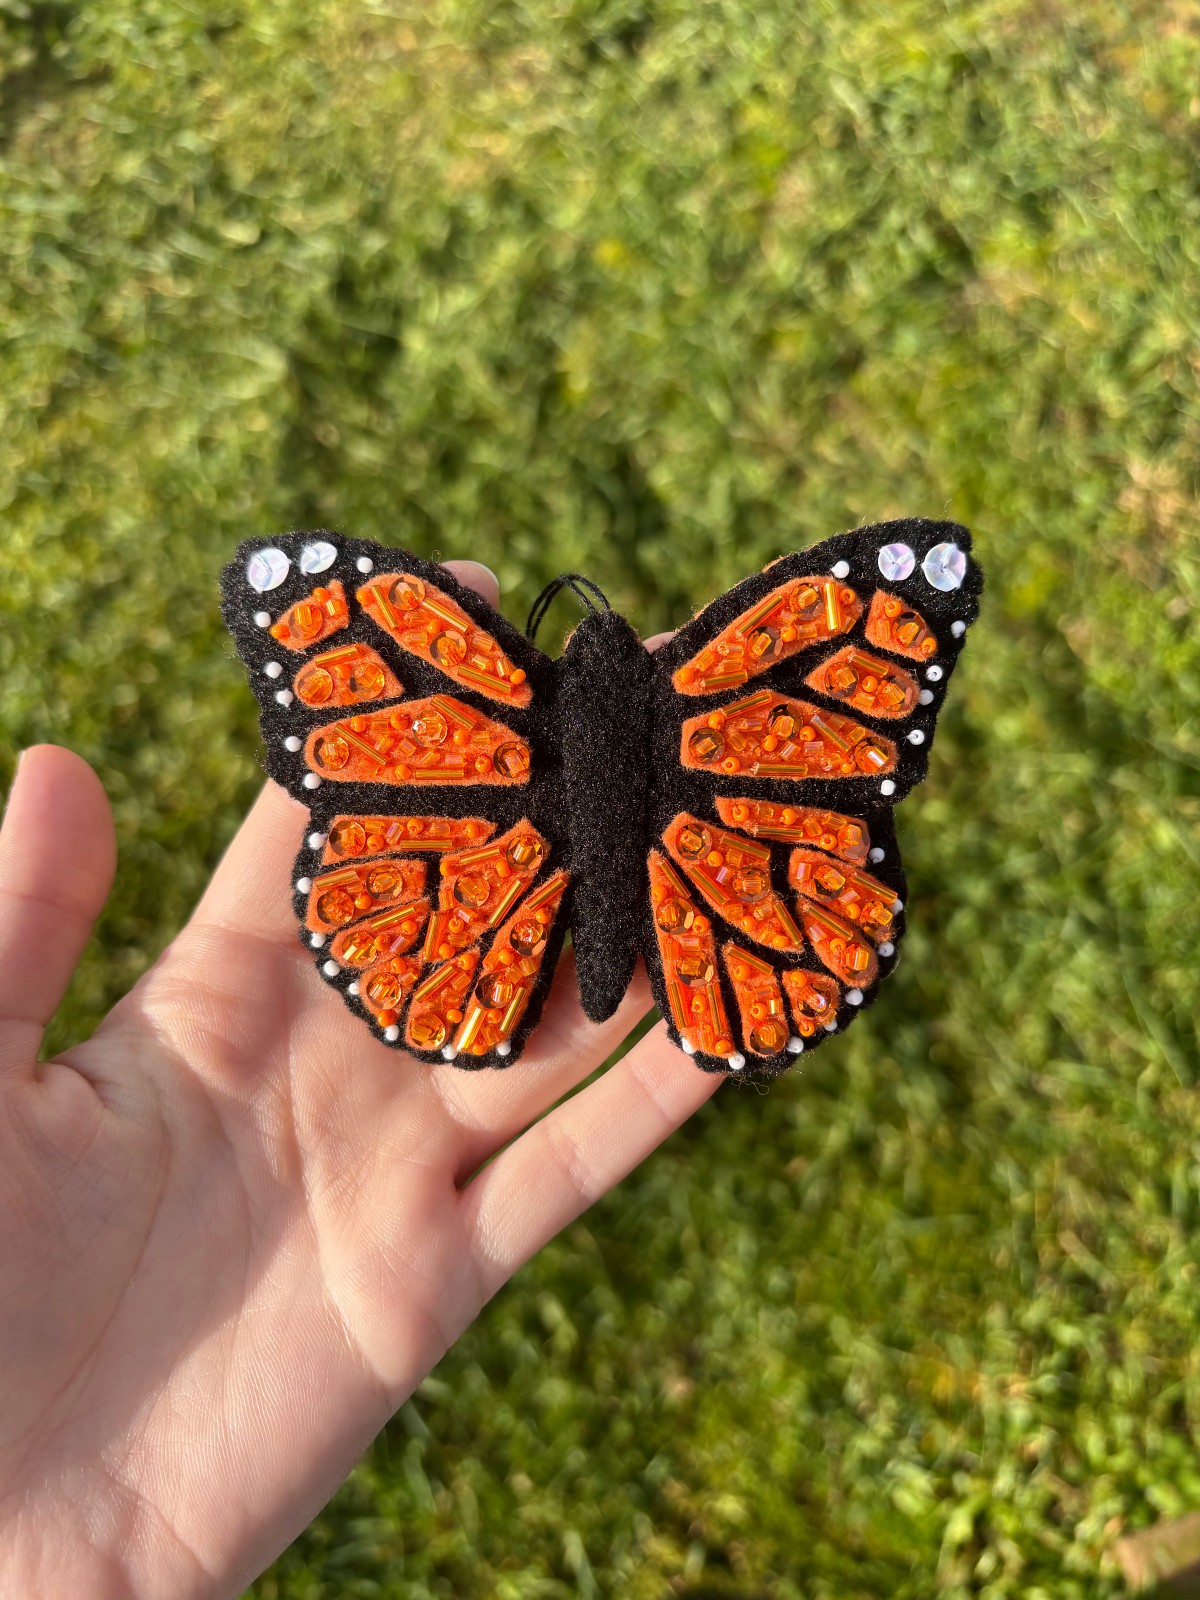
I hope you enjoyed this project and had fun following along. If you create your own monarch butterfly ornament we would love to see it. Tag us on Instagram @mirrortwins.studio and we will share it on our story.