Luna Moth Ornament. Free PDF Sewing Pattern.
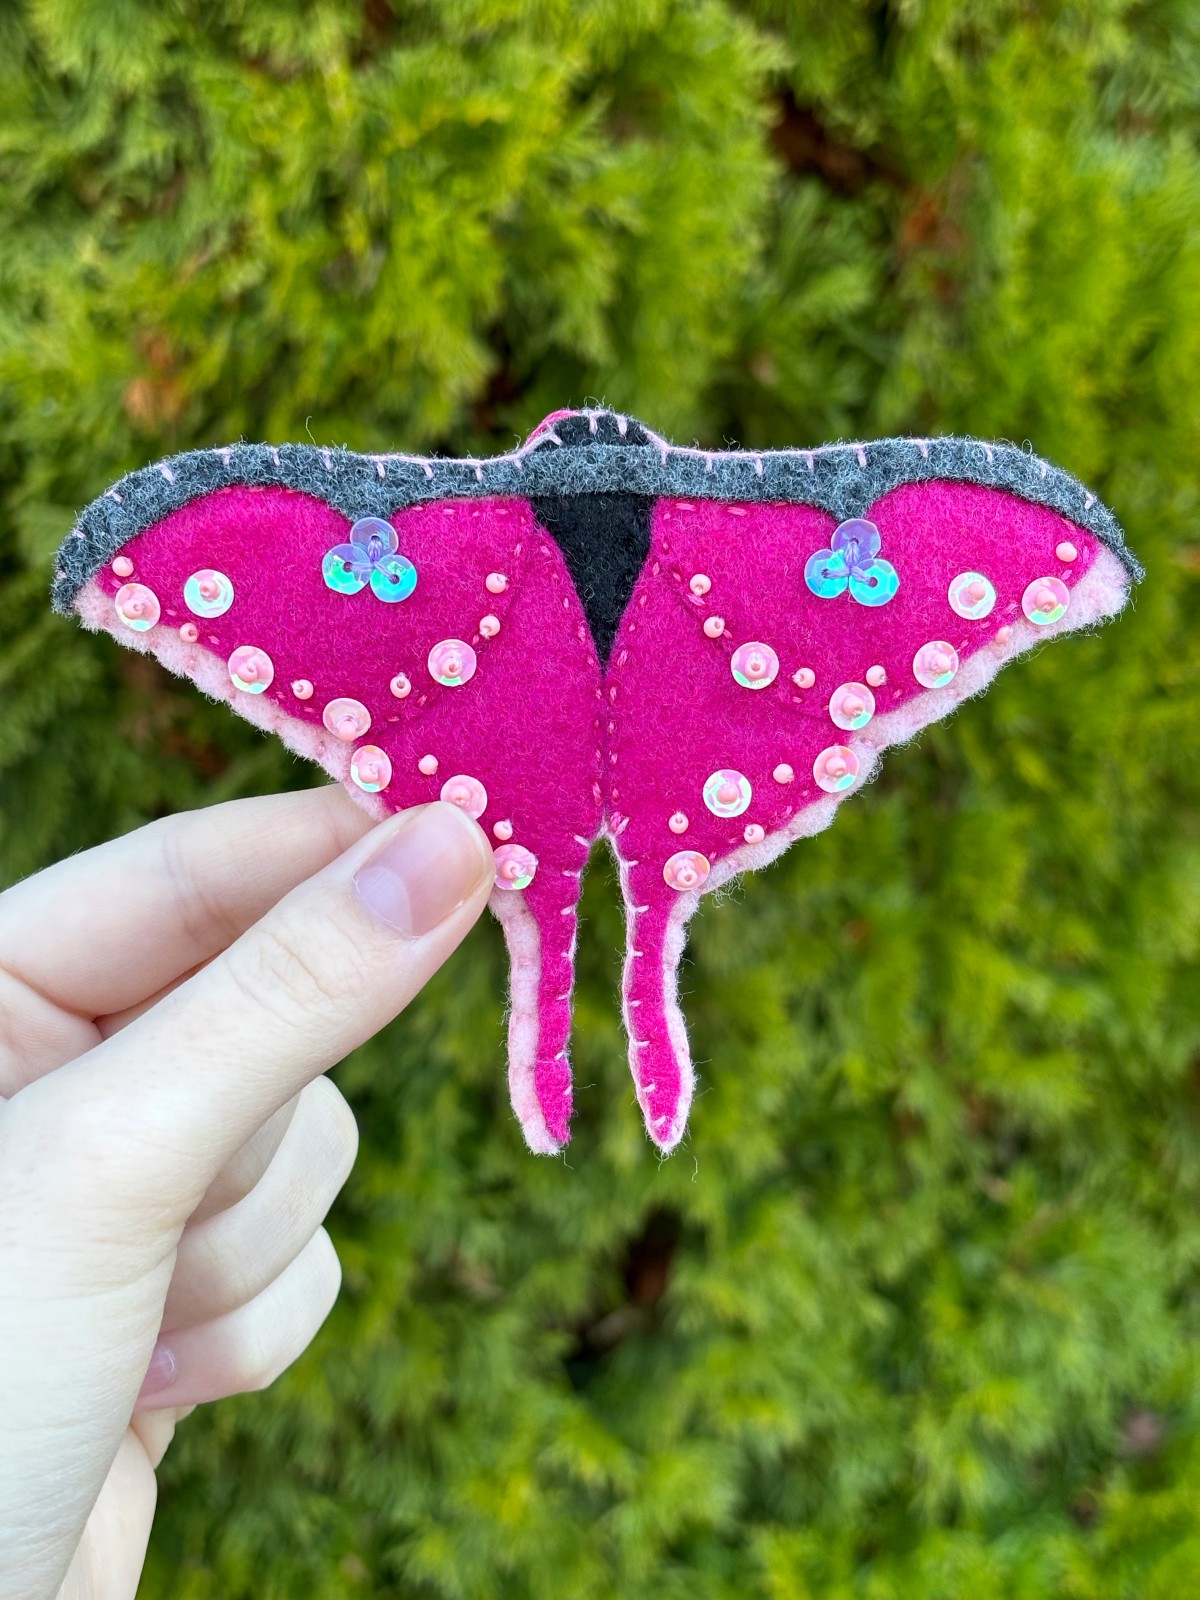
Beautiful Luna Moth Sewing Project, perfect for fall. Grab the Free sewing pattern below to make your own Luna Moth Felt Ornament. Adorned with sparkling beads and sequins, this moth shines in the sun and brings a little whimsy to your room. You could also add a keychain and rock this cute little moth as an awesome bag accessory. A perfect addition to any home.
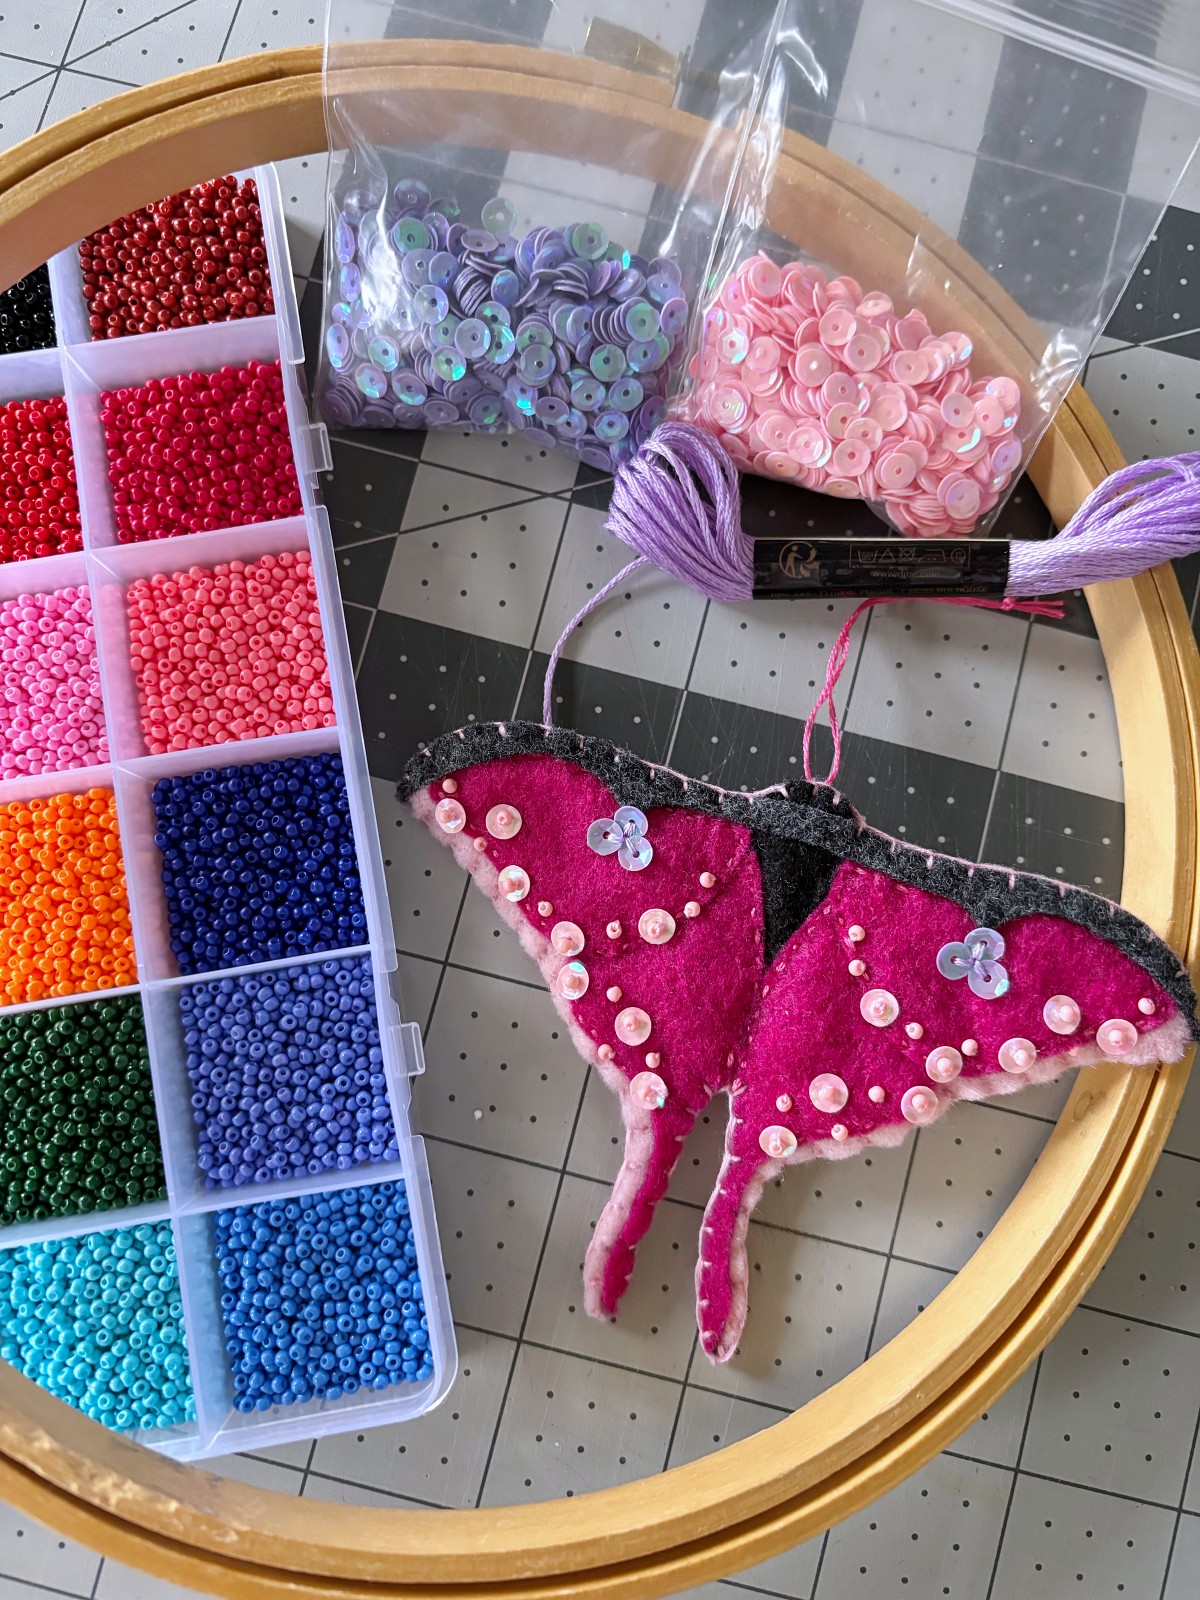
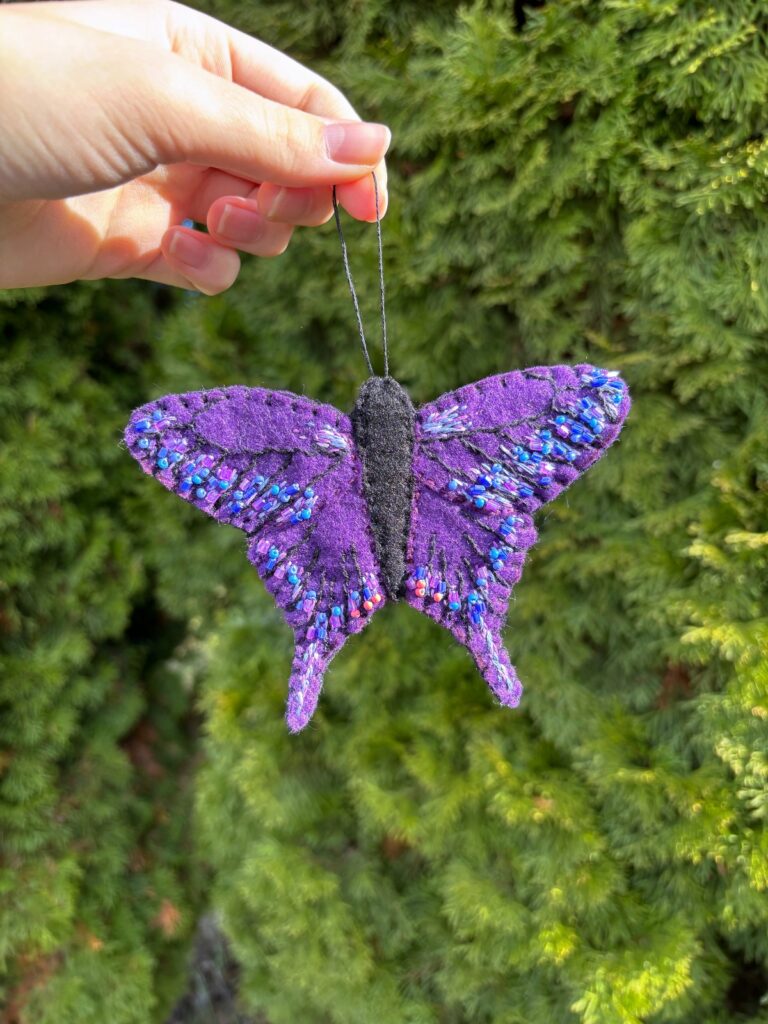
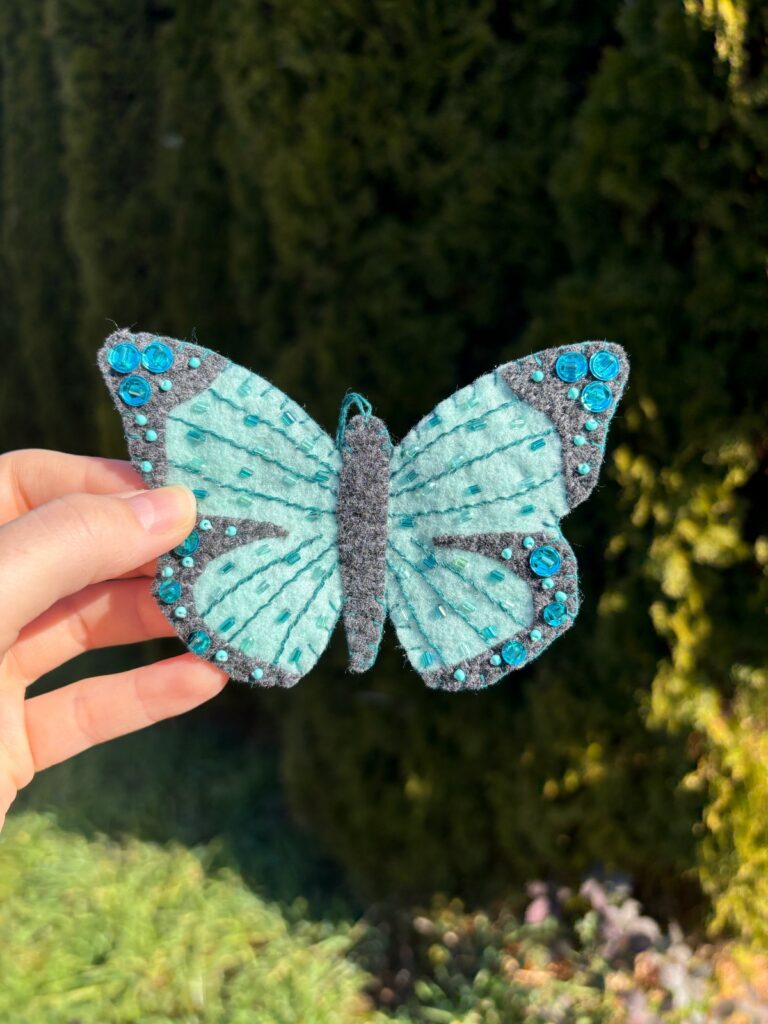
As fall inches closer every day, we want to be prepared to deck out our home with the perfect whimsical autumn decor. This little luna moth ornament will fit right in. Last week we shared another moth felt ornament. I think this luna moth will go great together with that cosmic inspired moth, maybe on some sort of garland. I’m thinking, two luna moths and two cosmic moth ornaments alternating with some puff balls in between each. Now that would add a pop of color to our walls. I think this pattern would look great in so many different colors. Grab your favorite color of felt and let’s get crafting.
*This post contains affiliate links meaning I get a commission if you purchase through my links, at no extra cost to you.
Materials
- Felt (light pink, dark pink, black, and gray)
- Tacky Glue
- Embroidery thread (light pink, dark pink, purple, and black)
- Sequins (light pink and light purple)
- Seed beads (light pink)
- Scissors
- Sewing pins
- Ball point pen
- Embroidery hoop
- Embroidery hoop holder (optional)
- Embroidery thread wax (optional)
Instructions
Step 1
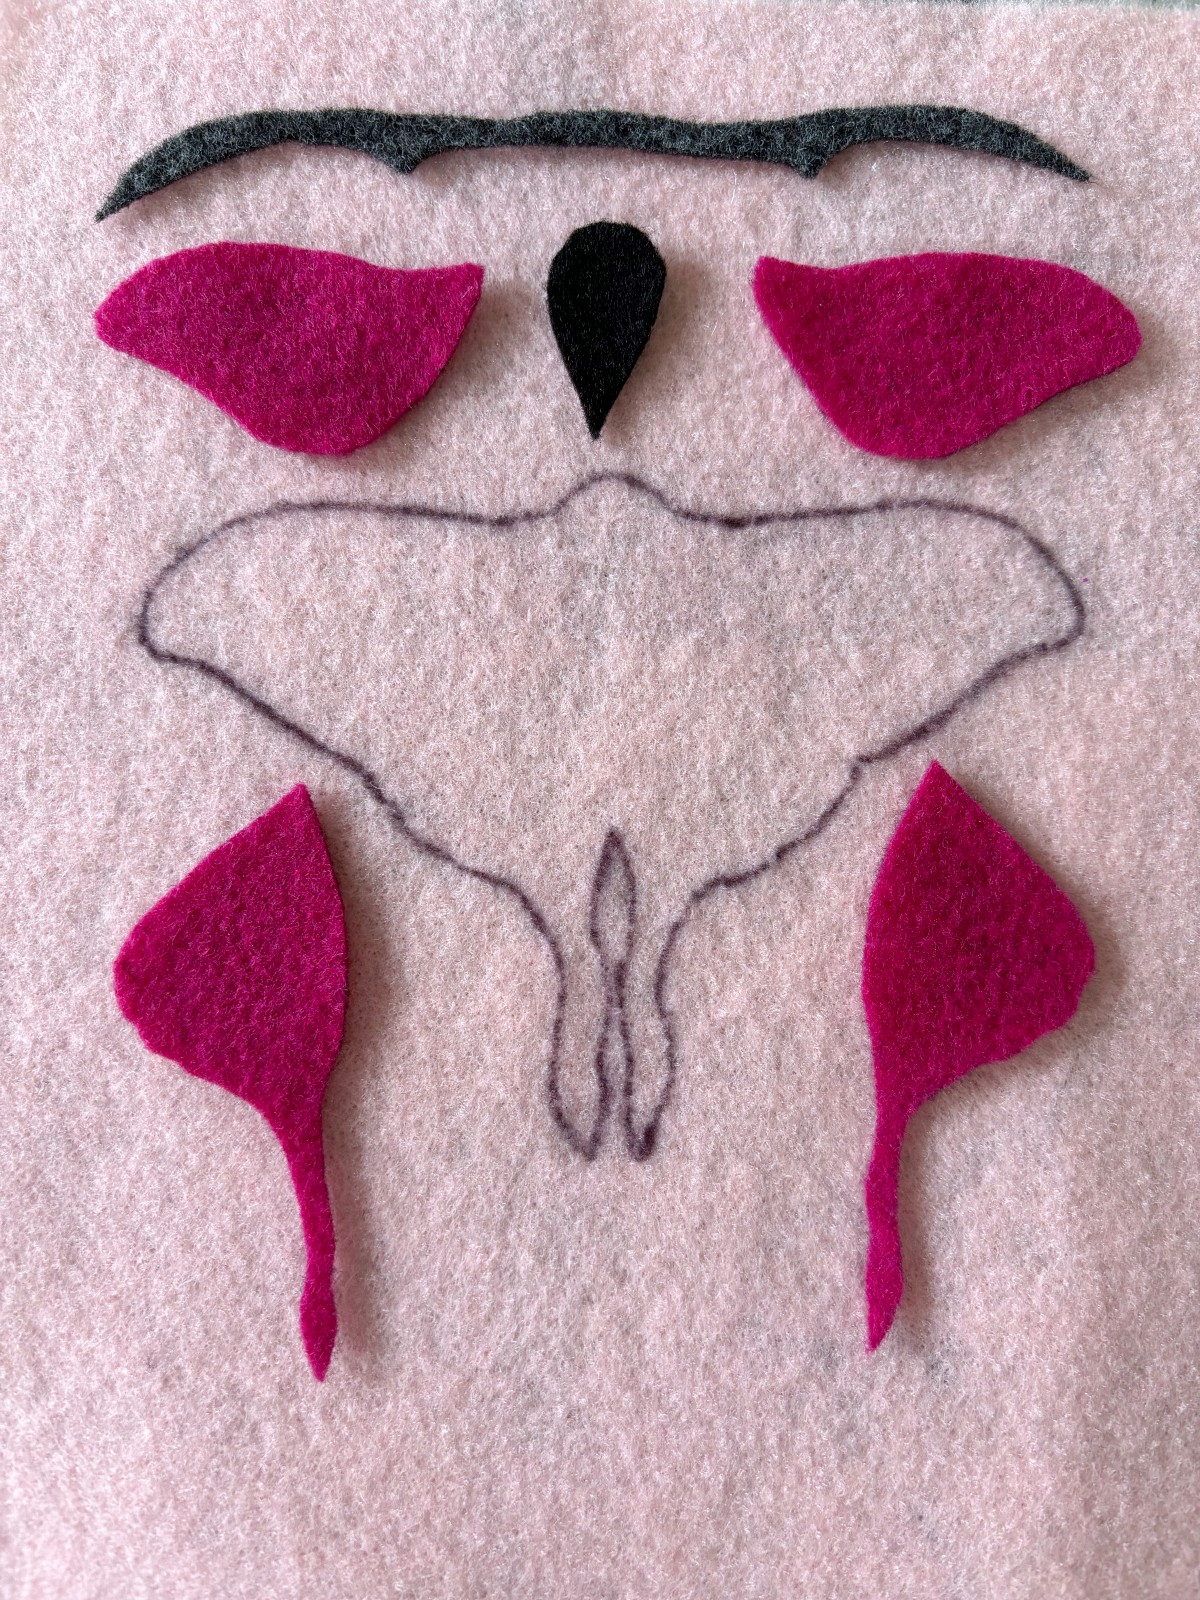
Trace the paper pattern on the designated colors of felt with a ball point pen. Cut out all pieces except for one of the light pink moth bases. This piece will be placed into an embroidery hoop and will be the base for sewing on the moth details and beads.
Note: Using an embroidery hoop holder makes sewing a lot easier as it helps to take a lot of the strain off of your hands. I personally love using this tool and find it really speeds up my sewing projects.
Step 2
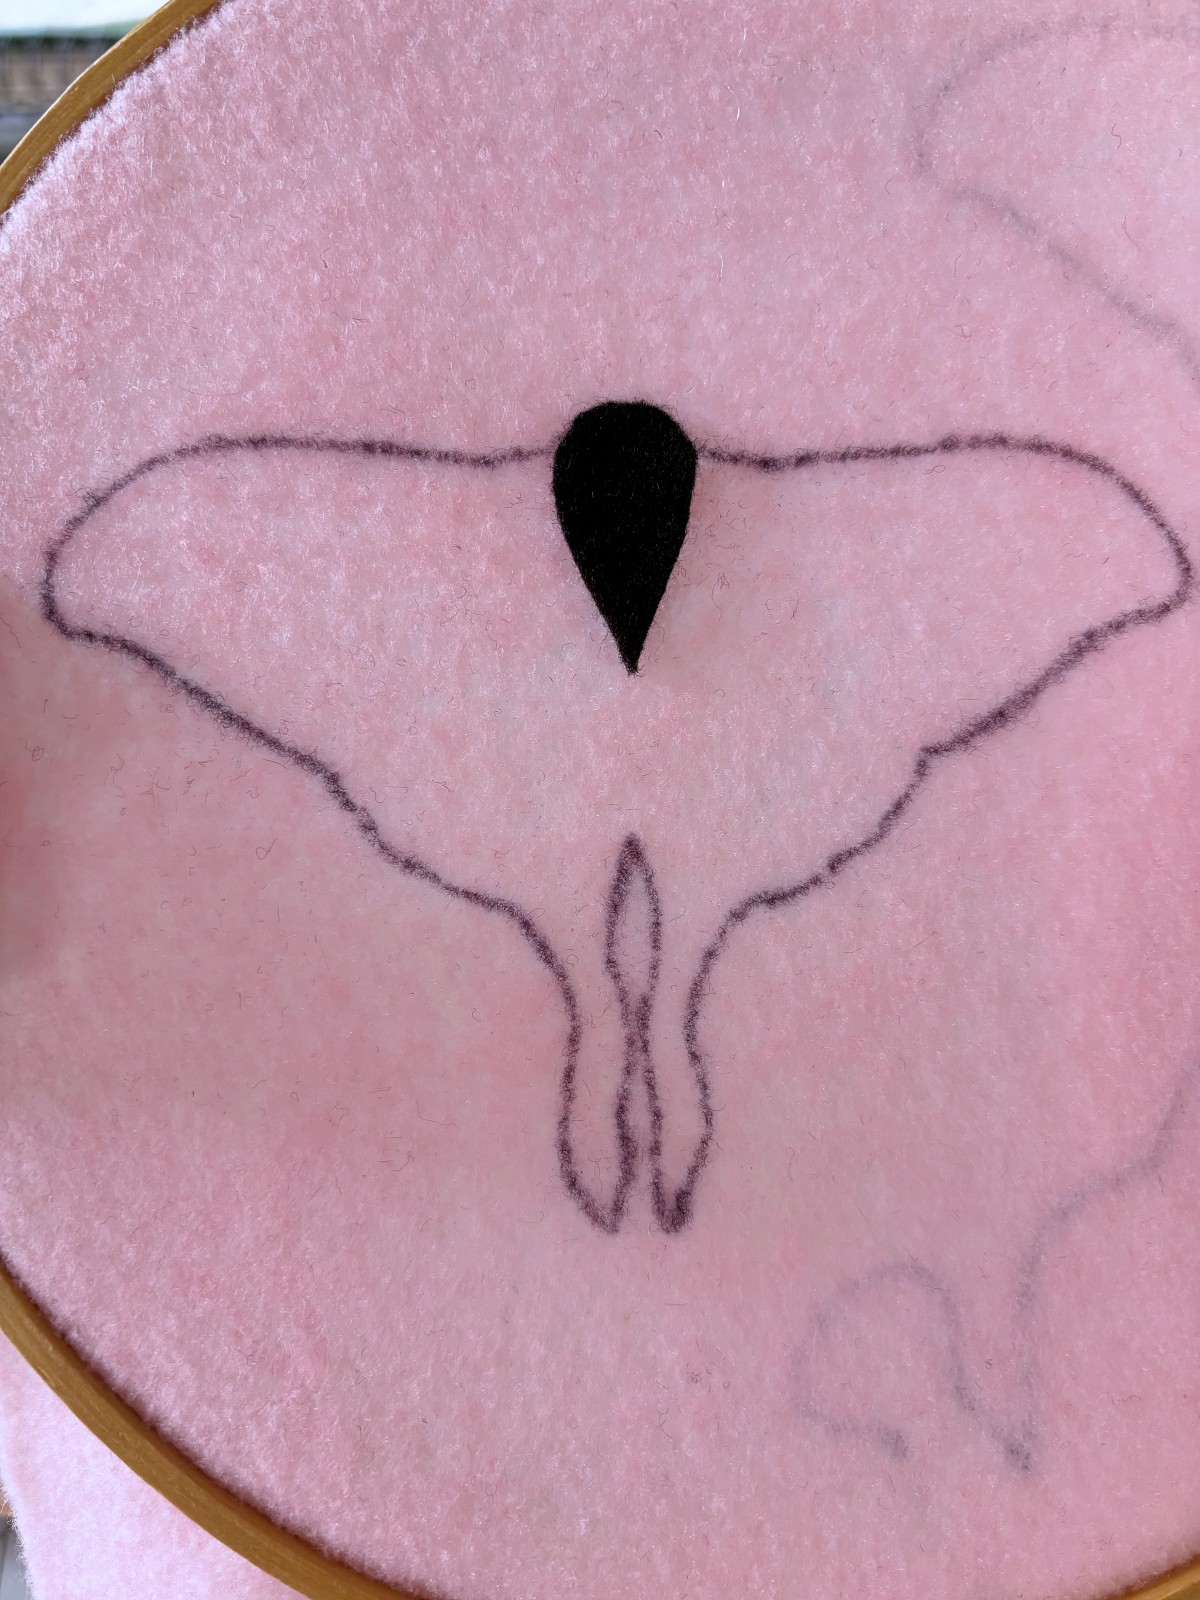
Place the black moth bodie on the pink base. Using black embroidery thread, sew a running stitch around the perimeter of the body to secure it to the base.
Note: all sewing for this project will be done with three strands thick of embroidery thread.
Step 3
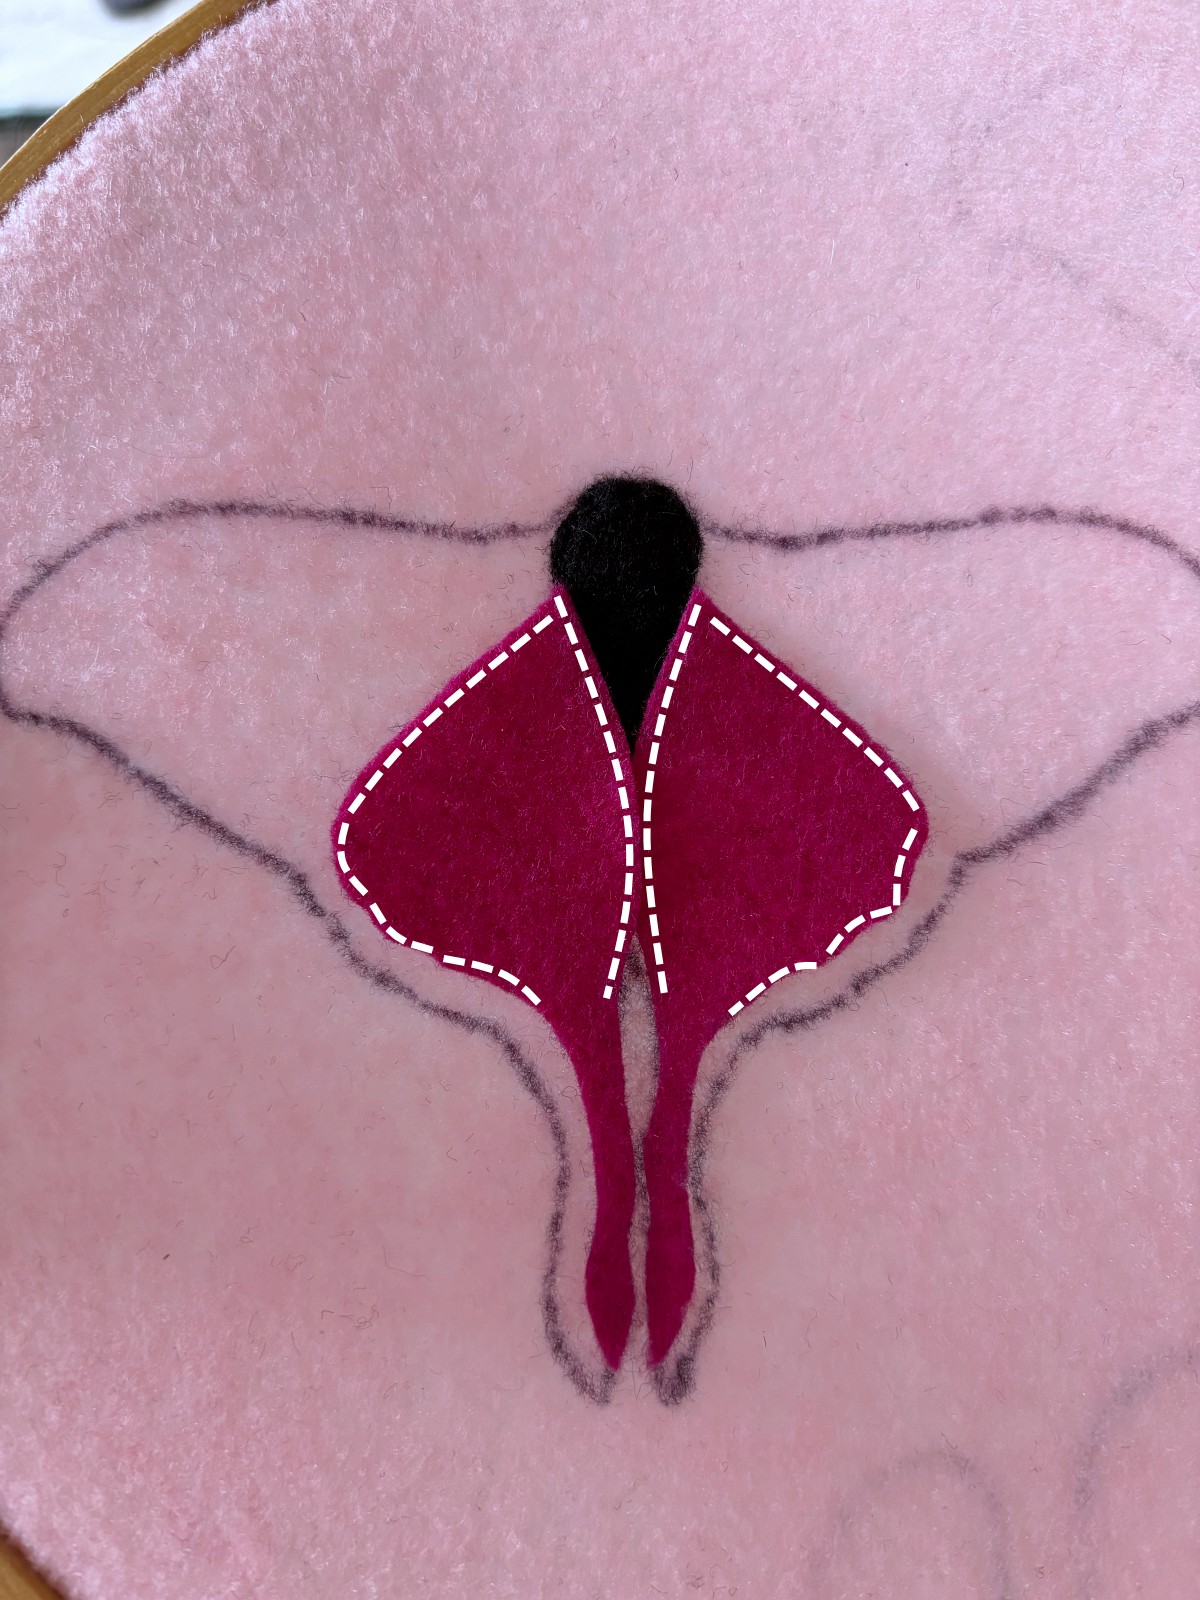
Next, place both bottom wings onto the base and pin in place. Using dark pink embroidery thread, sew a running stitch along the path indicated by white dashed lines in the picture below.
Step 4
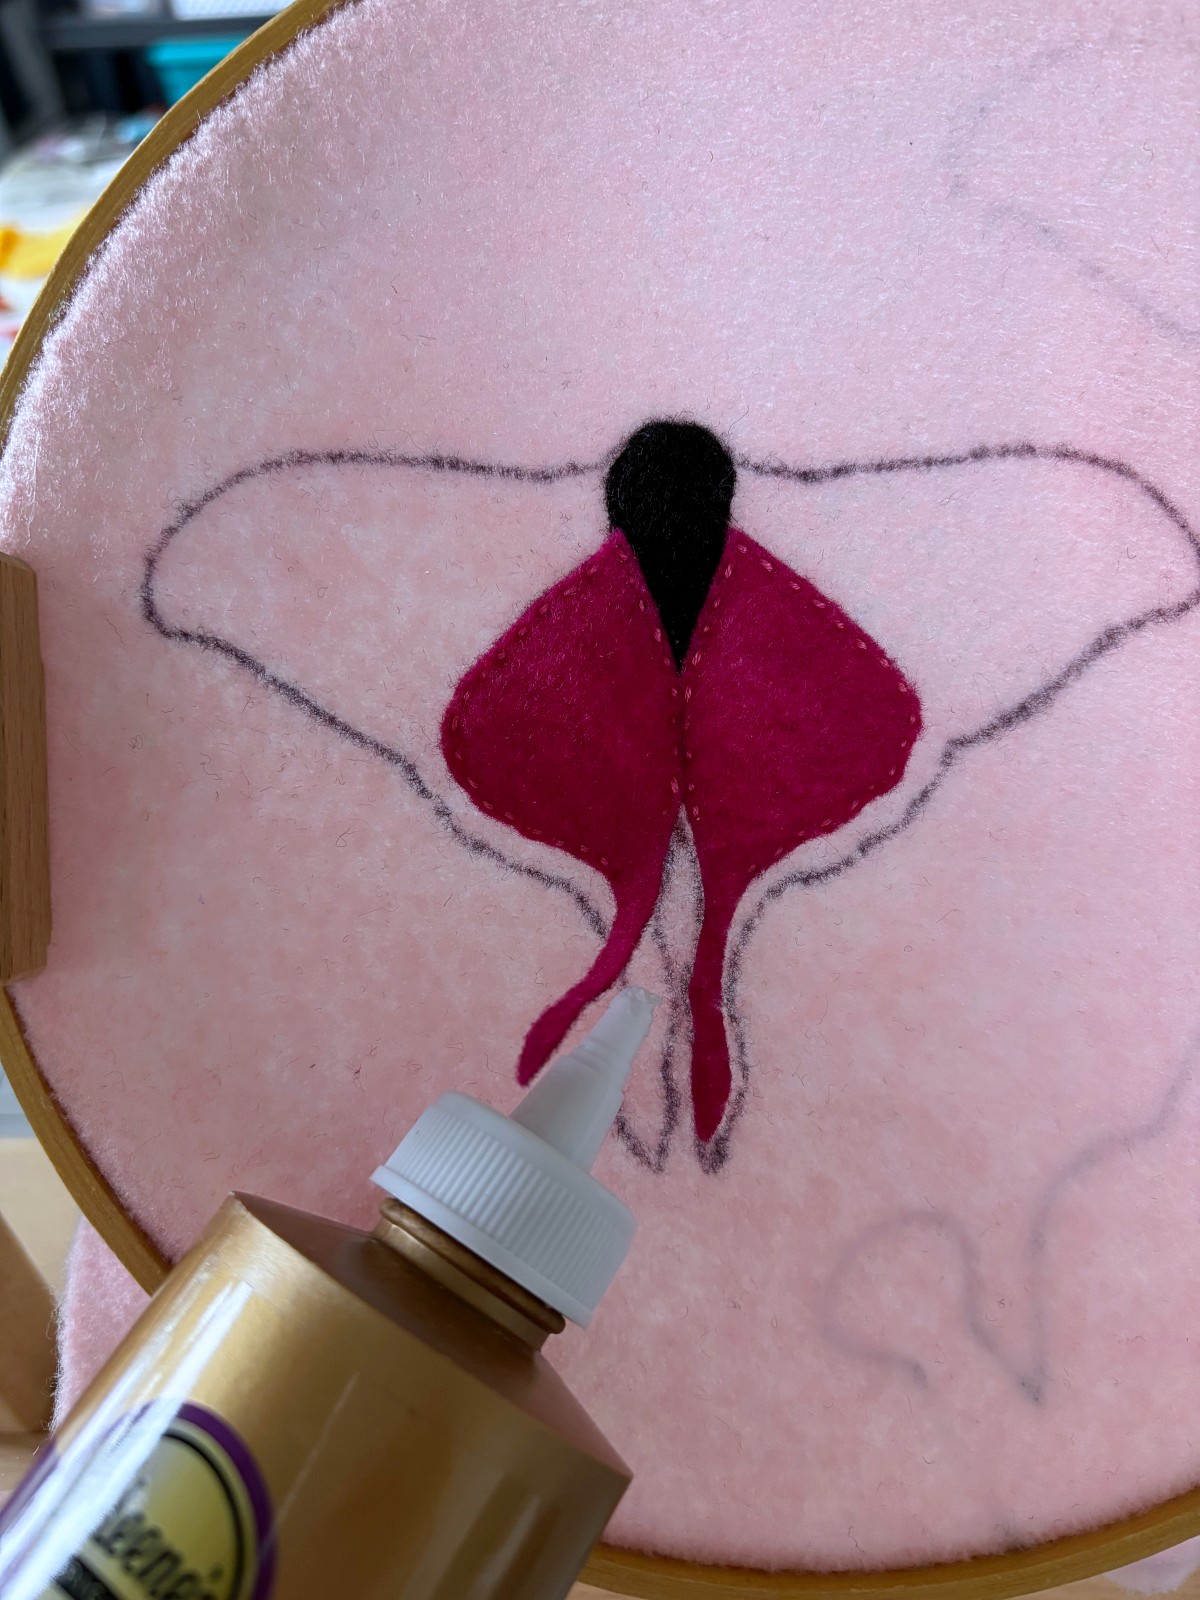
To secure the rest of the bottom wings we will be using tacky glue. Add a line of tacky glue to the back of the tales and secure them to the pink base. Let the glue dry for a few minutes before moving on.
Step 5
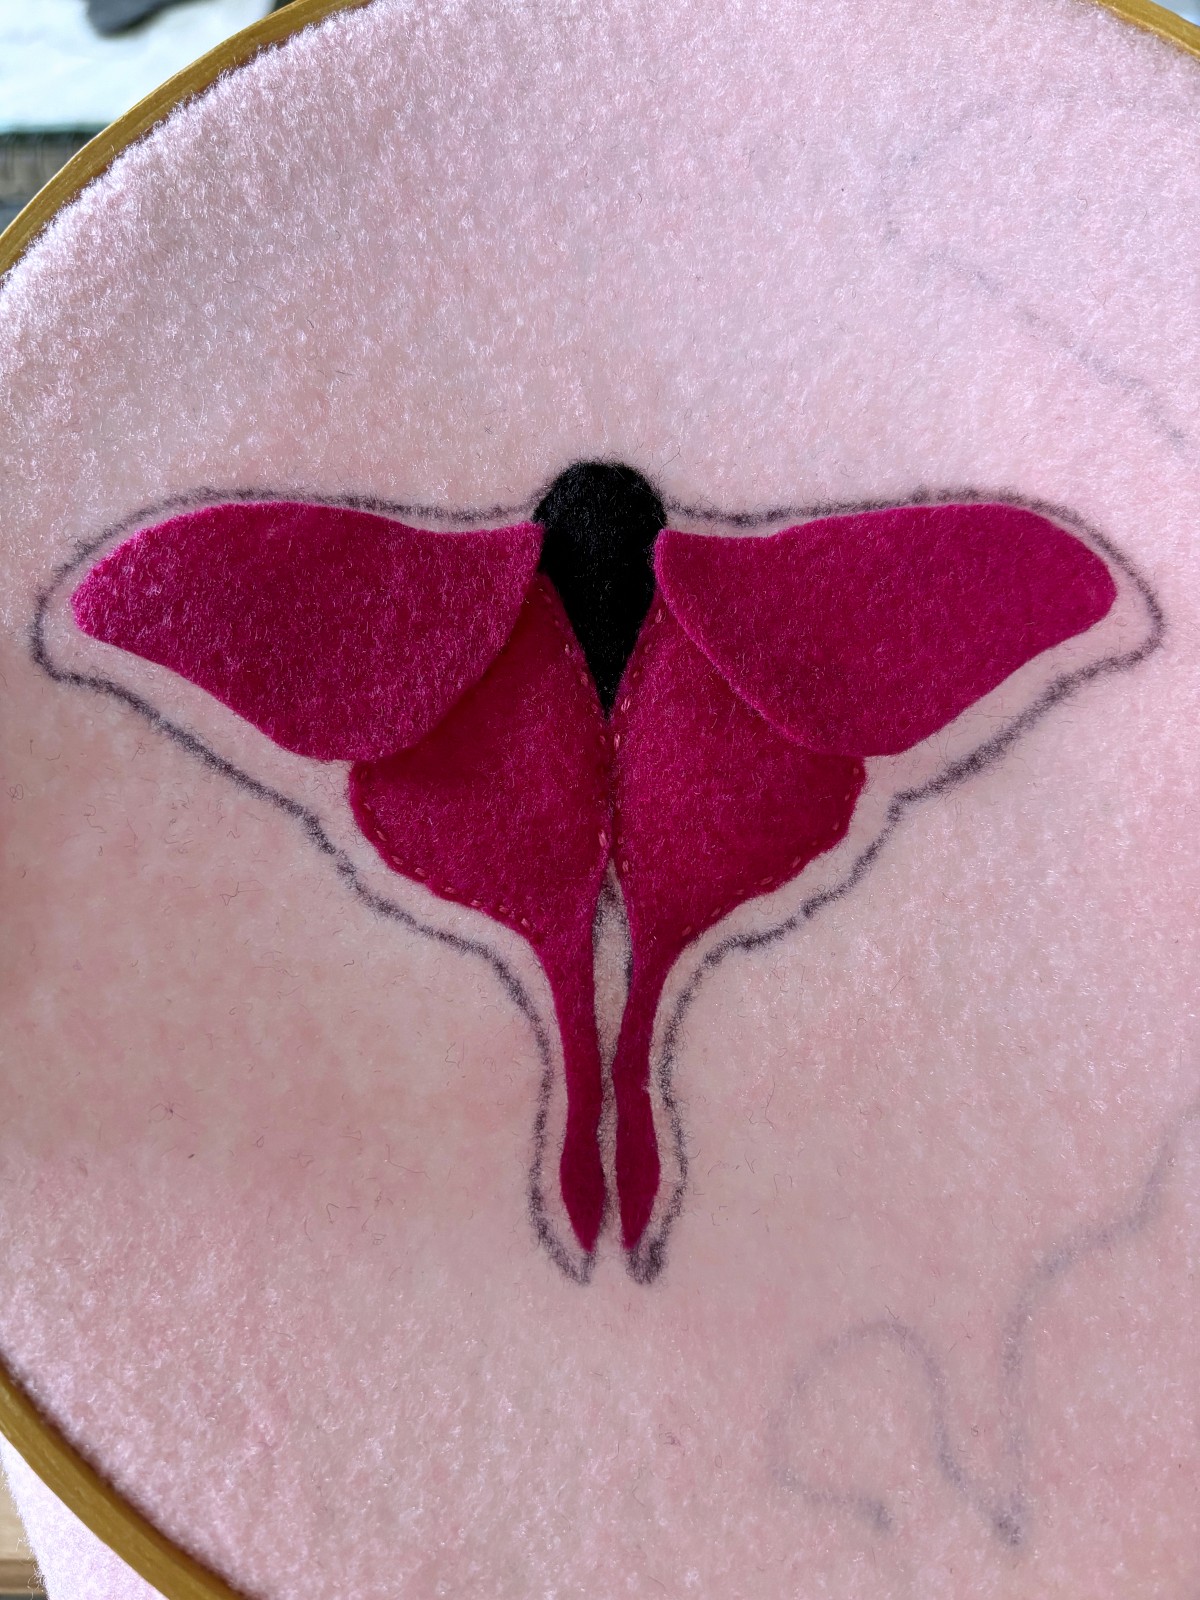
Place the dark pink top wings onto the base and pin them in place. Using dark pink embroidery thread, sew a running stitch around the perimeter of the wings.
Step 6
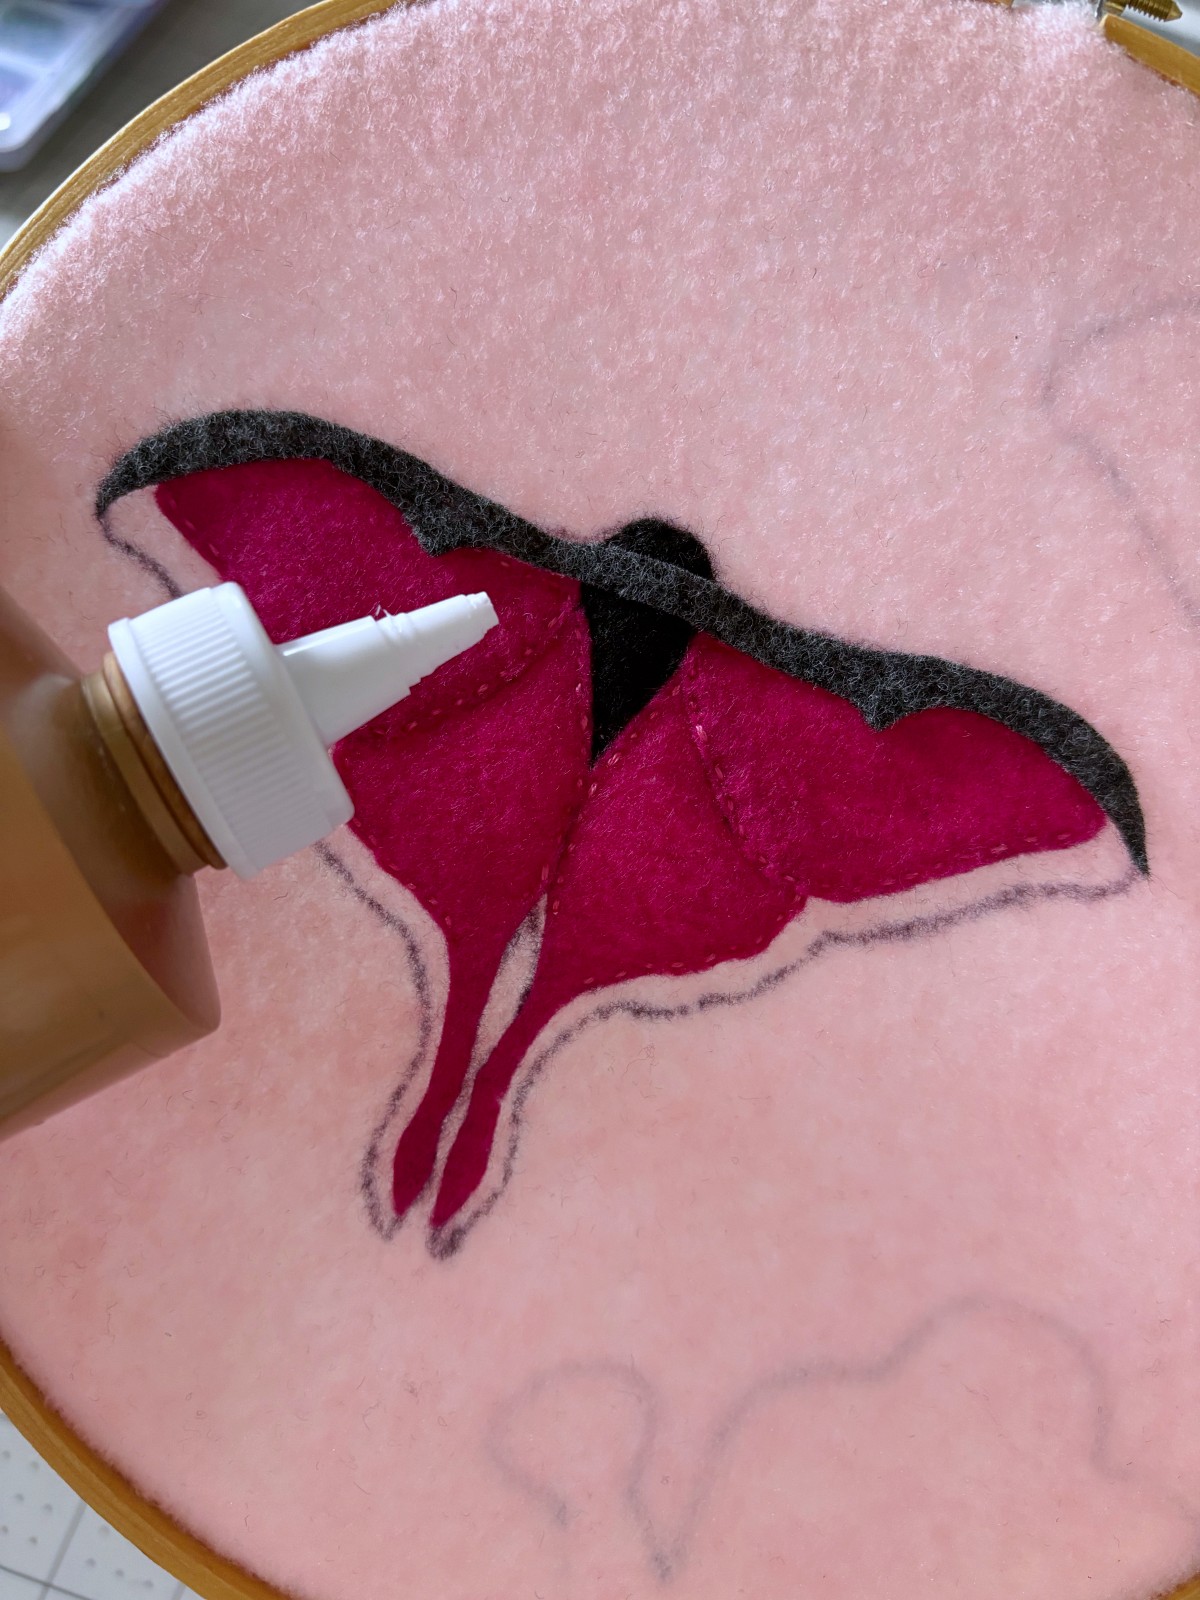
Now, using tacky glue, we can add the top gray line detail. Apply a thin line of tacky glue on the back of the gray felt piece and place it down over the top wings and body. Now the ornament is really looking like a luna moth. Allow the glue to dry for a few minutes before moving on to the next step.
Step 7
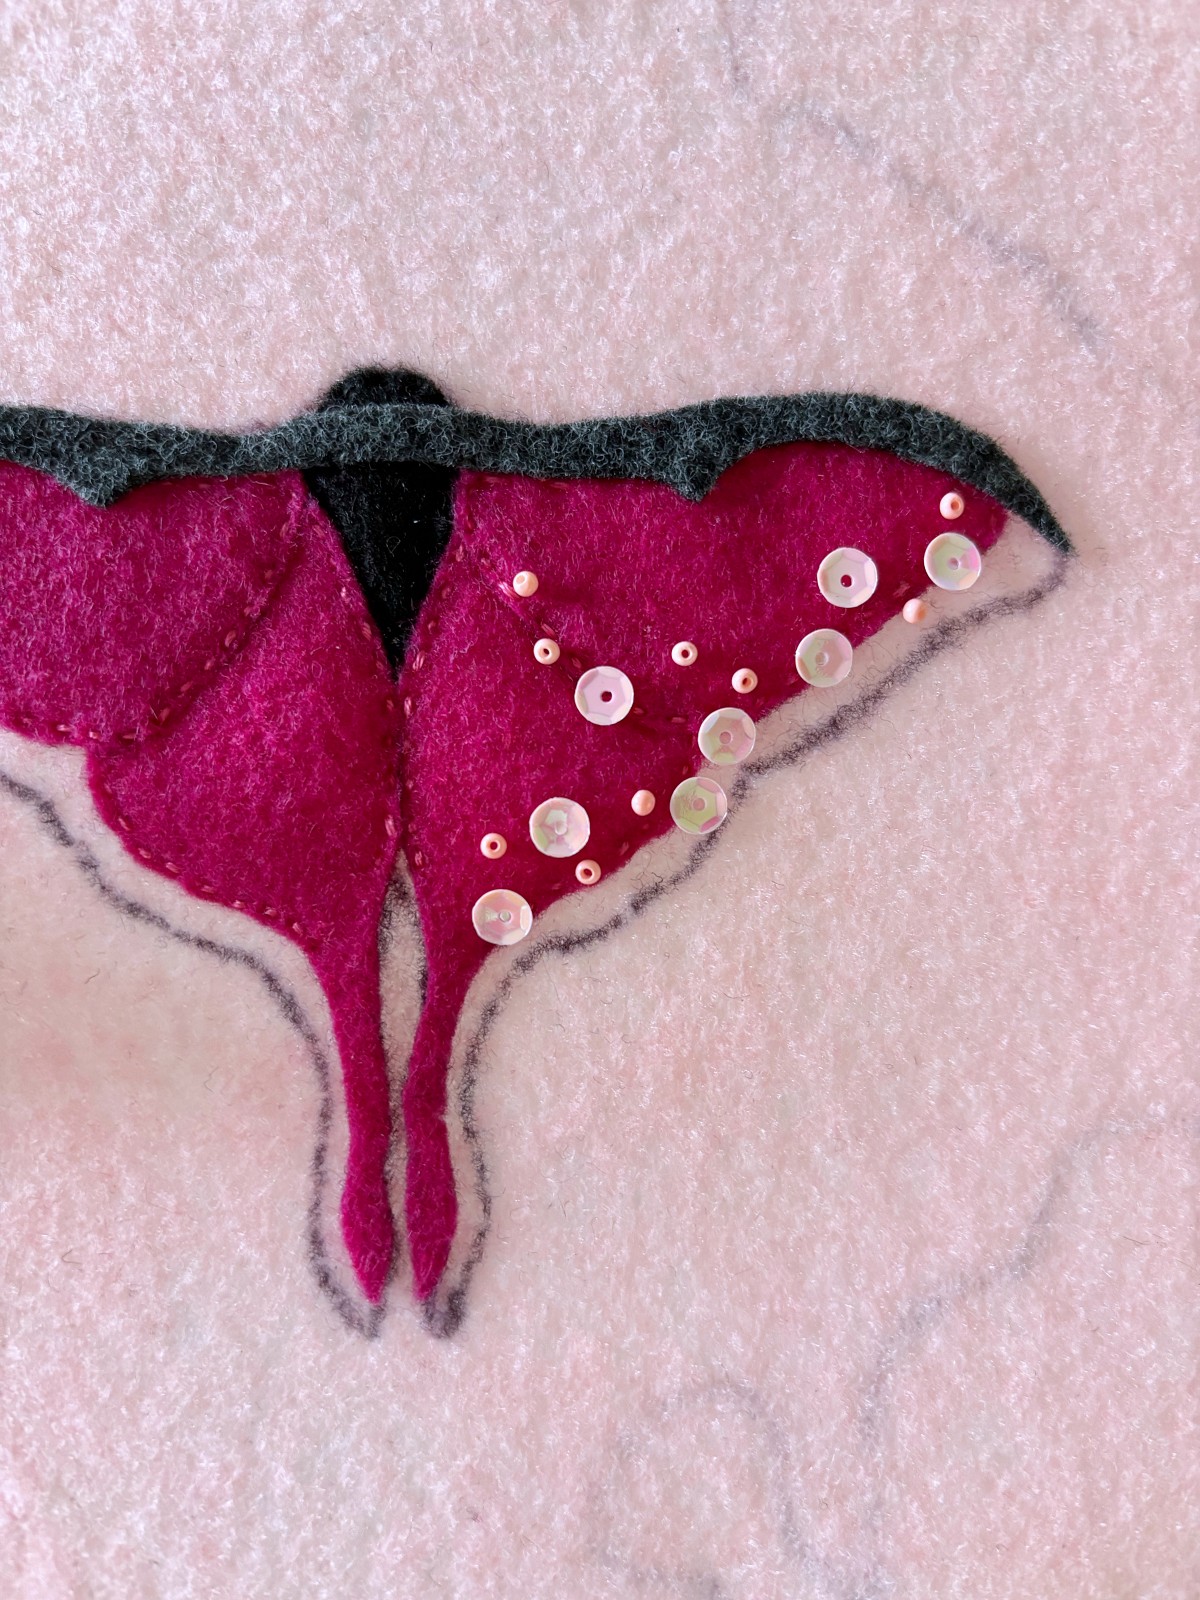
Time for the fun sparkling beaded and sequined details. Follow along with the pattern pictured below, or add as many beads and sequins as you want to your moth. Tack sew each seed bead in place.
To secure the sequins, sew up though the back of the ornament through the center of the sequins. Add a seed bead onto the embroidery thread and sew back down through the center of the same sequins to secure it in place. Tie a knot and repeat for remaining sequins.
Step 8
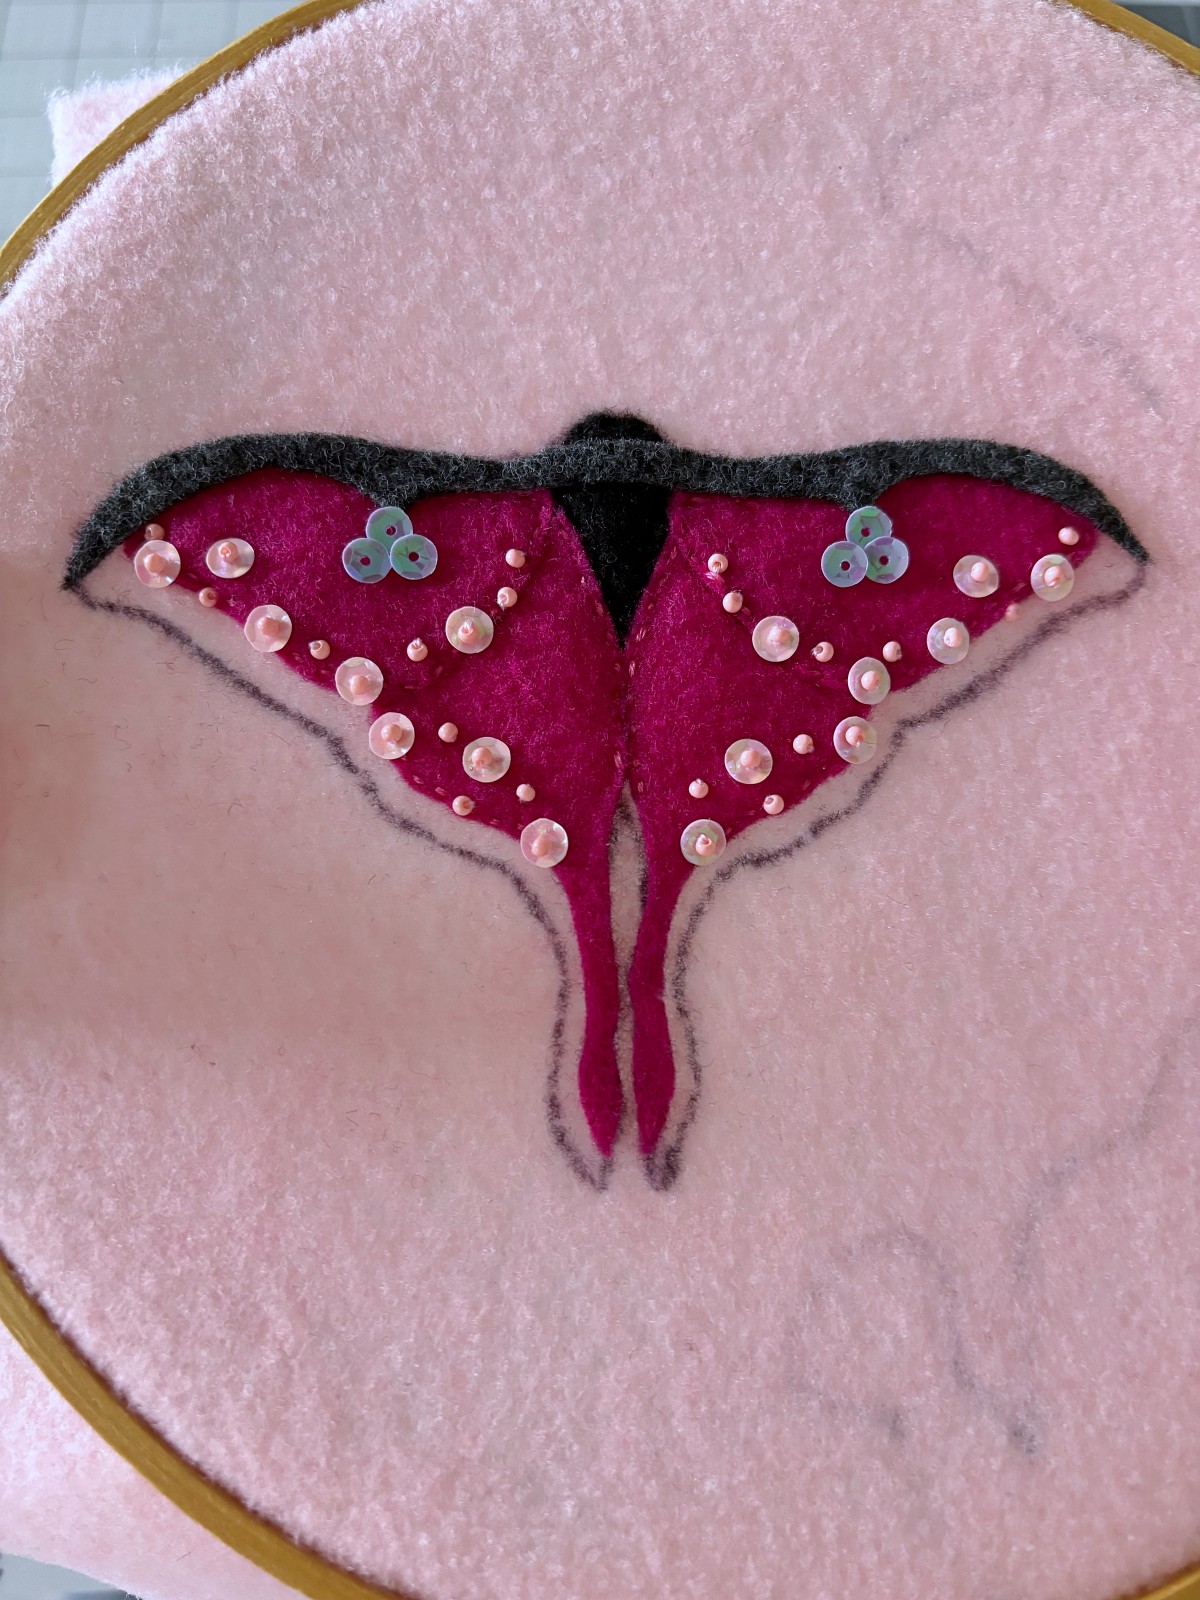
The last details to add to the moth body are the purple sequins. As shown below, each top wing will have three purple sequins. Using light purple embroidery thread, sew up through the center of each purple sequins and back down at the edge facing the center of the three sequins.
Step 9
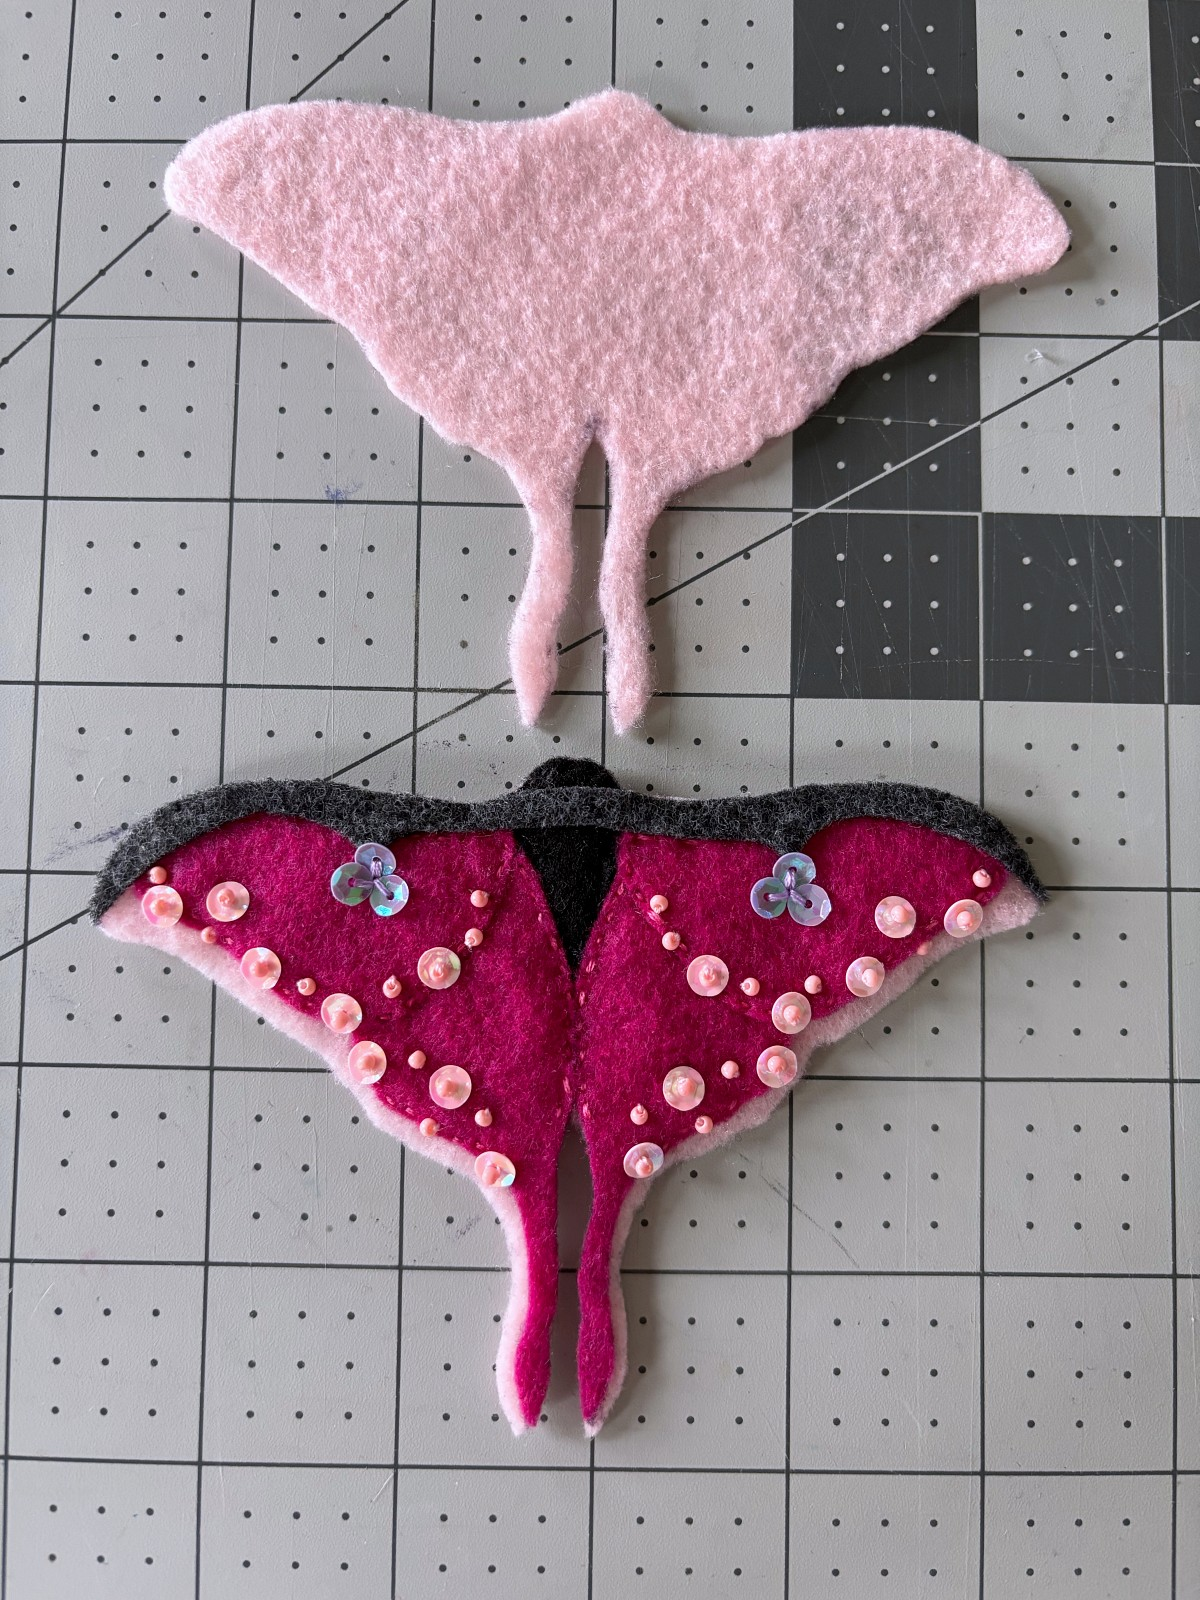
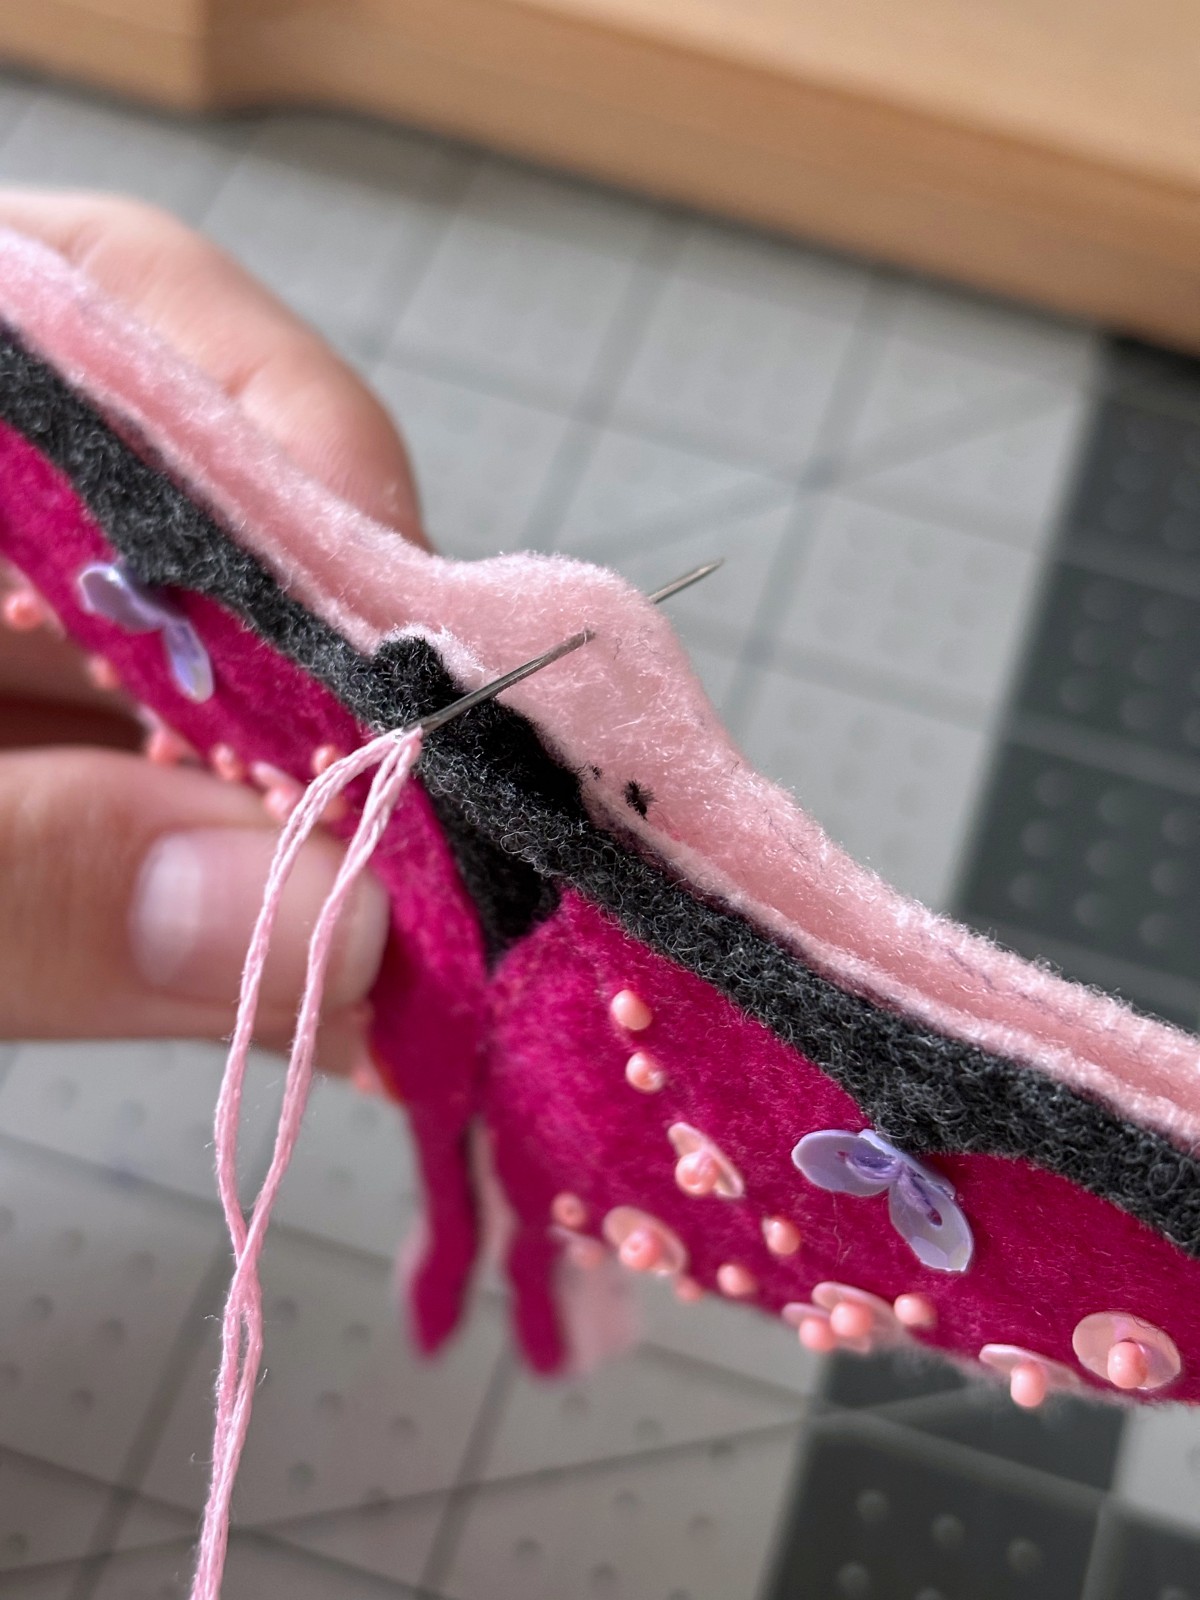
You can now cut out the moth. Pin the back pink base and moth together. Using pink embroidery thread, sew a blanket stitch around the entire ornament to secure the two pieces together. Make sure to hide the initial knot in between the two pieces.
Step 10
You can hang the ornament by threading your ribbon or string through the top blanket stitch. Alternatively you could hook a jump ring through the blanket stitch loop and add some keychain hardware to turn this ornament into a cute little accessory.
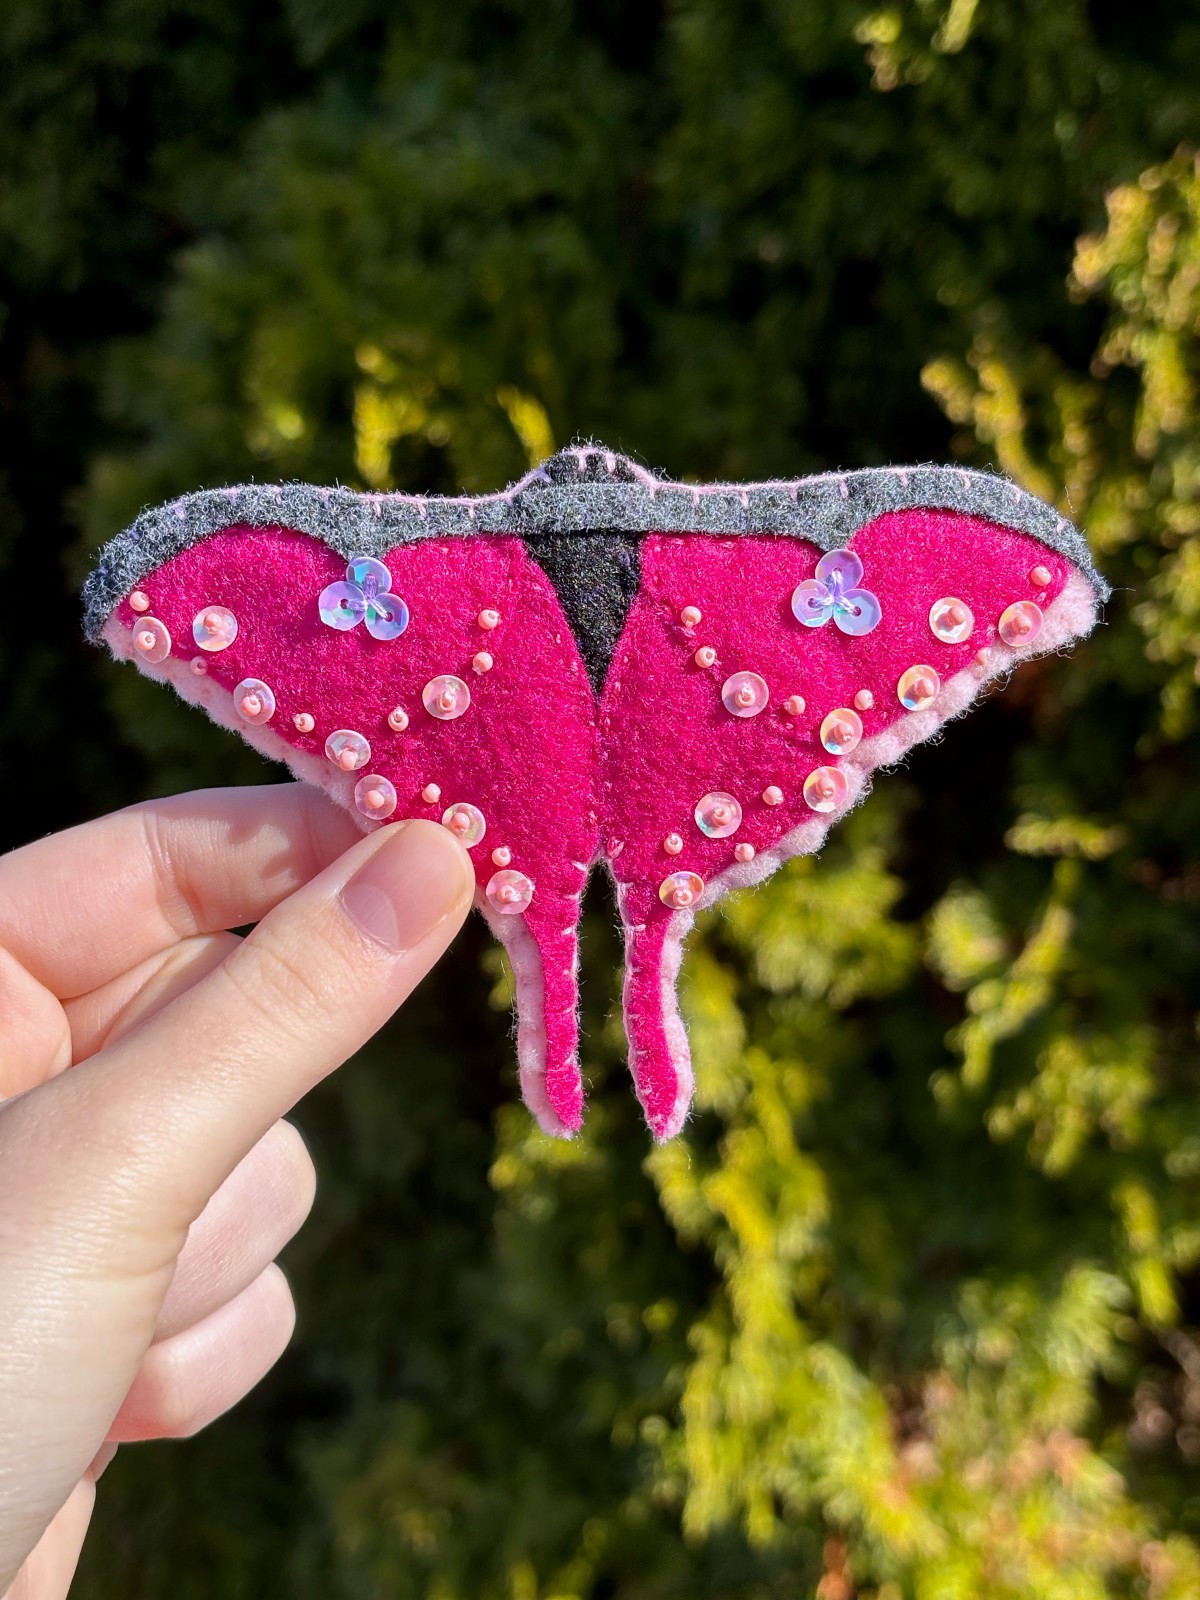
Thank you so much for visiting our crafty corner of the internet. If you made this luna moth ornament yourself, we would love to see it. Tag us on instagram @mirrortwins.studio so we can add your creation to our story. Have a wonderful day and as always, happy crafting.