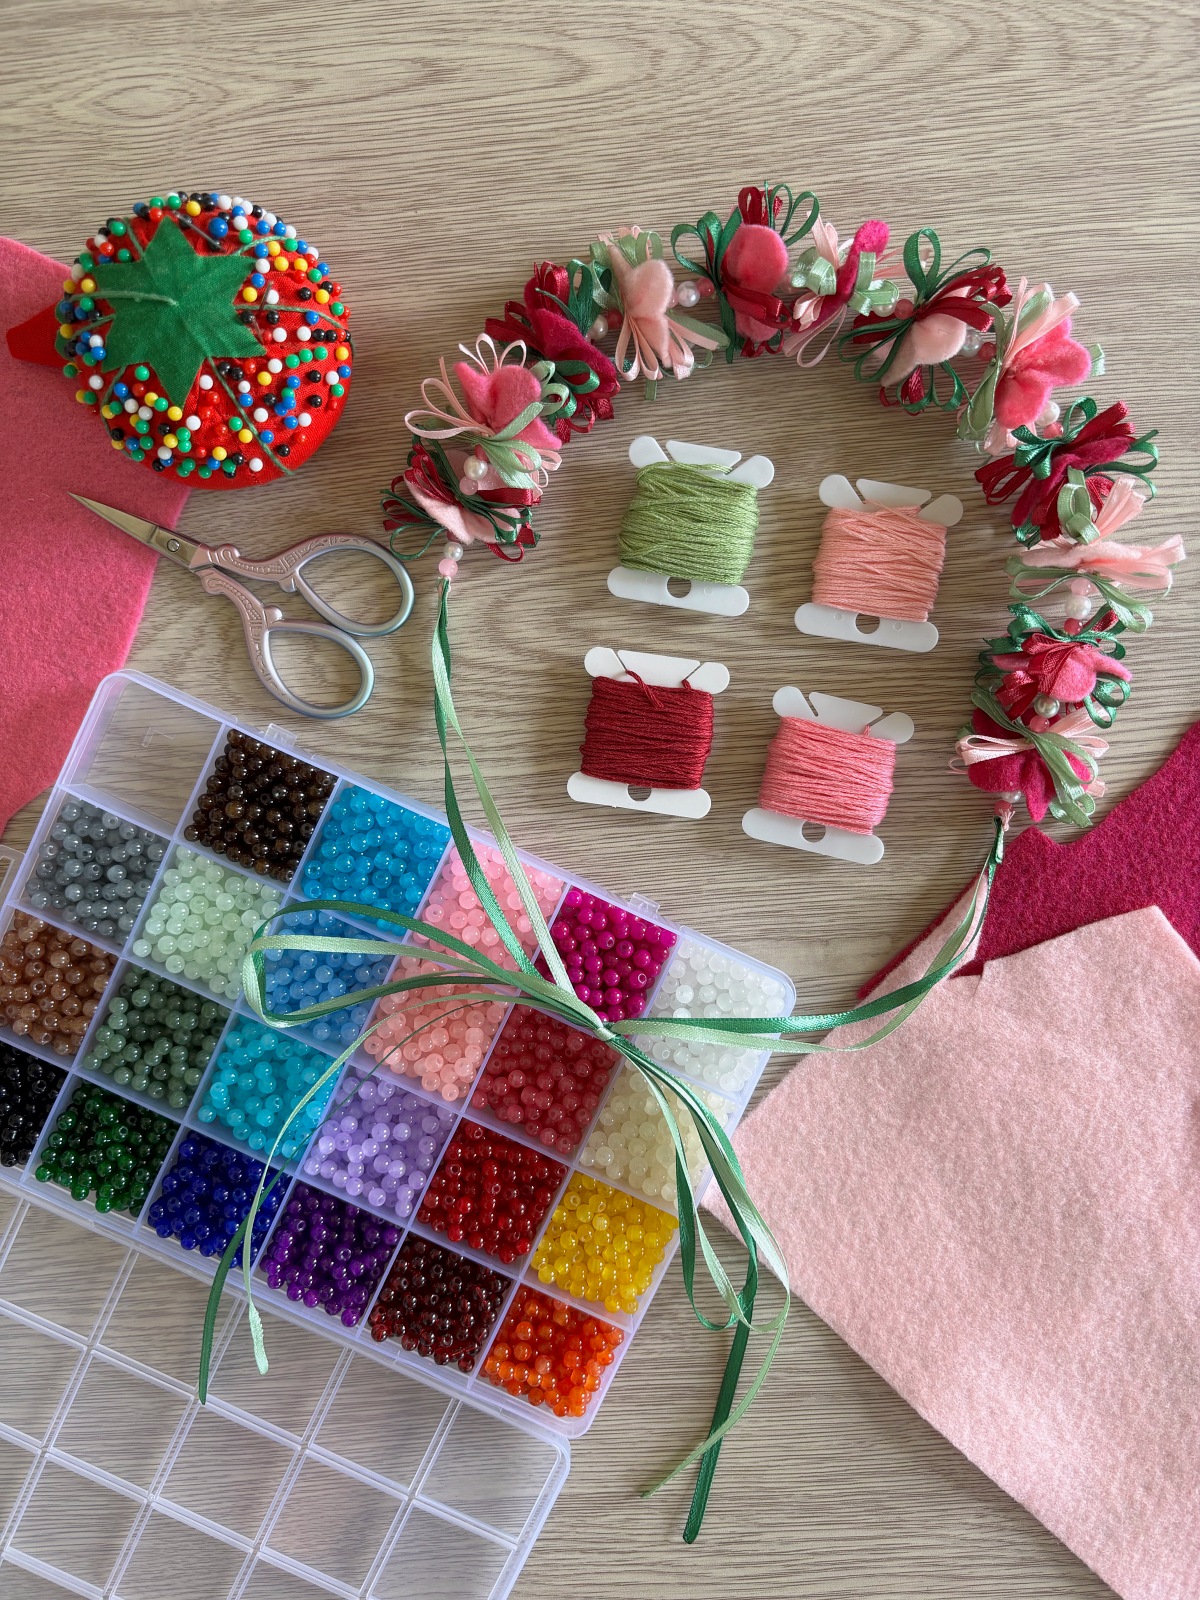
Cherry Blossom Flower Crown
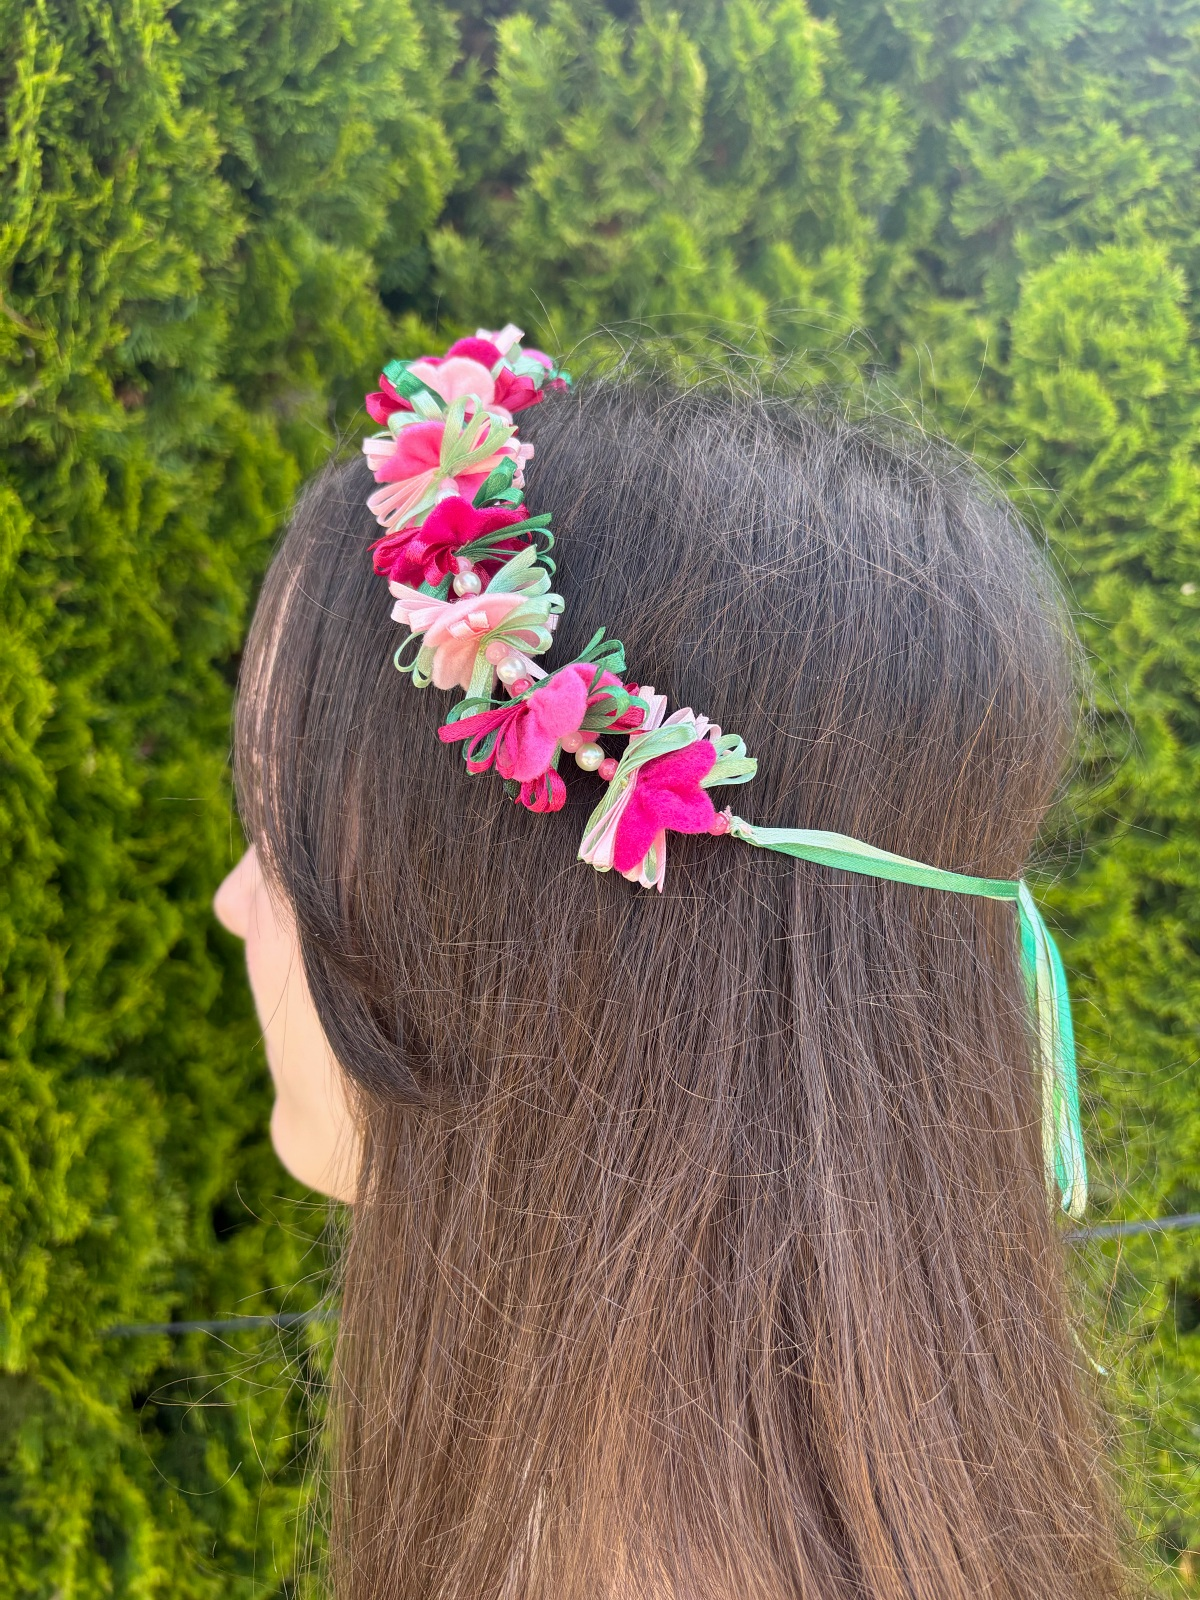
This Simple felt flower crown is the perfect summer craft. With just a few craft supplies you can easily make this cherry blossom flower crown in just a few days. All you need is felt, beads, ribbon, and embroidery thread! It is perfect to wear to summer fairs or festivals and will look wonderful on any hair style. Get ready for the complements coming your way if you decide to take on this craft and make your very own flower crown.
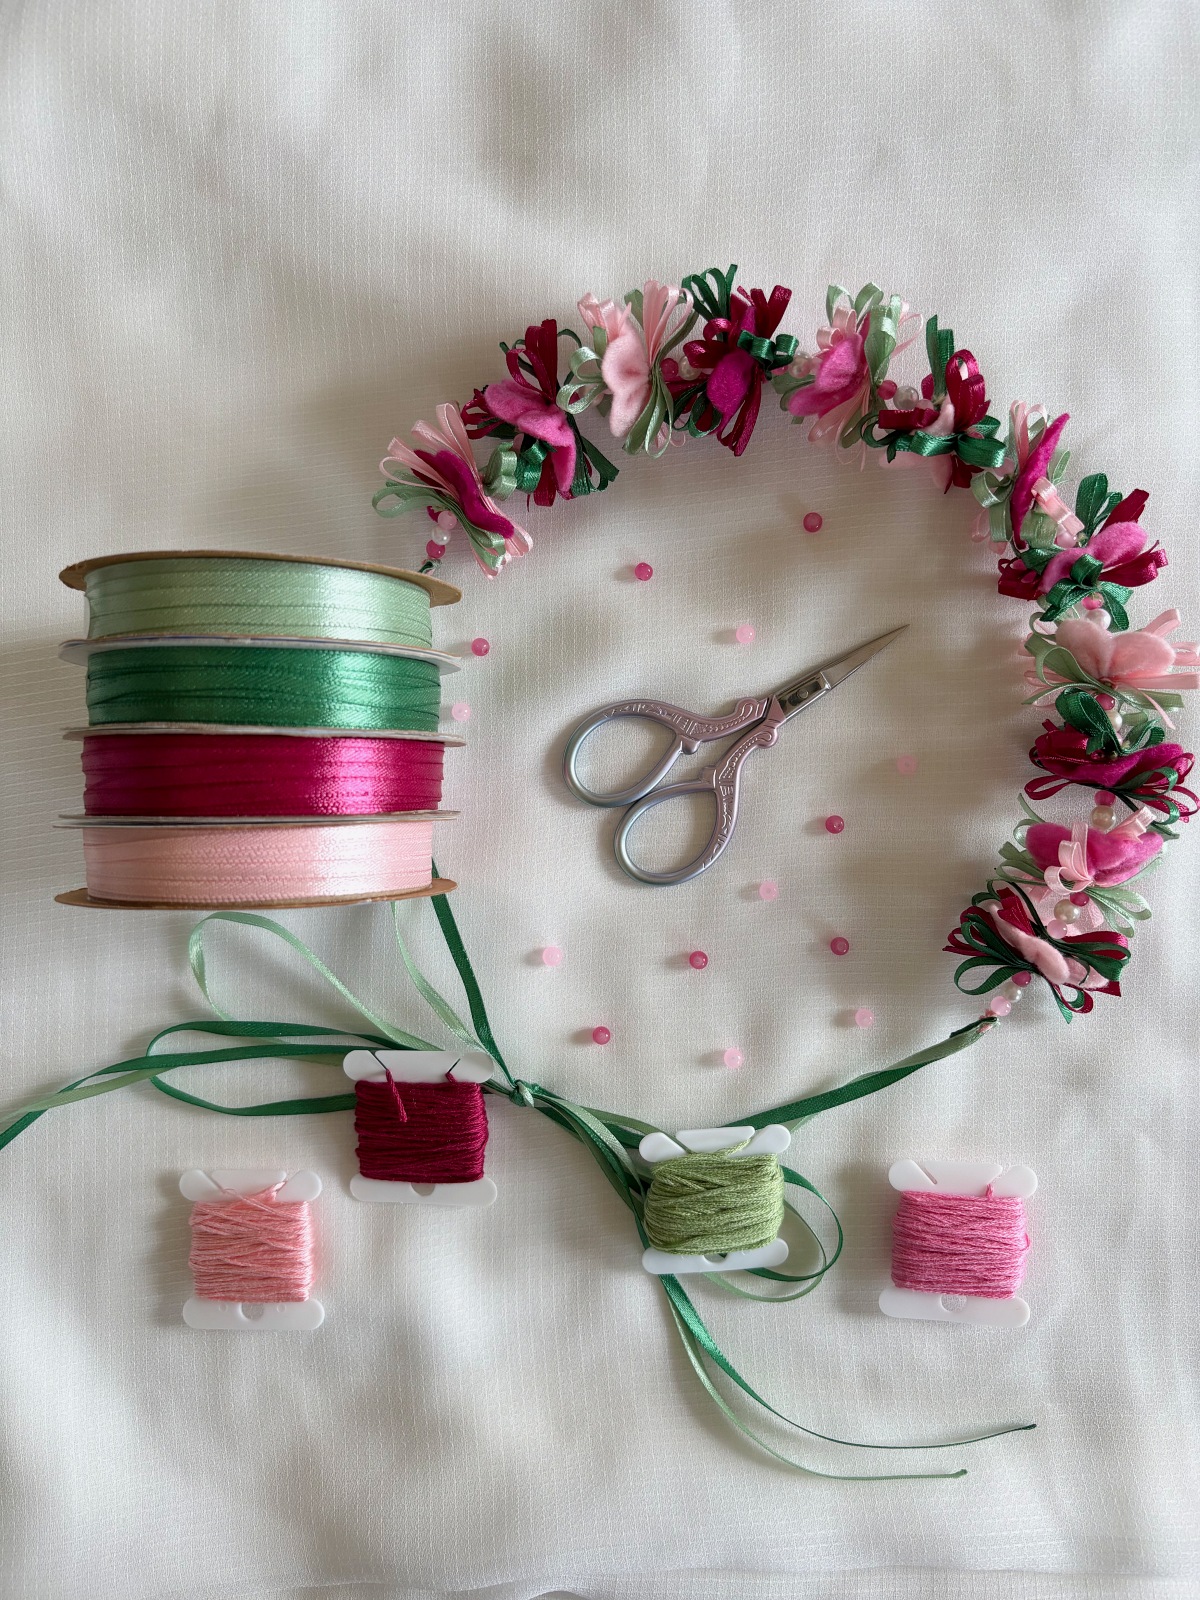
We have a big cherry blossom tree in our yard that blooms every year and the petals look so magical floating in the wind. I have also always been a big fan of the cherry blossom season in Japan. It’s one of my bucket list dreams to go there one day and see them in person. I think they are the perfect inspiration for this week’s DIY flower crown craft. Just a few sheets of felt, some ribbon, beads to give it a touch of whimsy and voila, the perfect crown fit for a queen. This would also make a really cute group craft activity where everyone could make different colored flower crowns to wear to a renaissance fair or scandinavian festival. I hope this inspires you to try making your very own cherry blossom flower crown, happy crafting!
*This post contains affiliate links meaning I get a commission if you purchase through my links, at no extra cost to you.
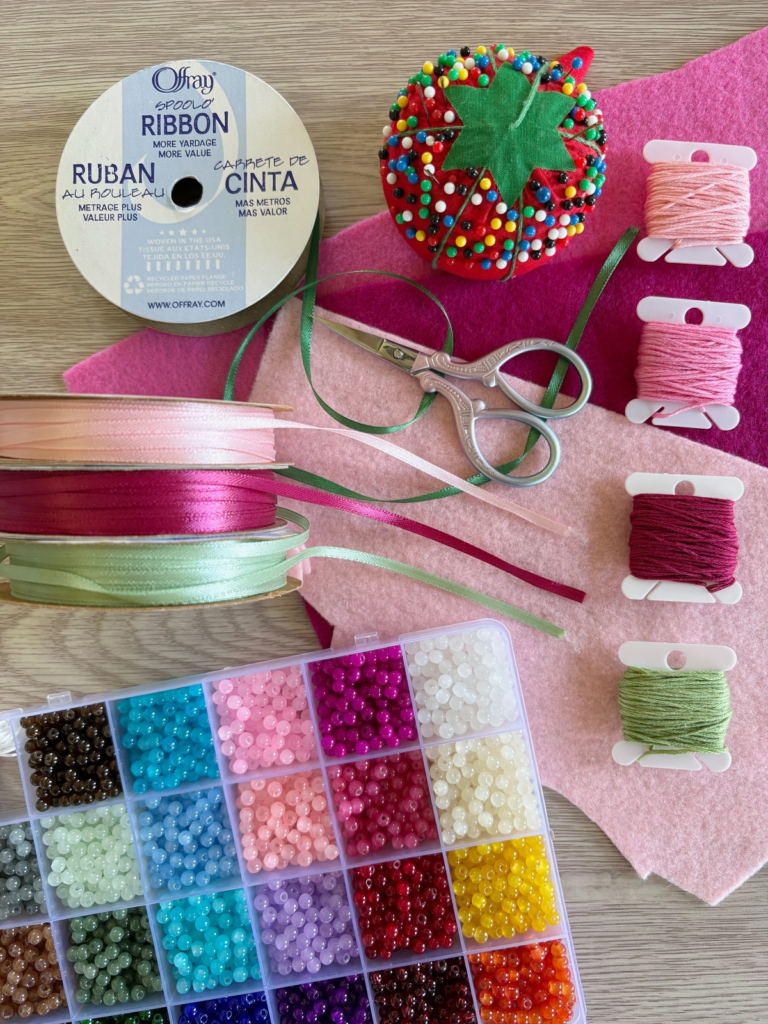
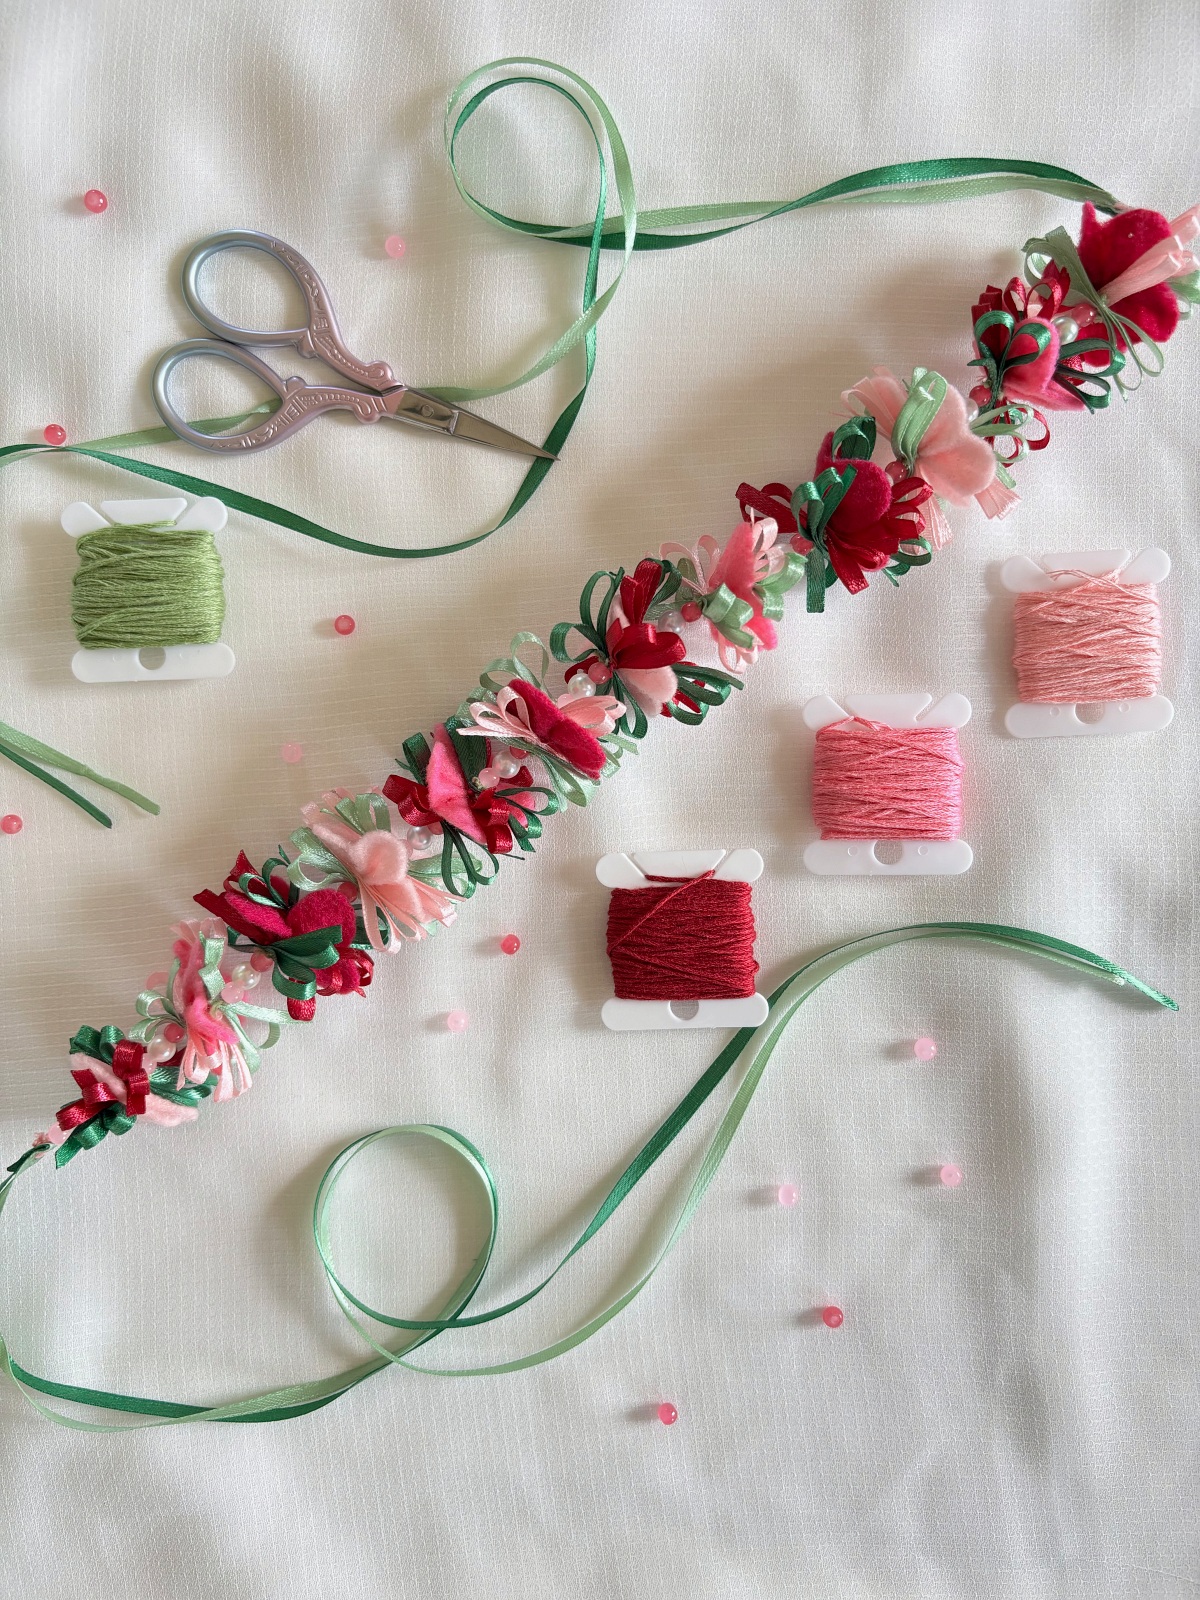
Materials
- 1 sheet of light pink felt
- 1 sheet of medium light pink felt
- 1 sheet of dark pink felt
- Embroider thread (green,light pink, medium pink, and dark pink)
- Embroidery thread wax (optional)
- Ribbon (light green, dark green, light pink, dark pink)
- Sewing needle
- A few sewing pins
- Beads
- scissors
Instructions
Step 1
Note: All the amounts of flowers and ribbon you will need is only a suggestion. The size I made for myself might differ slightly than your own. Make sure to measure and test the length along the way so you know it will fit the way you want it to.
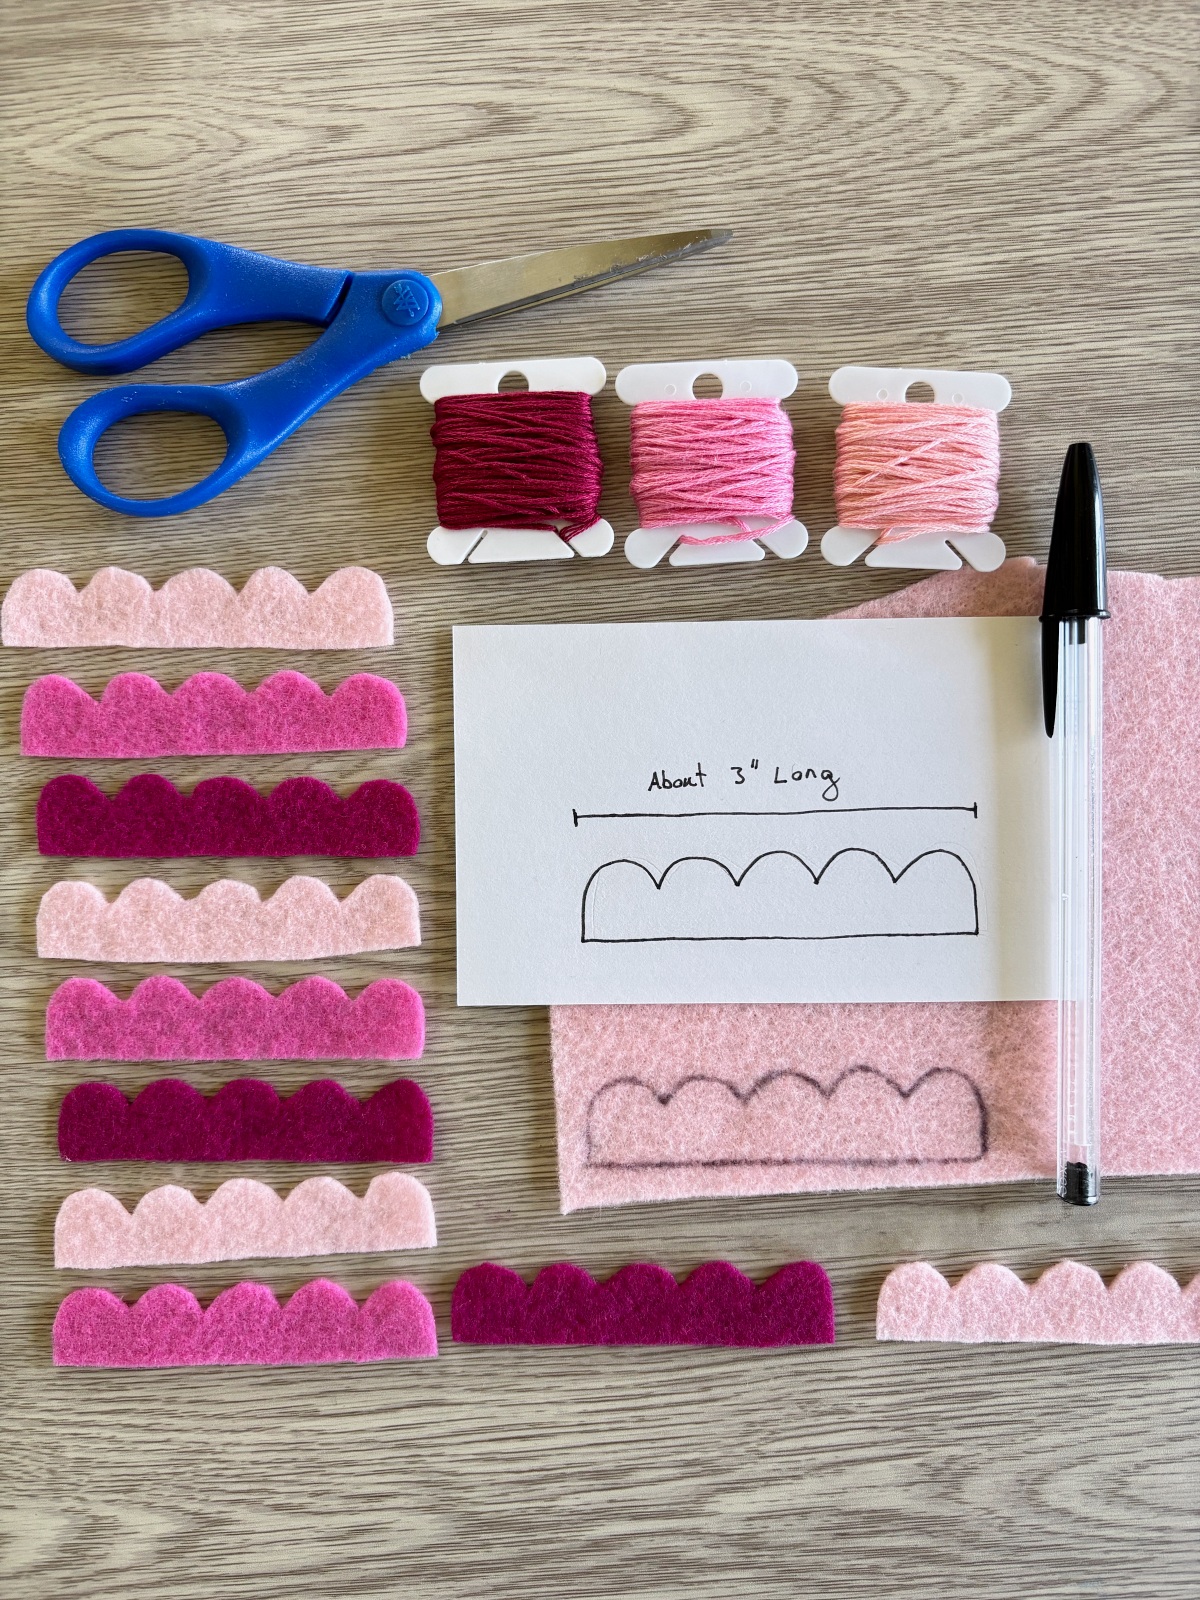
The first step to making a DIY cherry blossom flower crown is to make a flower pattern to trace on the felt. For this I used a simple index card and drew a straight line approximately three inches long. Then I used the cap of a large marker to make five rounded petal shapes evenly spaced across the line. After drawing your flower pattern, cut it out and it’s ready to use.
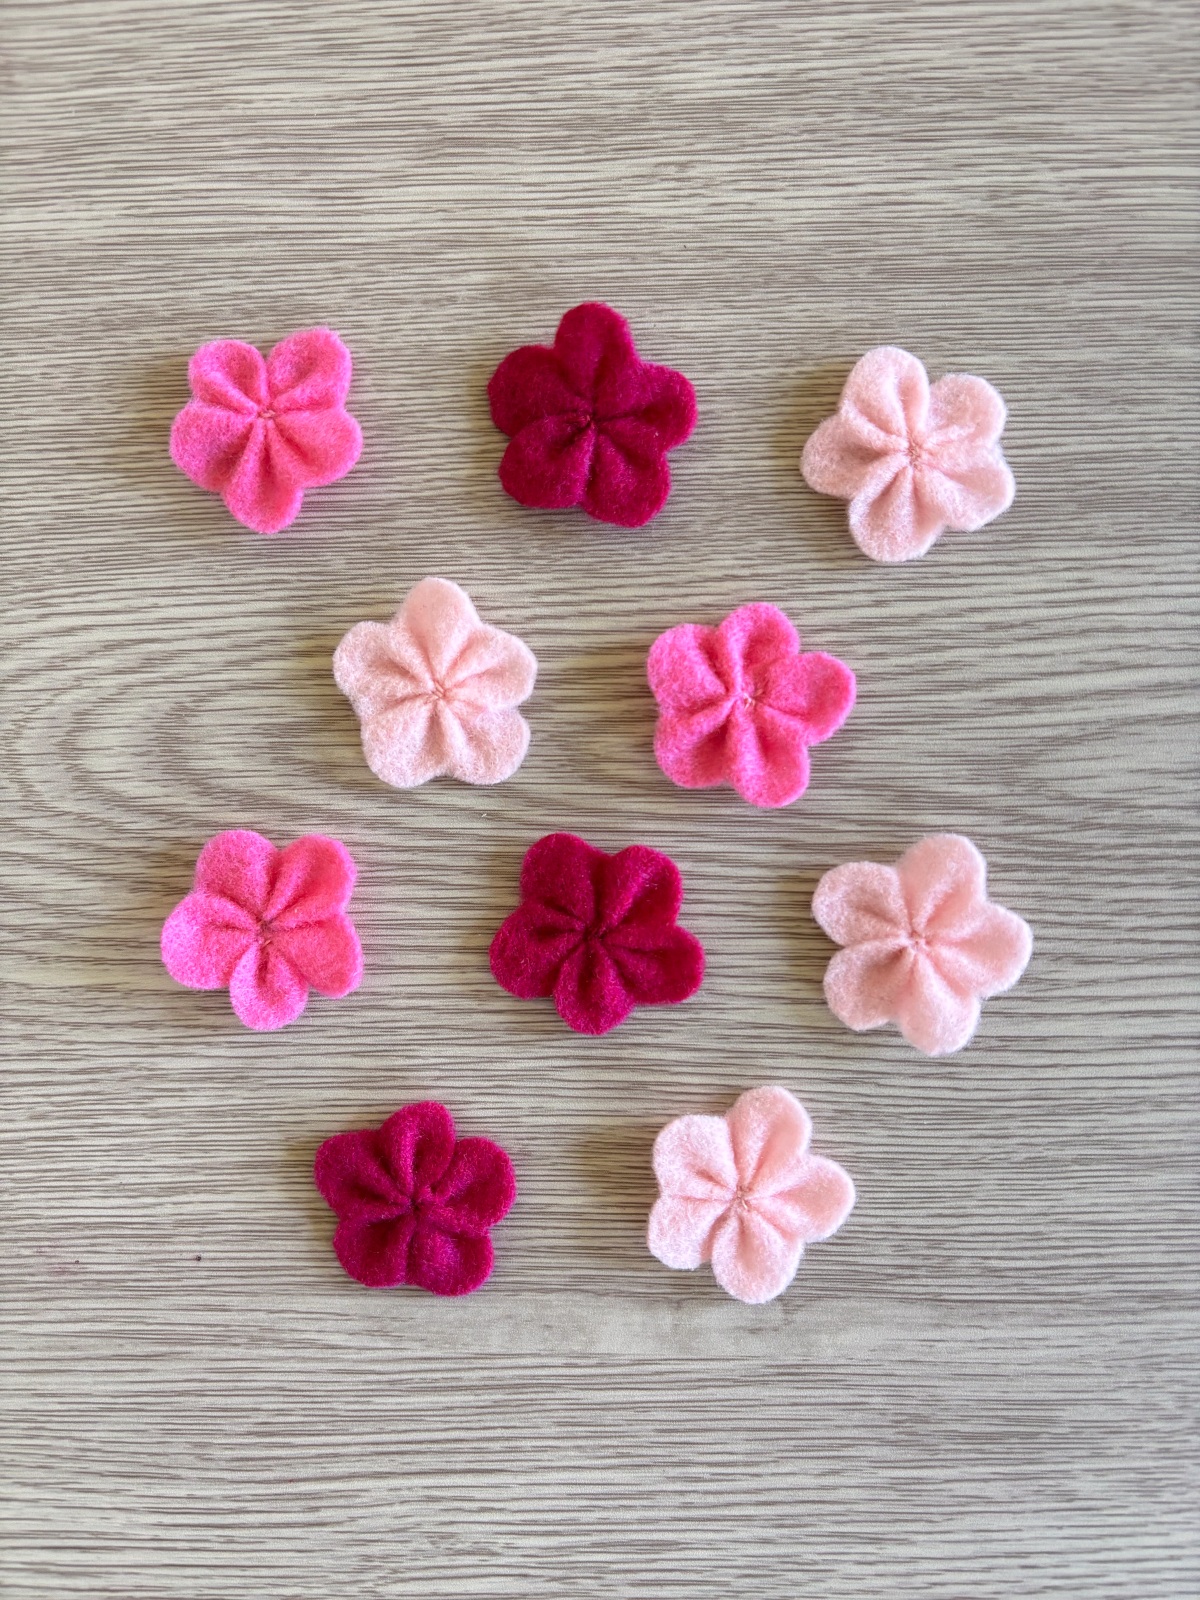
Trace the pattern on your pink felt sheets using a pen. Then cut the felt around each flower carefully making sure you cut inside the pen line to not have any marks left on the outer edges of the petals. I would suggest cutting around five flowers of each pink color making fifteen flowers in total. You can always do more or less depending on the length you want for your flower crown.
Step 2
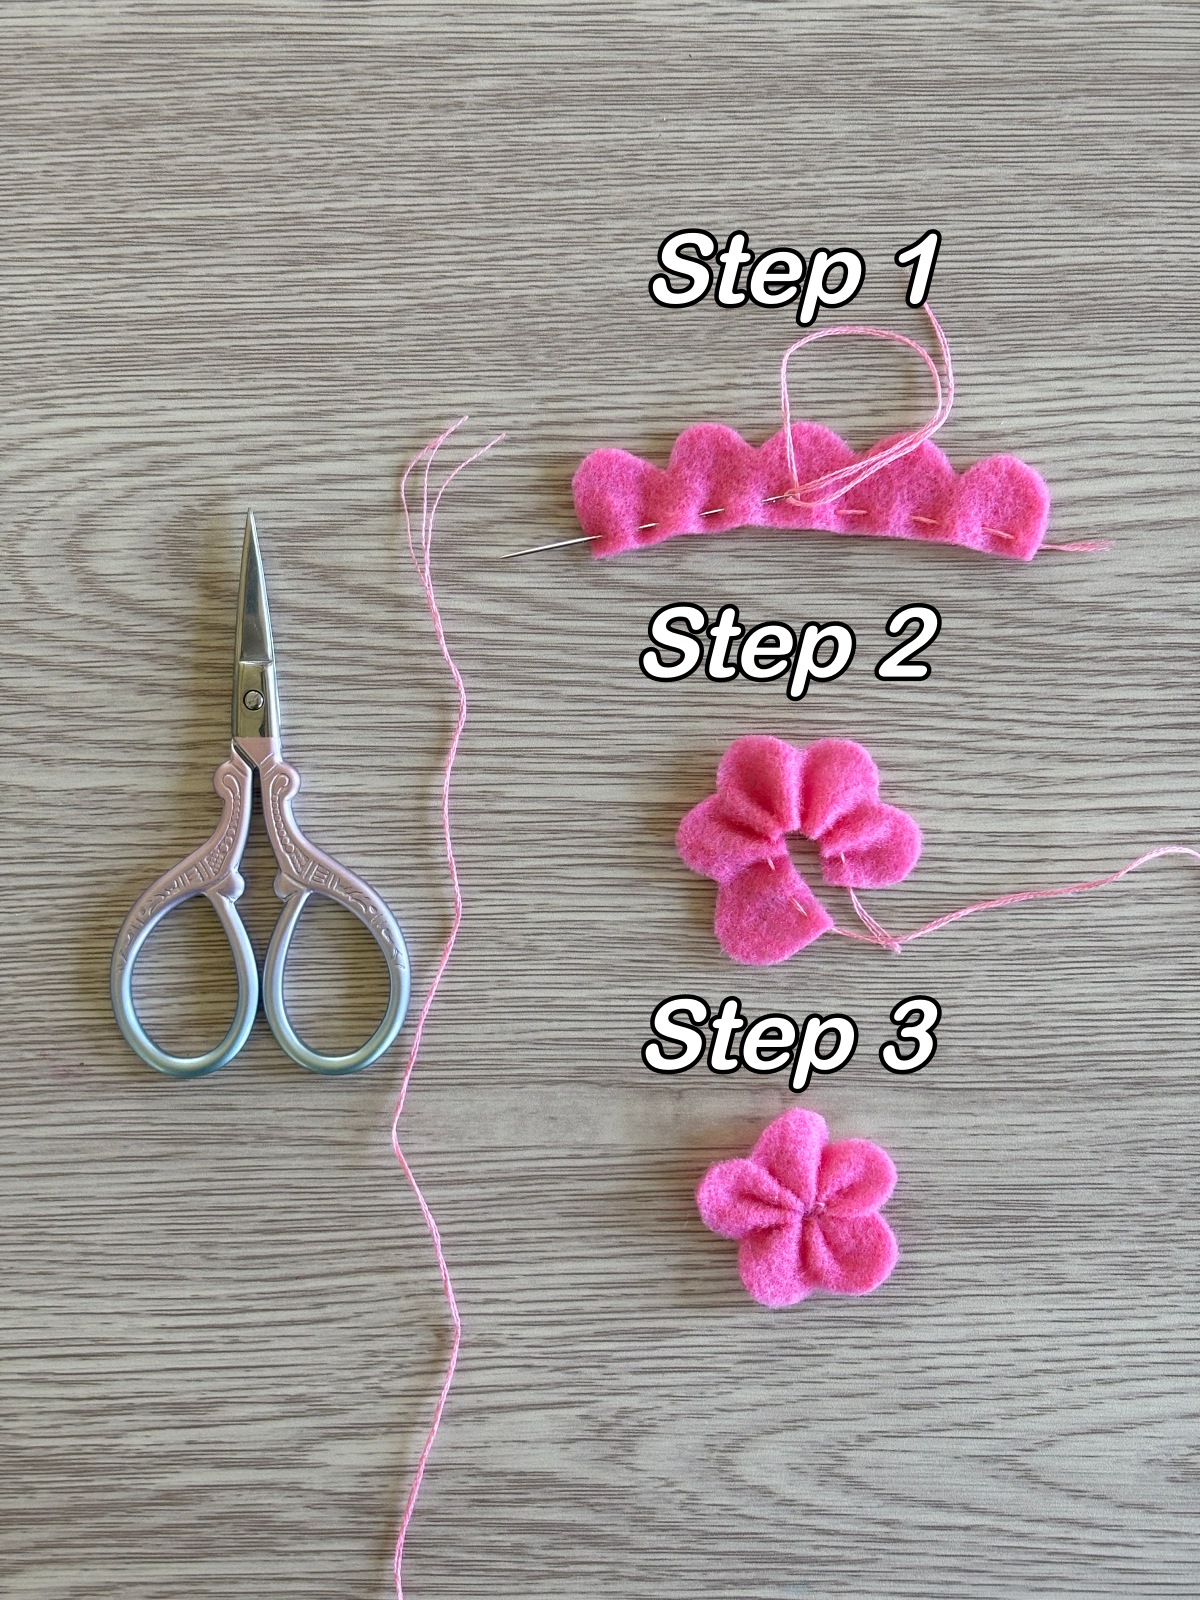
Next it is time to sew up your flowers. You can do this in a few simple steps. First, take some pink embroidery thread and tie a knot at the end. Then weave it back and forth along the bottom straight base of the flower. Pull the thread tight to make the flower start to ruffle. Thread the string back into the spot you started and feed the string up and down through the middle a few times to ensure the shape of the flower stays tight. Lastly, tie a knot on the back of the flower and cut the excess embroidery thread. Repeat these steps on every flower until you are done.
Step 3
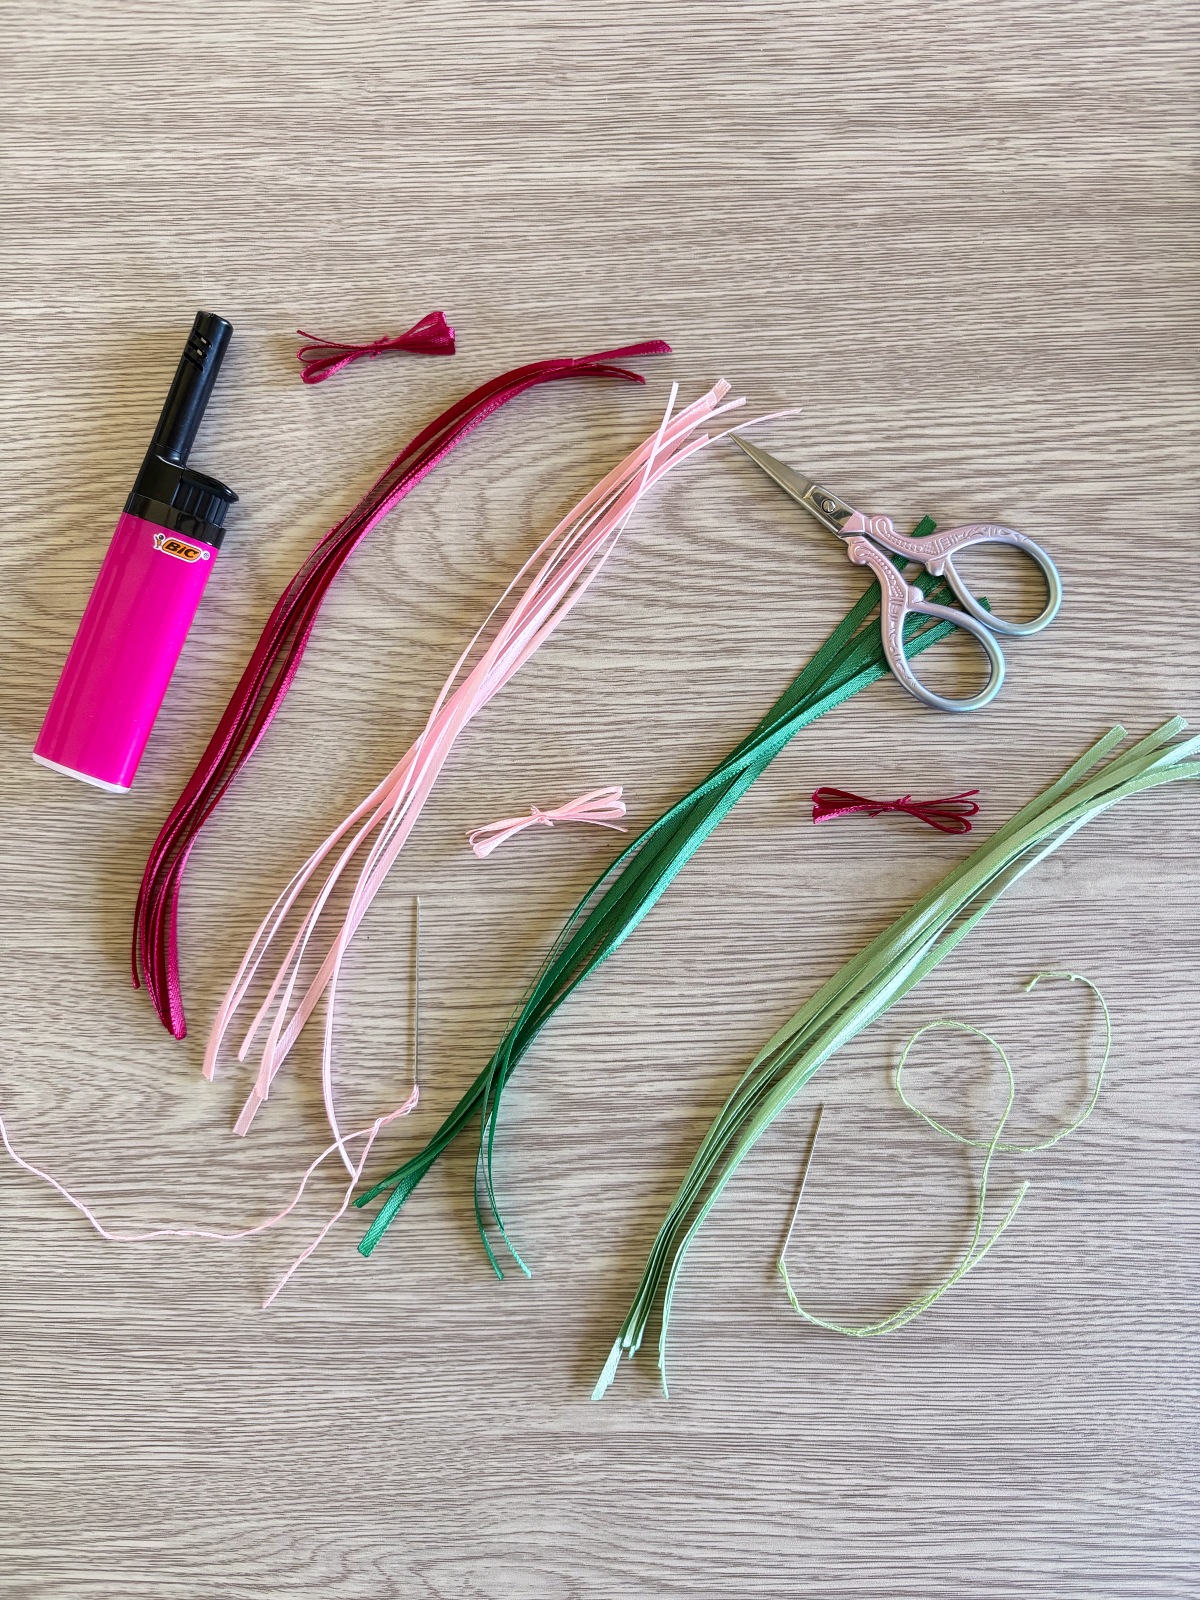
Now that all the flowers are sewn it is time to move onto the ribbon details. This step is a little tedious but is really worth it when you see the finished results. First cut each desired ribbon color into 7.5 inch strips. You will need 14 strips of dark green, 14 strips of light green, 14 strips of light pink, and 14 strips of dark pink. I like to lightly burn the ends of my ribbon so that it won’t fray over time.
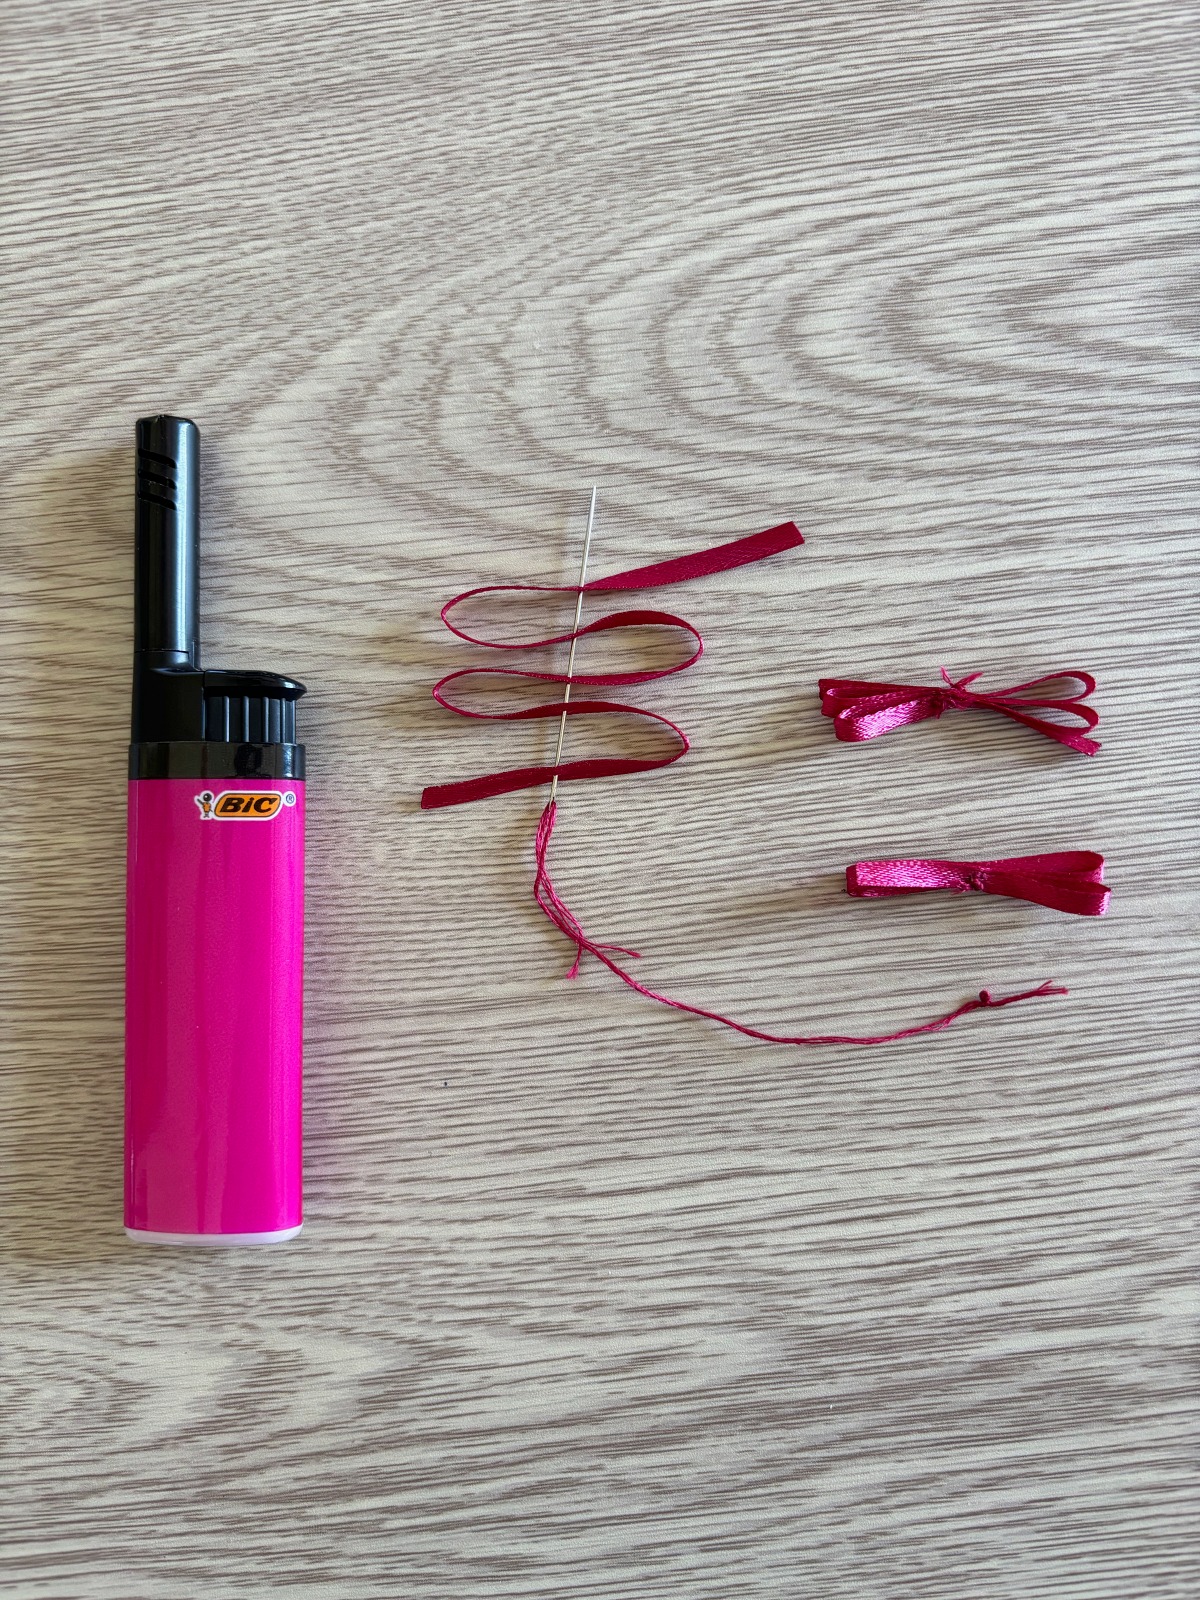
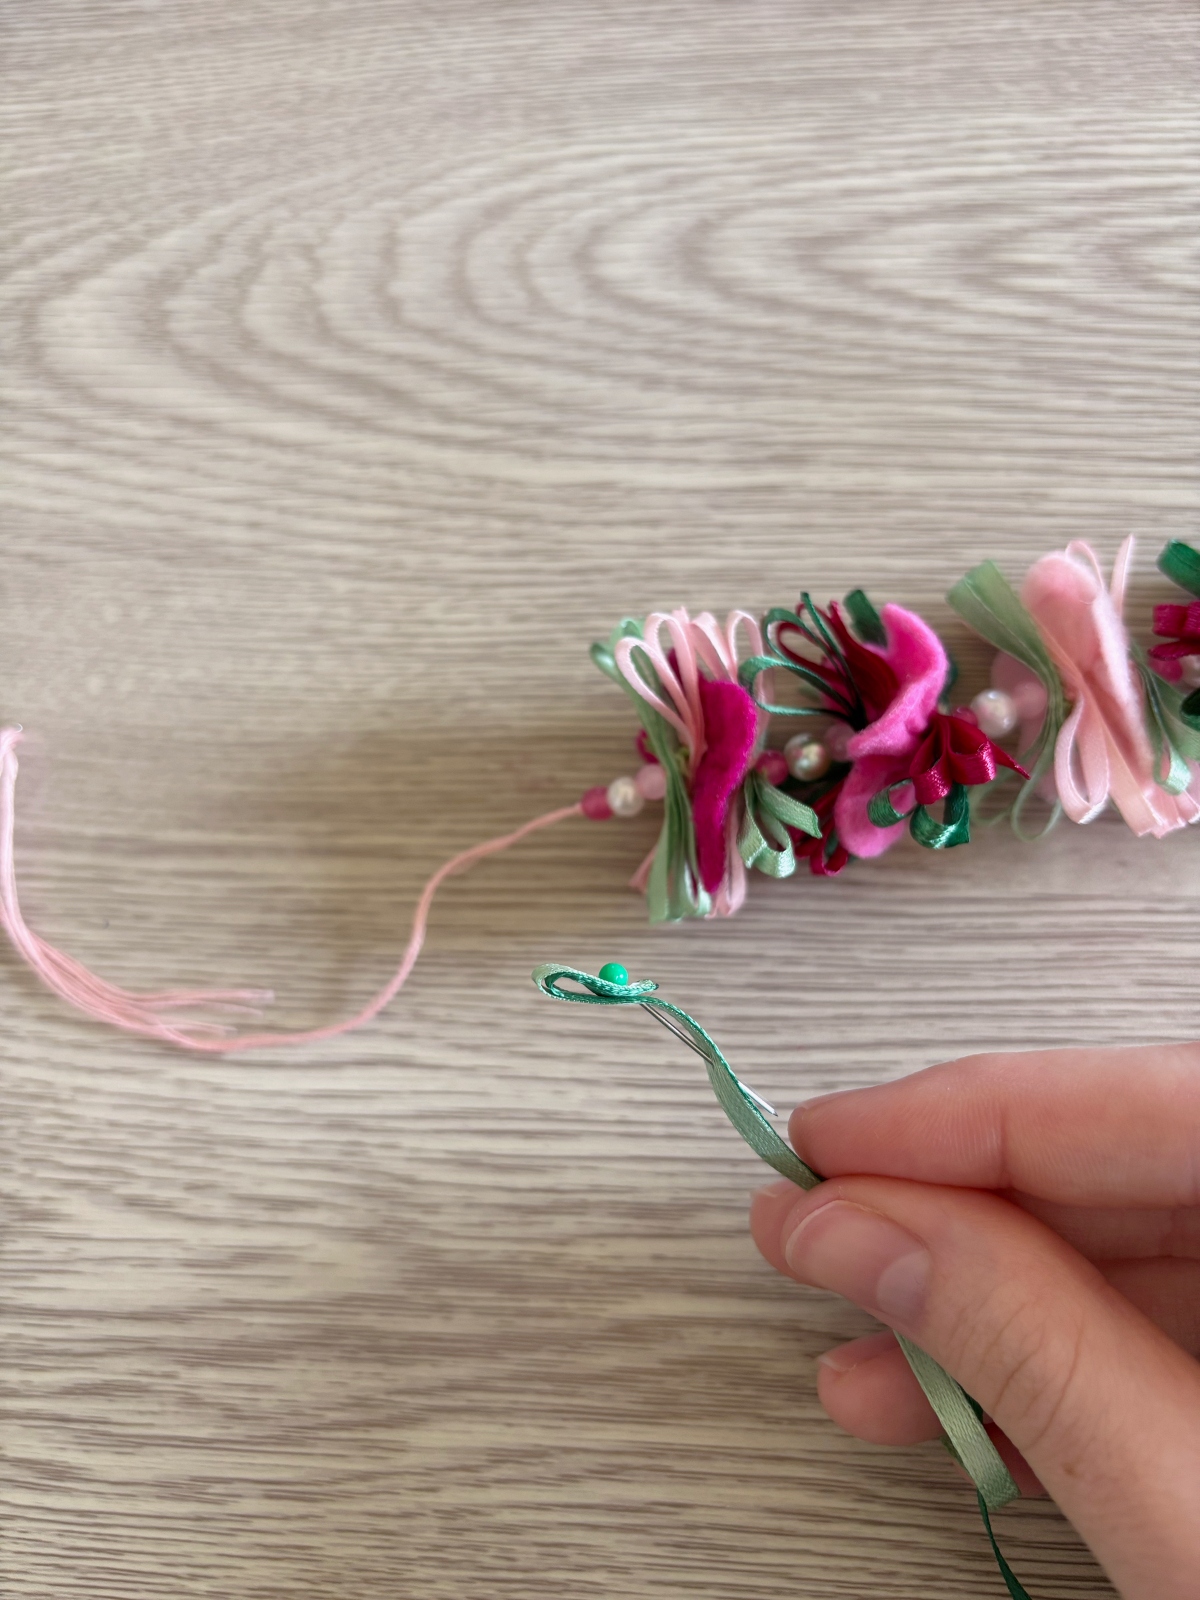
After cutting all the strips, it’s time to sew them into abstract leaves. It might sound a little intimidating but it’s actually very simple. Take a strip of ribbon and start the needle about a half an inch from the end. Weave the ribbon back and forth to create four loops on the sewing needle, as shown in the picture below. Flatten the stacked ribbon and pull the needle through. Then go up and down a few times with the embroidery thread to secure. Tie a knot and cut off the excess. Repeat for every strip of ribbon.
Step 4
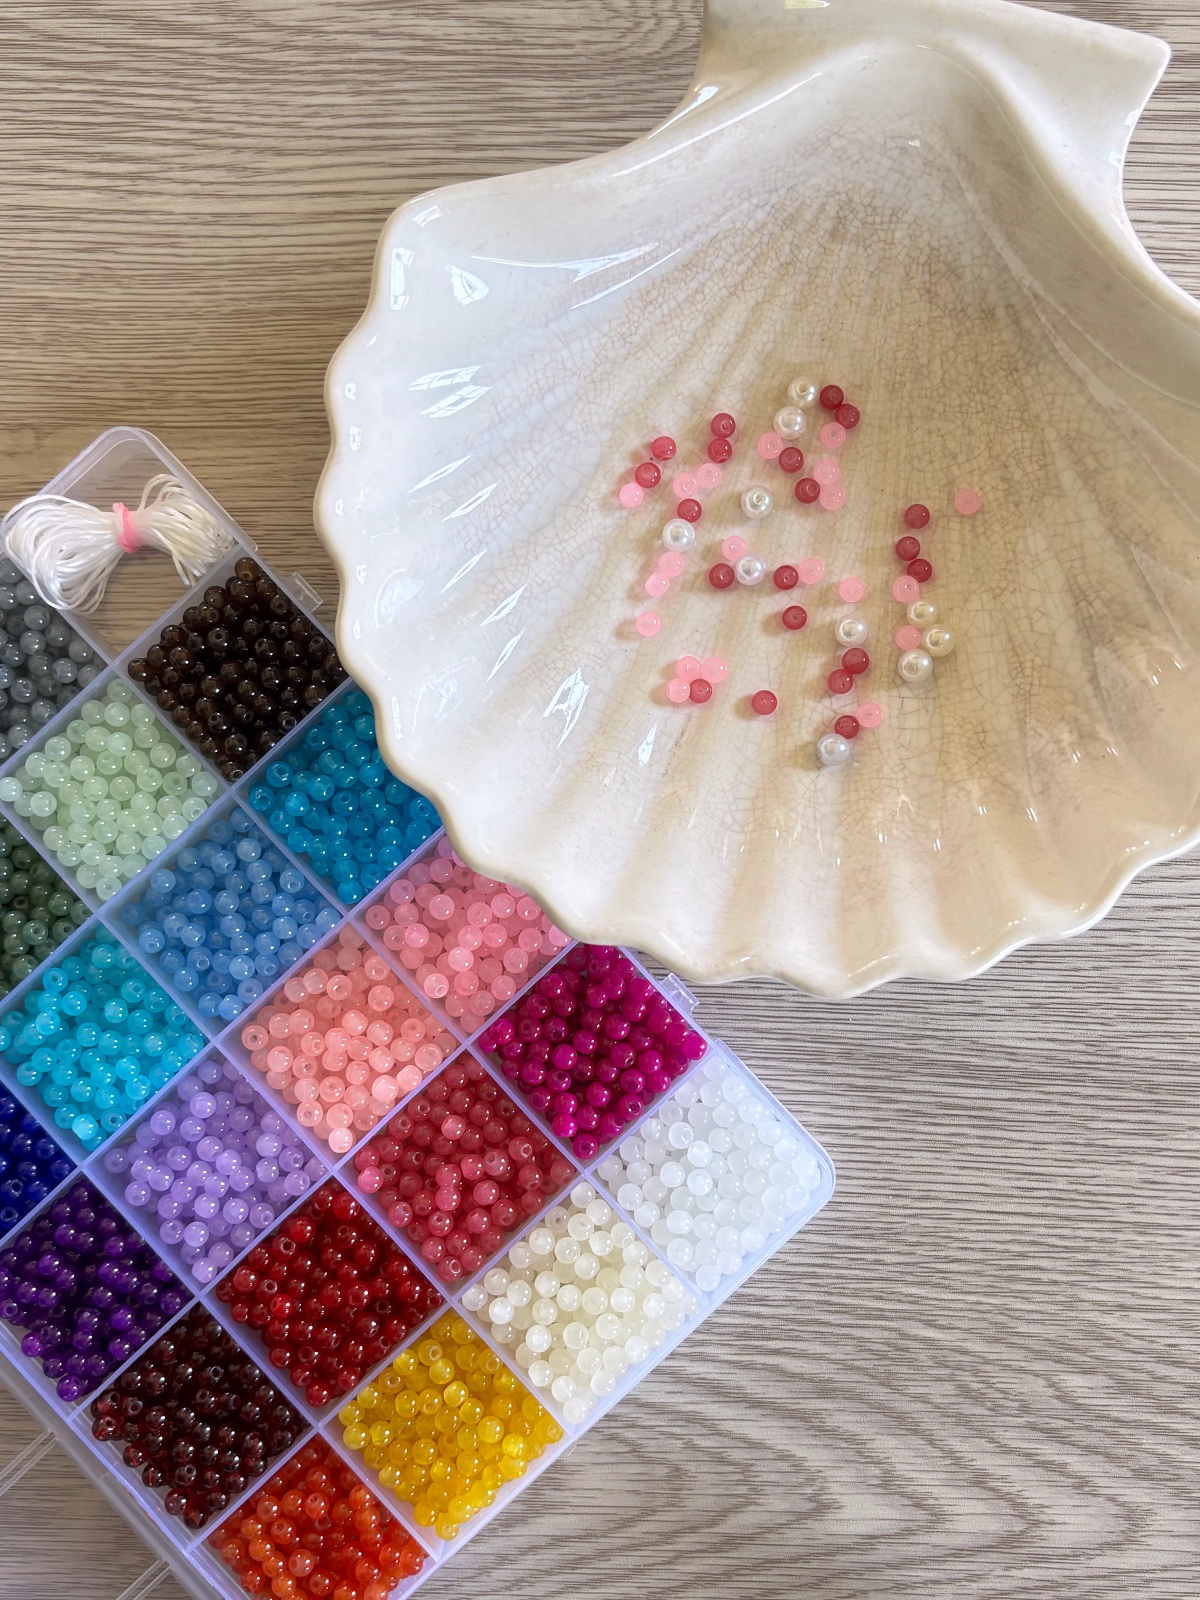
It’s almost time for assembling the crown but first pick out a few beads to arrange in between your flower sections. After you choose your beads, you will have everything ready to put this cherry blossom crown together!
Step 5
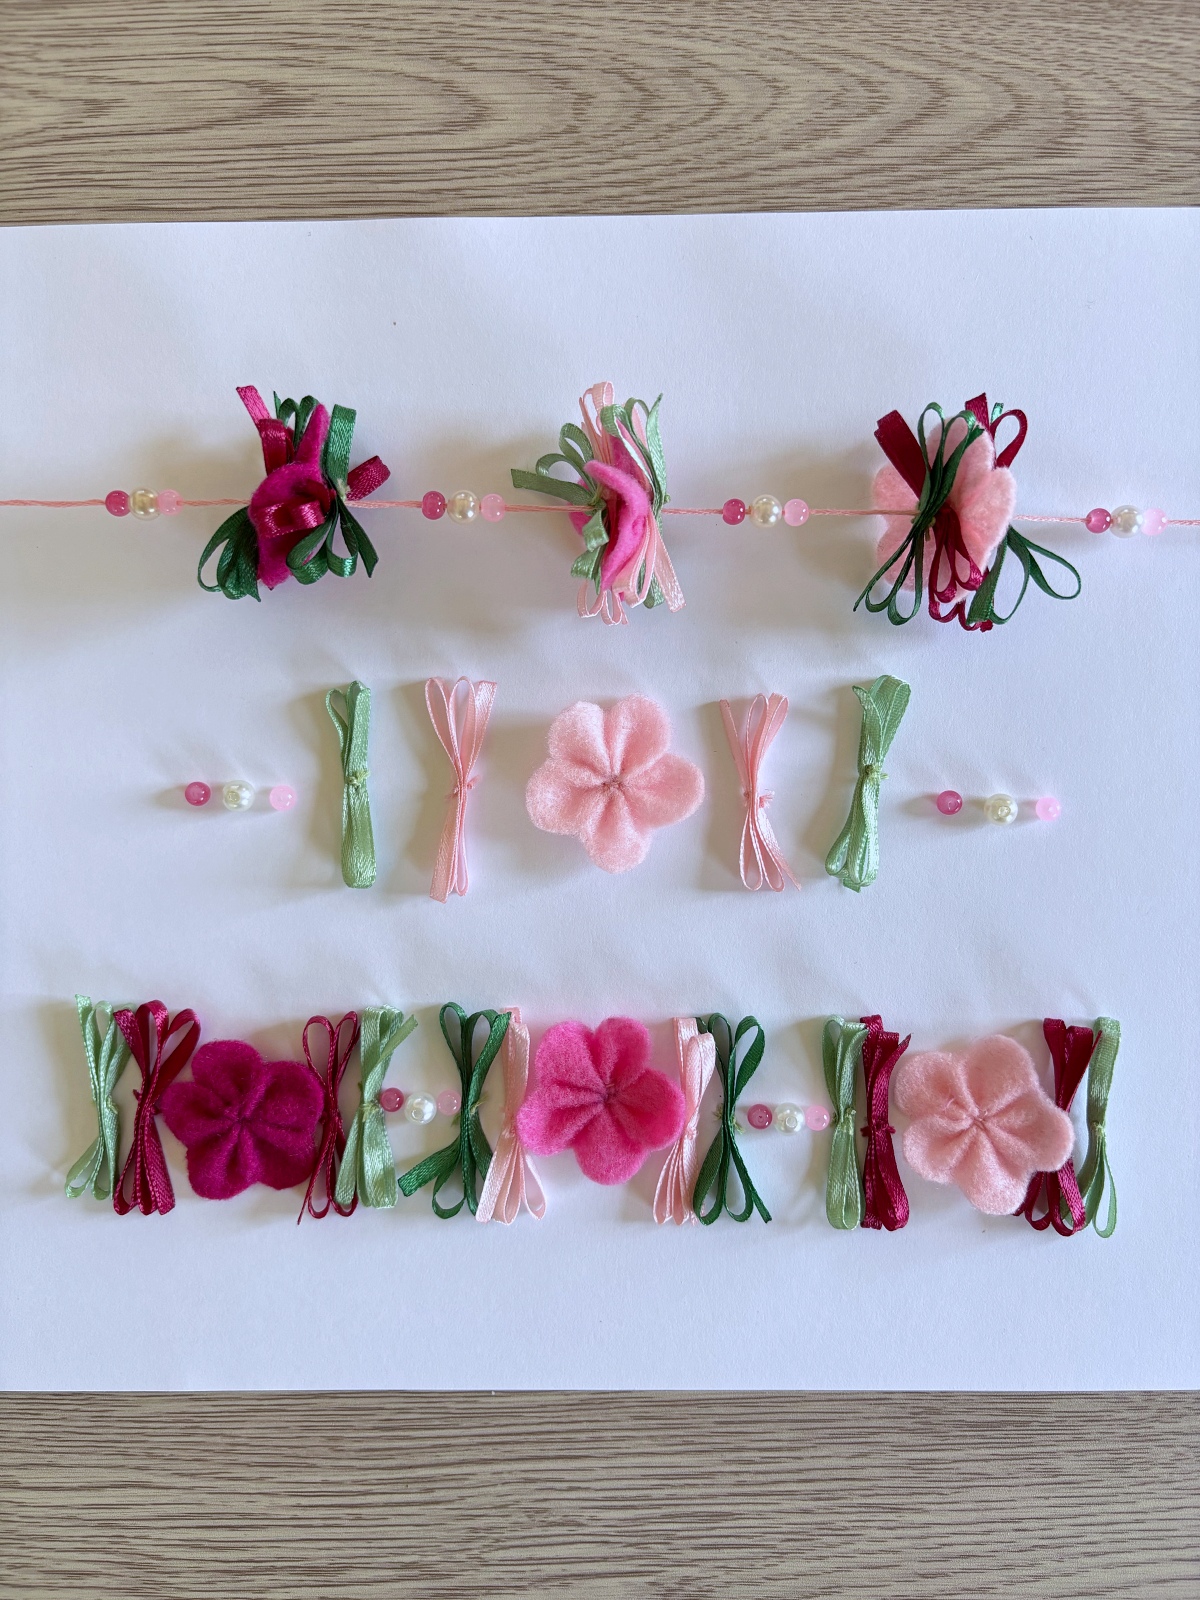
The crown will be threaded onto a long piece of pink embroidery thread, I cut mine around 22 inches to be safe. Start by tying a knot four inches from the end. You will want to leave enough thread to sew onto long ribbon ties later. After you tie a knot you will be able to start stringing your flower pattern onto the embroidery thread.
Here is the pattern I used. Beads, dark green ribbon, dark pink ribbon, flower, dark green ribbon, dark pink ribbon, beads, light green ribbon, light pink ribbon, flower, light pink ribbon, light green ribbon, and then beads again. Every time there was a flower in my pattern I changed the color every time starting with light pink, then medium pink, lastly dark pink and repeat.
Repeat the whole pattern until you are all out of ribbon and flowers then end with one last bead section. Tie a knot and leave the extra string to sew onto the ribbon ties later. You will want the length of the whole flower section to be around 14 inches or longer depending on your preference. Adjust the length using more or less beads to fit your individual head shape. Make sure to test the length on your head before tying the last knot.
Step 6
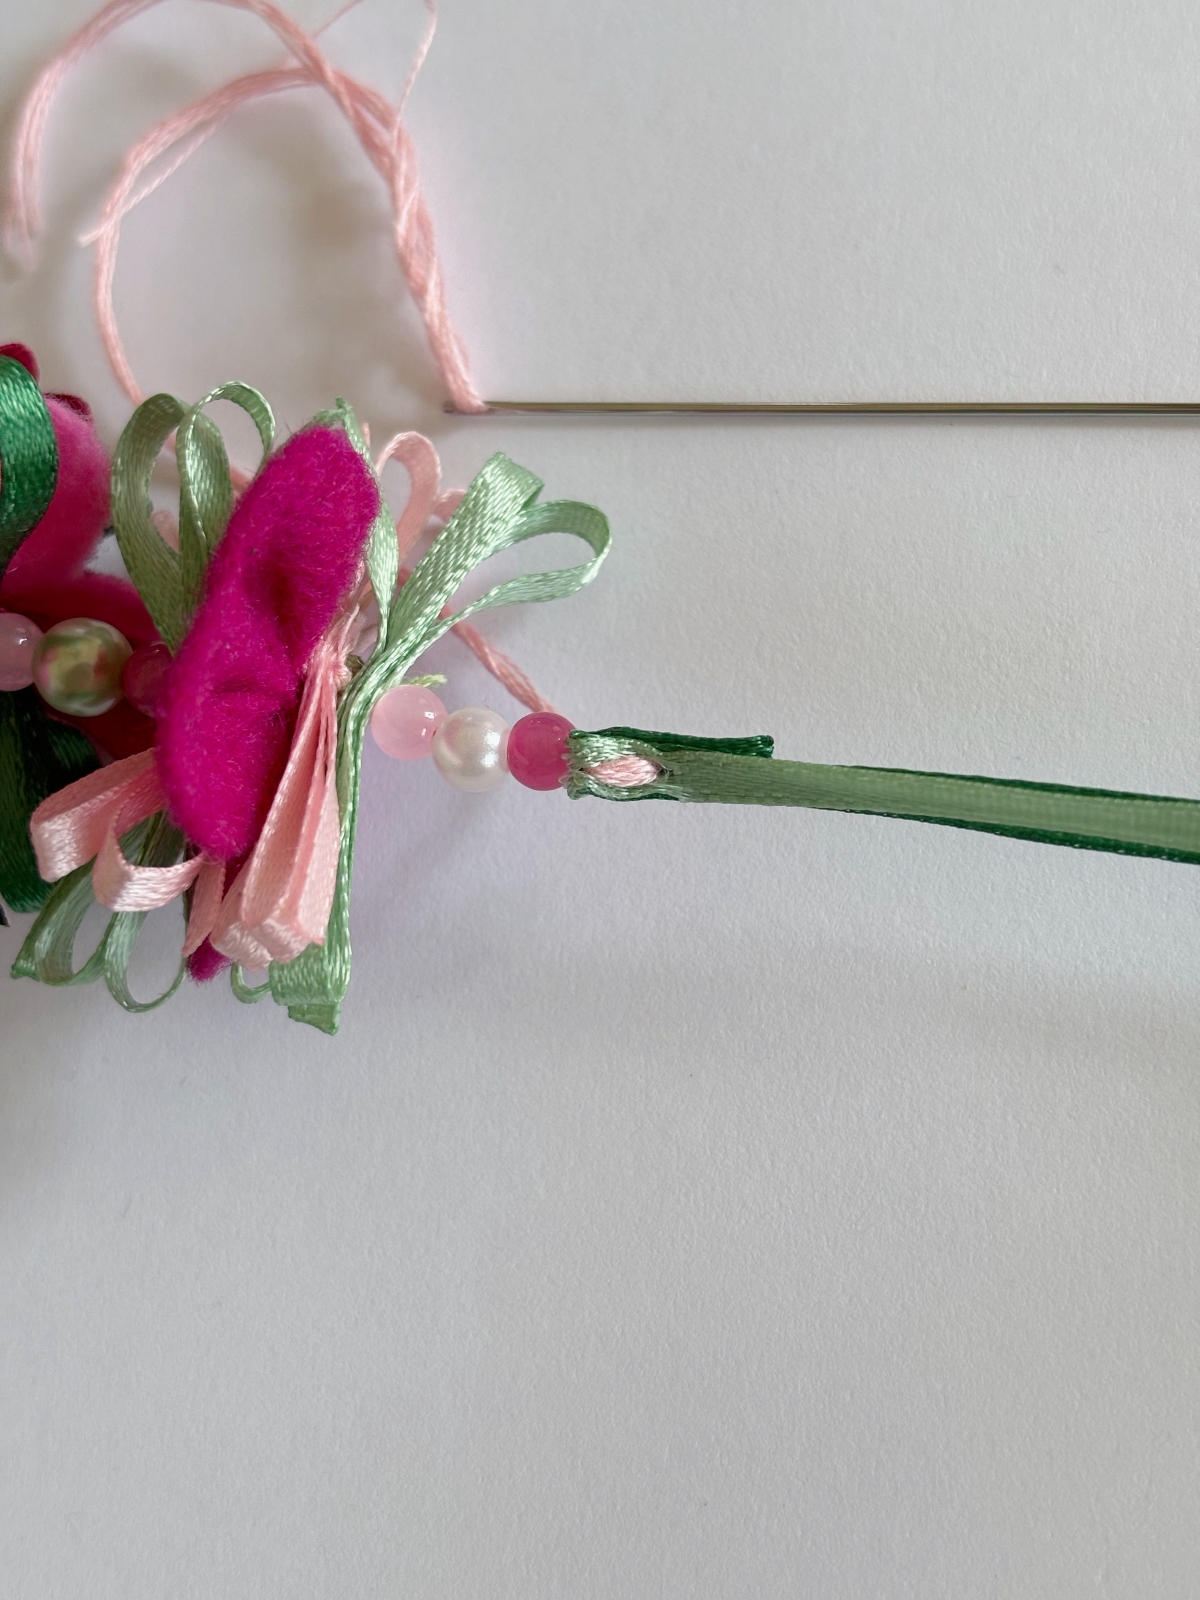
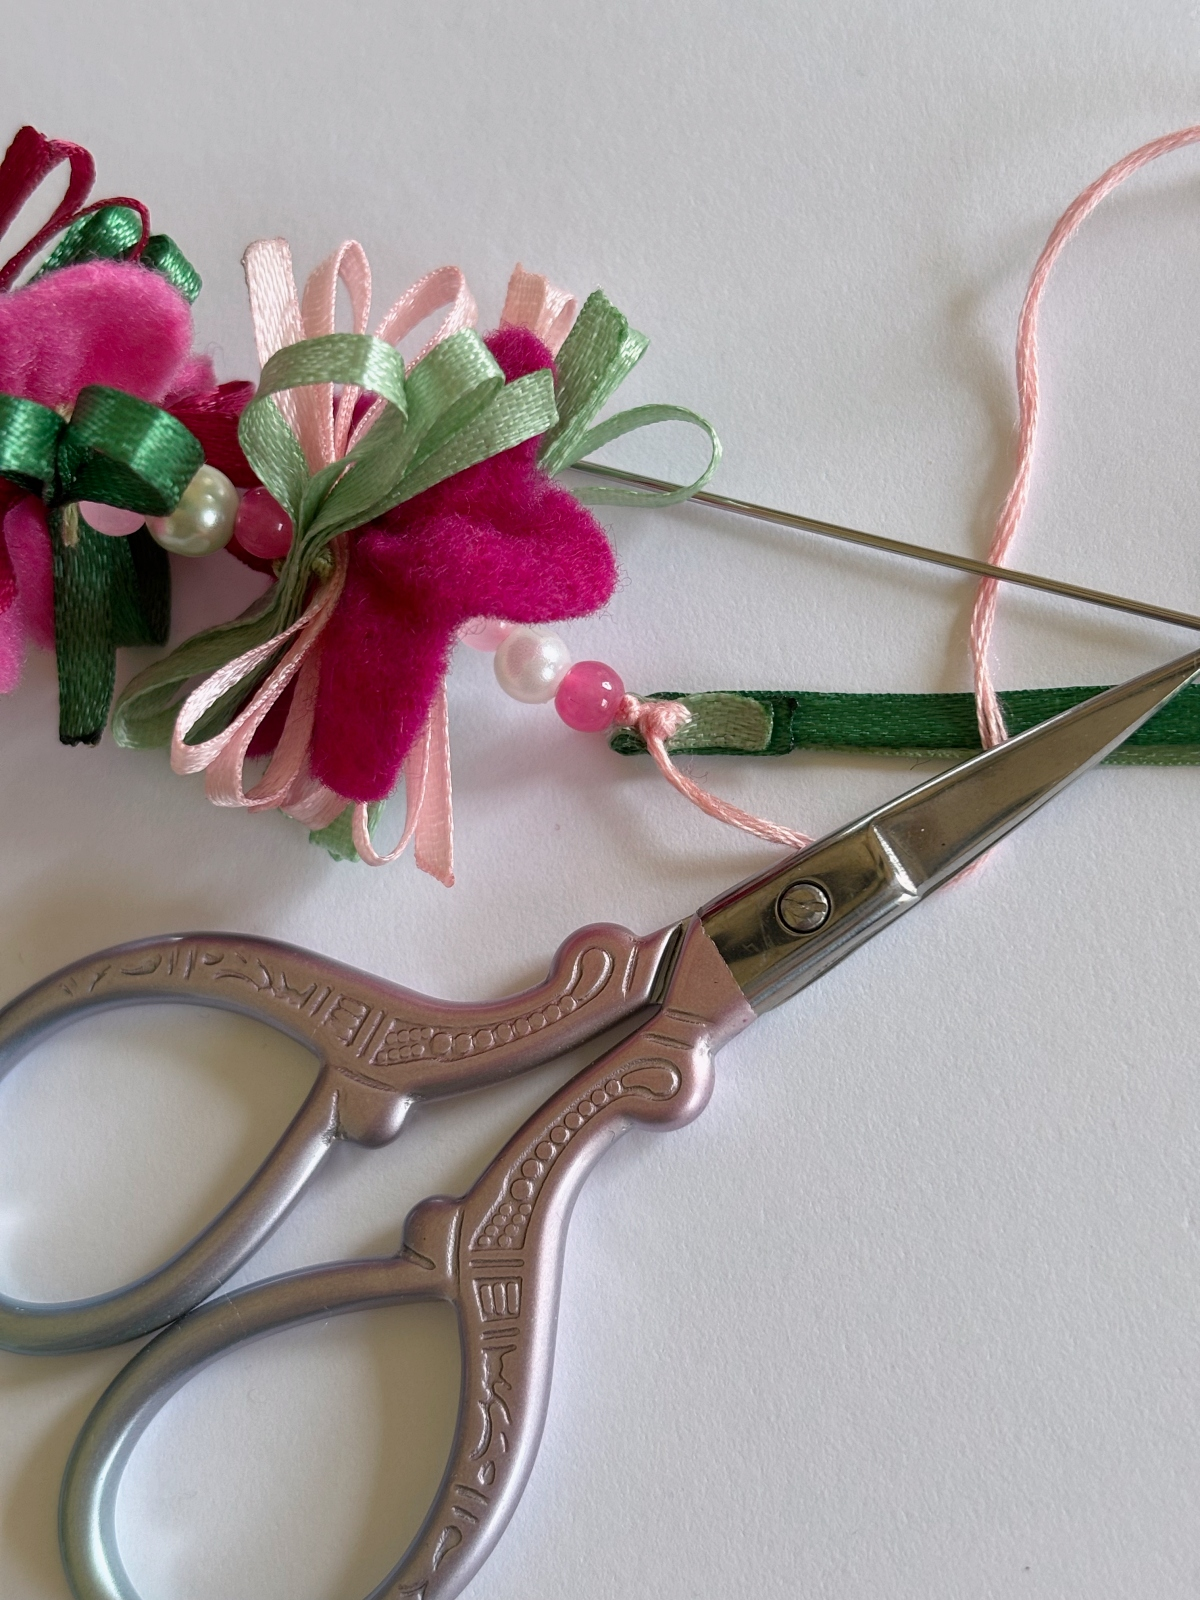
Now it’s time to make the ribbon ties that will hold the flower crown to your head. Cut four strips of green ribbon (one light green and one dark green) at about 21 inches long and lightly burn the ends to stop any fraying. Use two strips of ribbon on each side to add strength. Fold over the ends of one side of the ties and stick in a sewing pin to hold it in place. Take the remaining embroidery thread from the flower crown section and sew it up and down three times through the folded green ribbon. Tie a knot and repeat with the other side.
Step 7
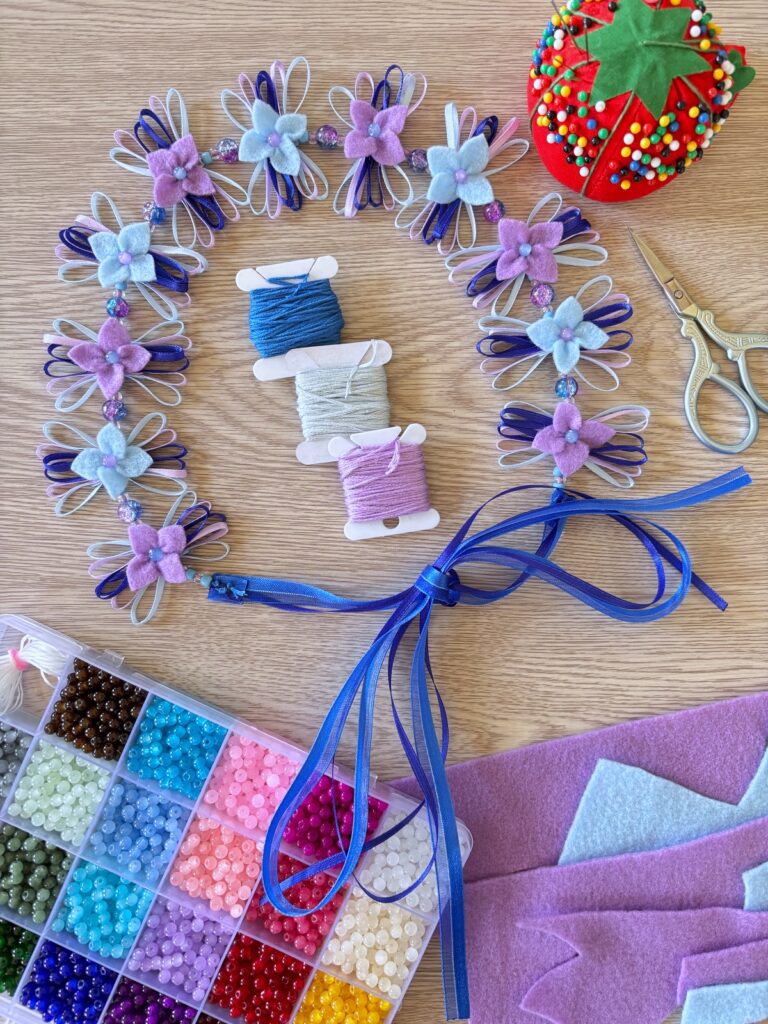
You are now finished making your very own cherry blossom flower crown! It’s a lot of work but you can make it very custom, choose your own colors, and make sure it will fit your head perfectly. I hope you enjoyed this craft and are inspired to make even more felt flower crowns in the future. If you did have fun you might enjoy our DIY hydrangea felt flower crown, check it out. Tag us in instagram @mirrortwins.studio so we can share your beautiful creation to our story.